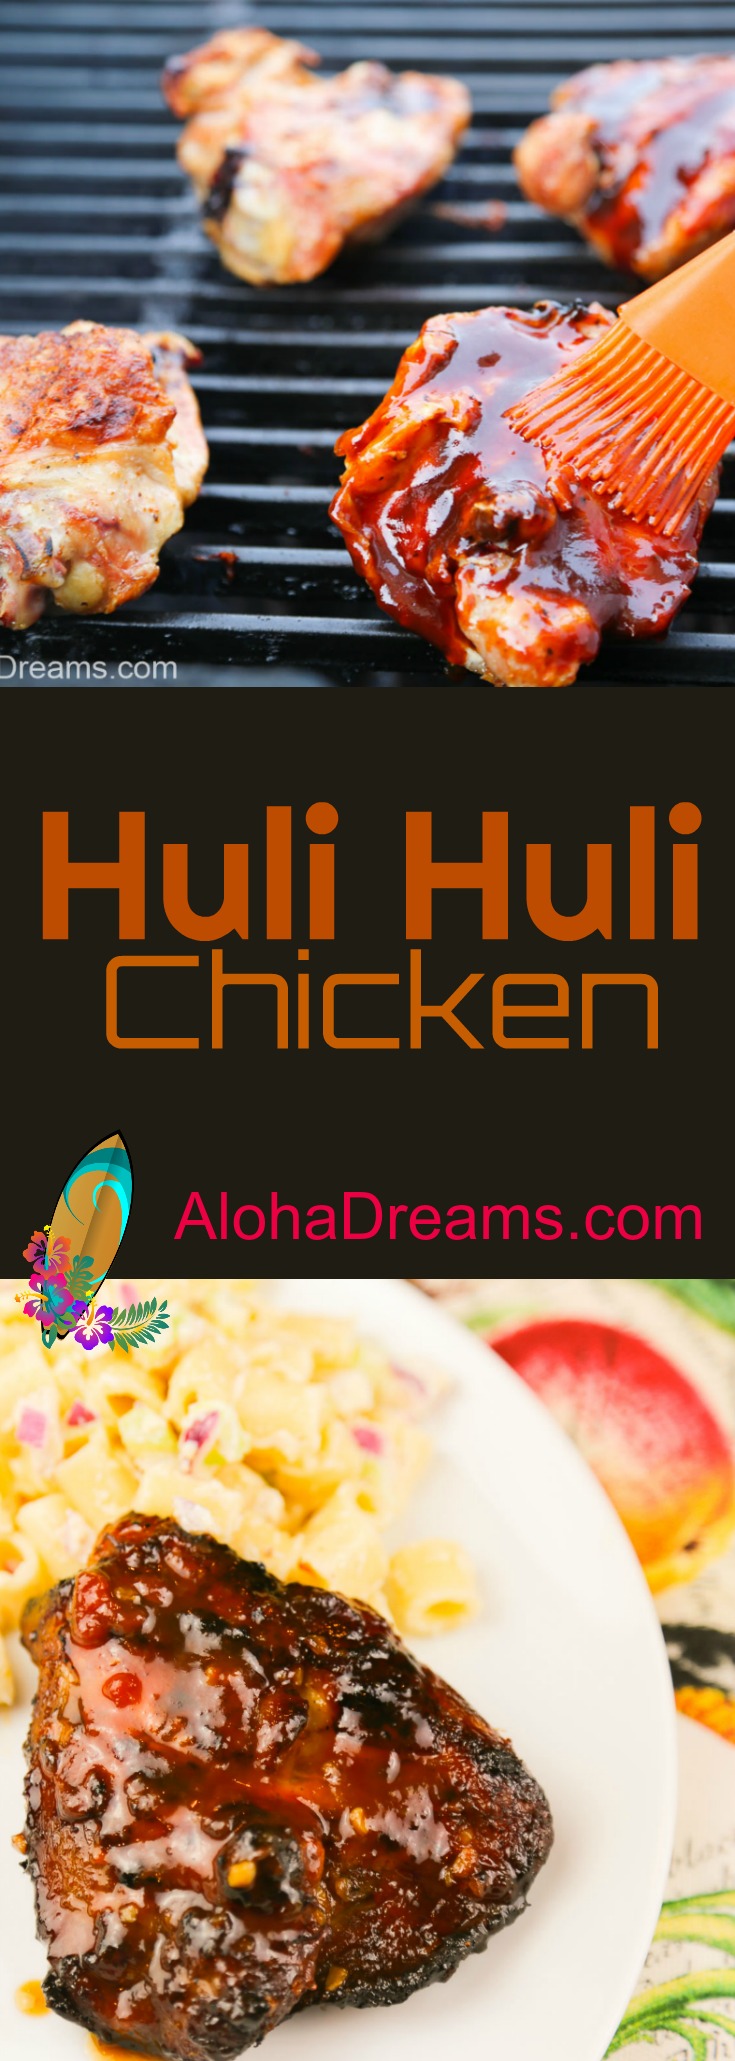
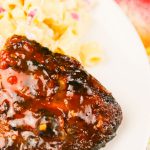
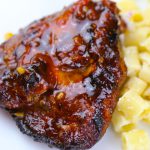
Huli Huli Chicken


Huli Huli Chicken
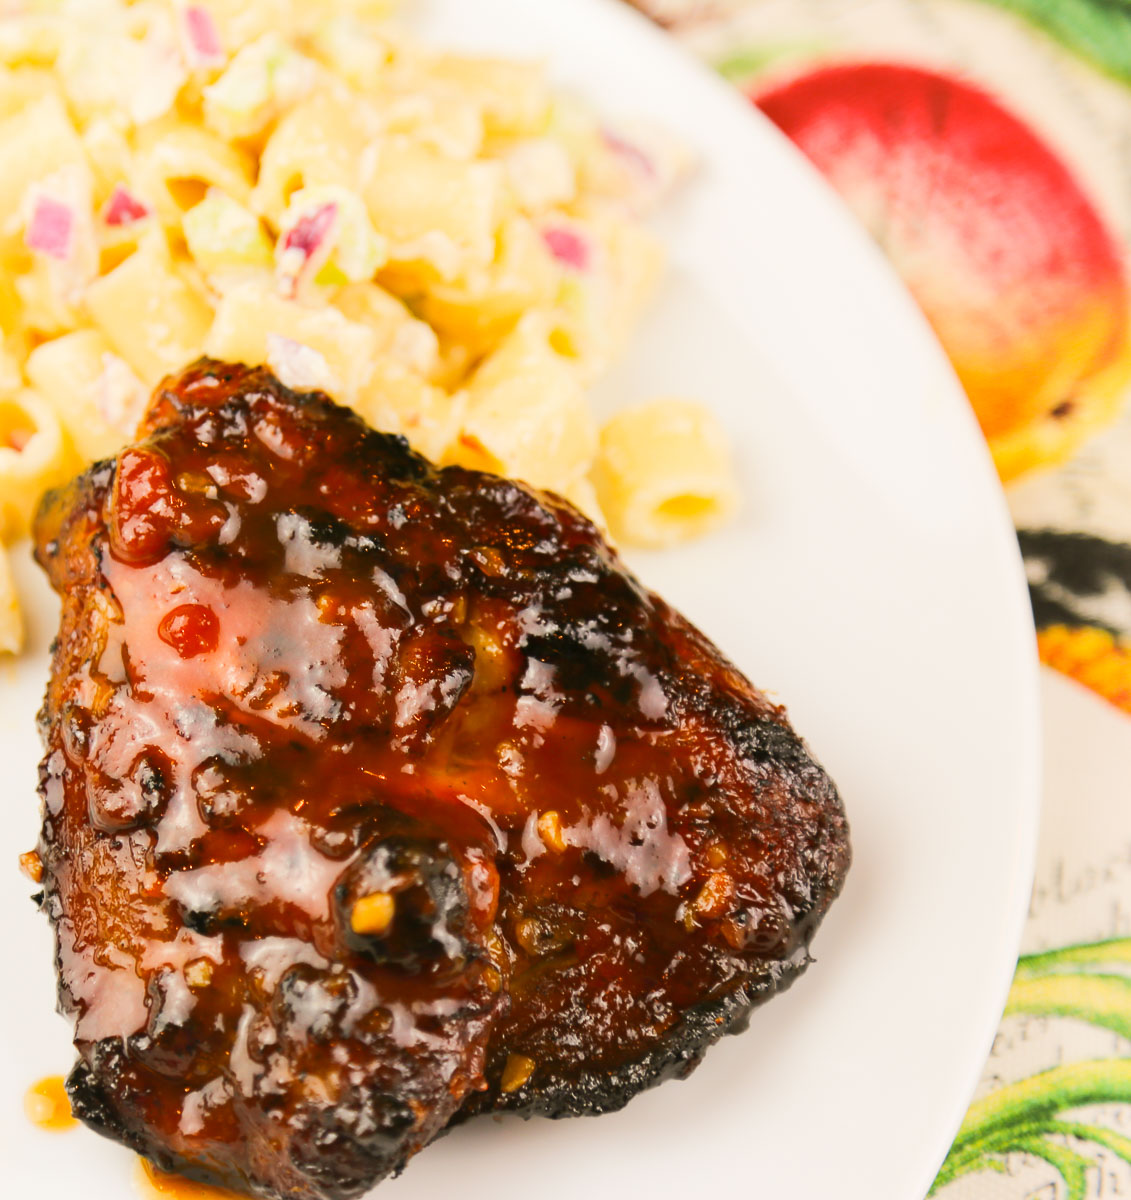
This is without a doubt one of the Best. Chicken. Recipes. Ever.
We fixed this for our luau last year. I figured out of the 140 guests there had to be some folks who didn’t like roast pig. I couldn’t imagine who, but I knew there had to be someone. So we made 70 pieces of Huli Huli chicken to supplement the roast pig. Turns out no one doesn’t like roast pig. But NO ONE wanted to skip the chicken either.
I. Ran. Out.
I NEVER run out of food. Never.
Well, I ran out of Huli Huli chicken. In the midst of all this luau goodness, EVERYONE WANTED THE HULI HULI CHICKEN.
Did I mention this is a great recipe. You have to try this one before the summer’s over. Find any excuse, but make this chicken. You’ll love it.
Huli-Huli Chicken is a quintessential Hawaiian dish. It was created in 1955 by Ernest Morgado of Pacific Poultry. Ernest barbecued his version of teriyaki chicken for a farmers gathering.
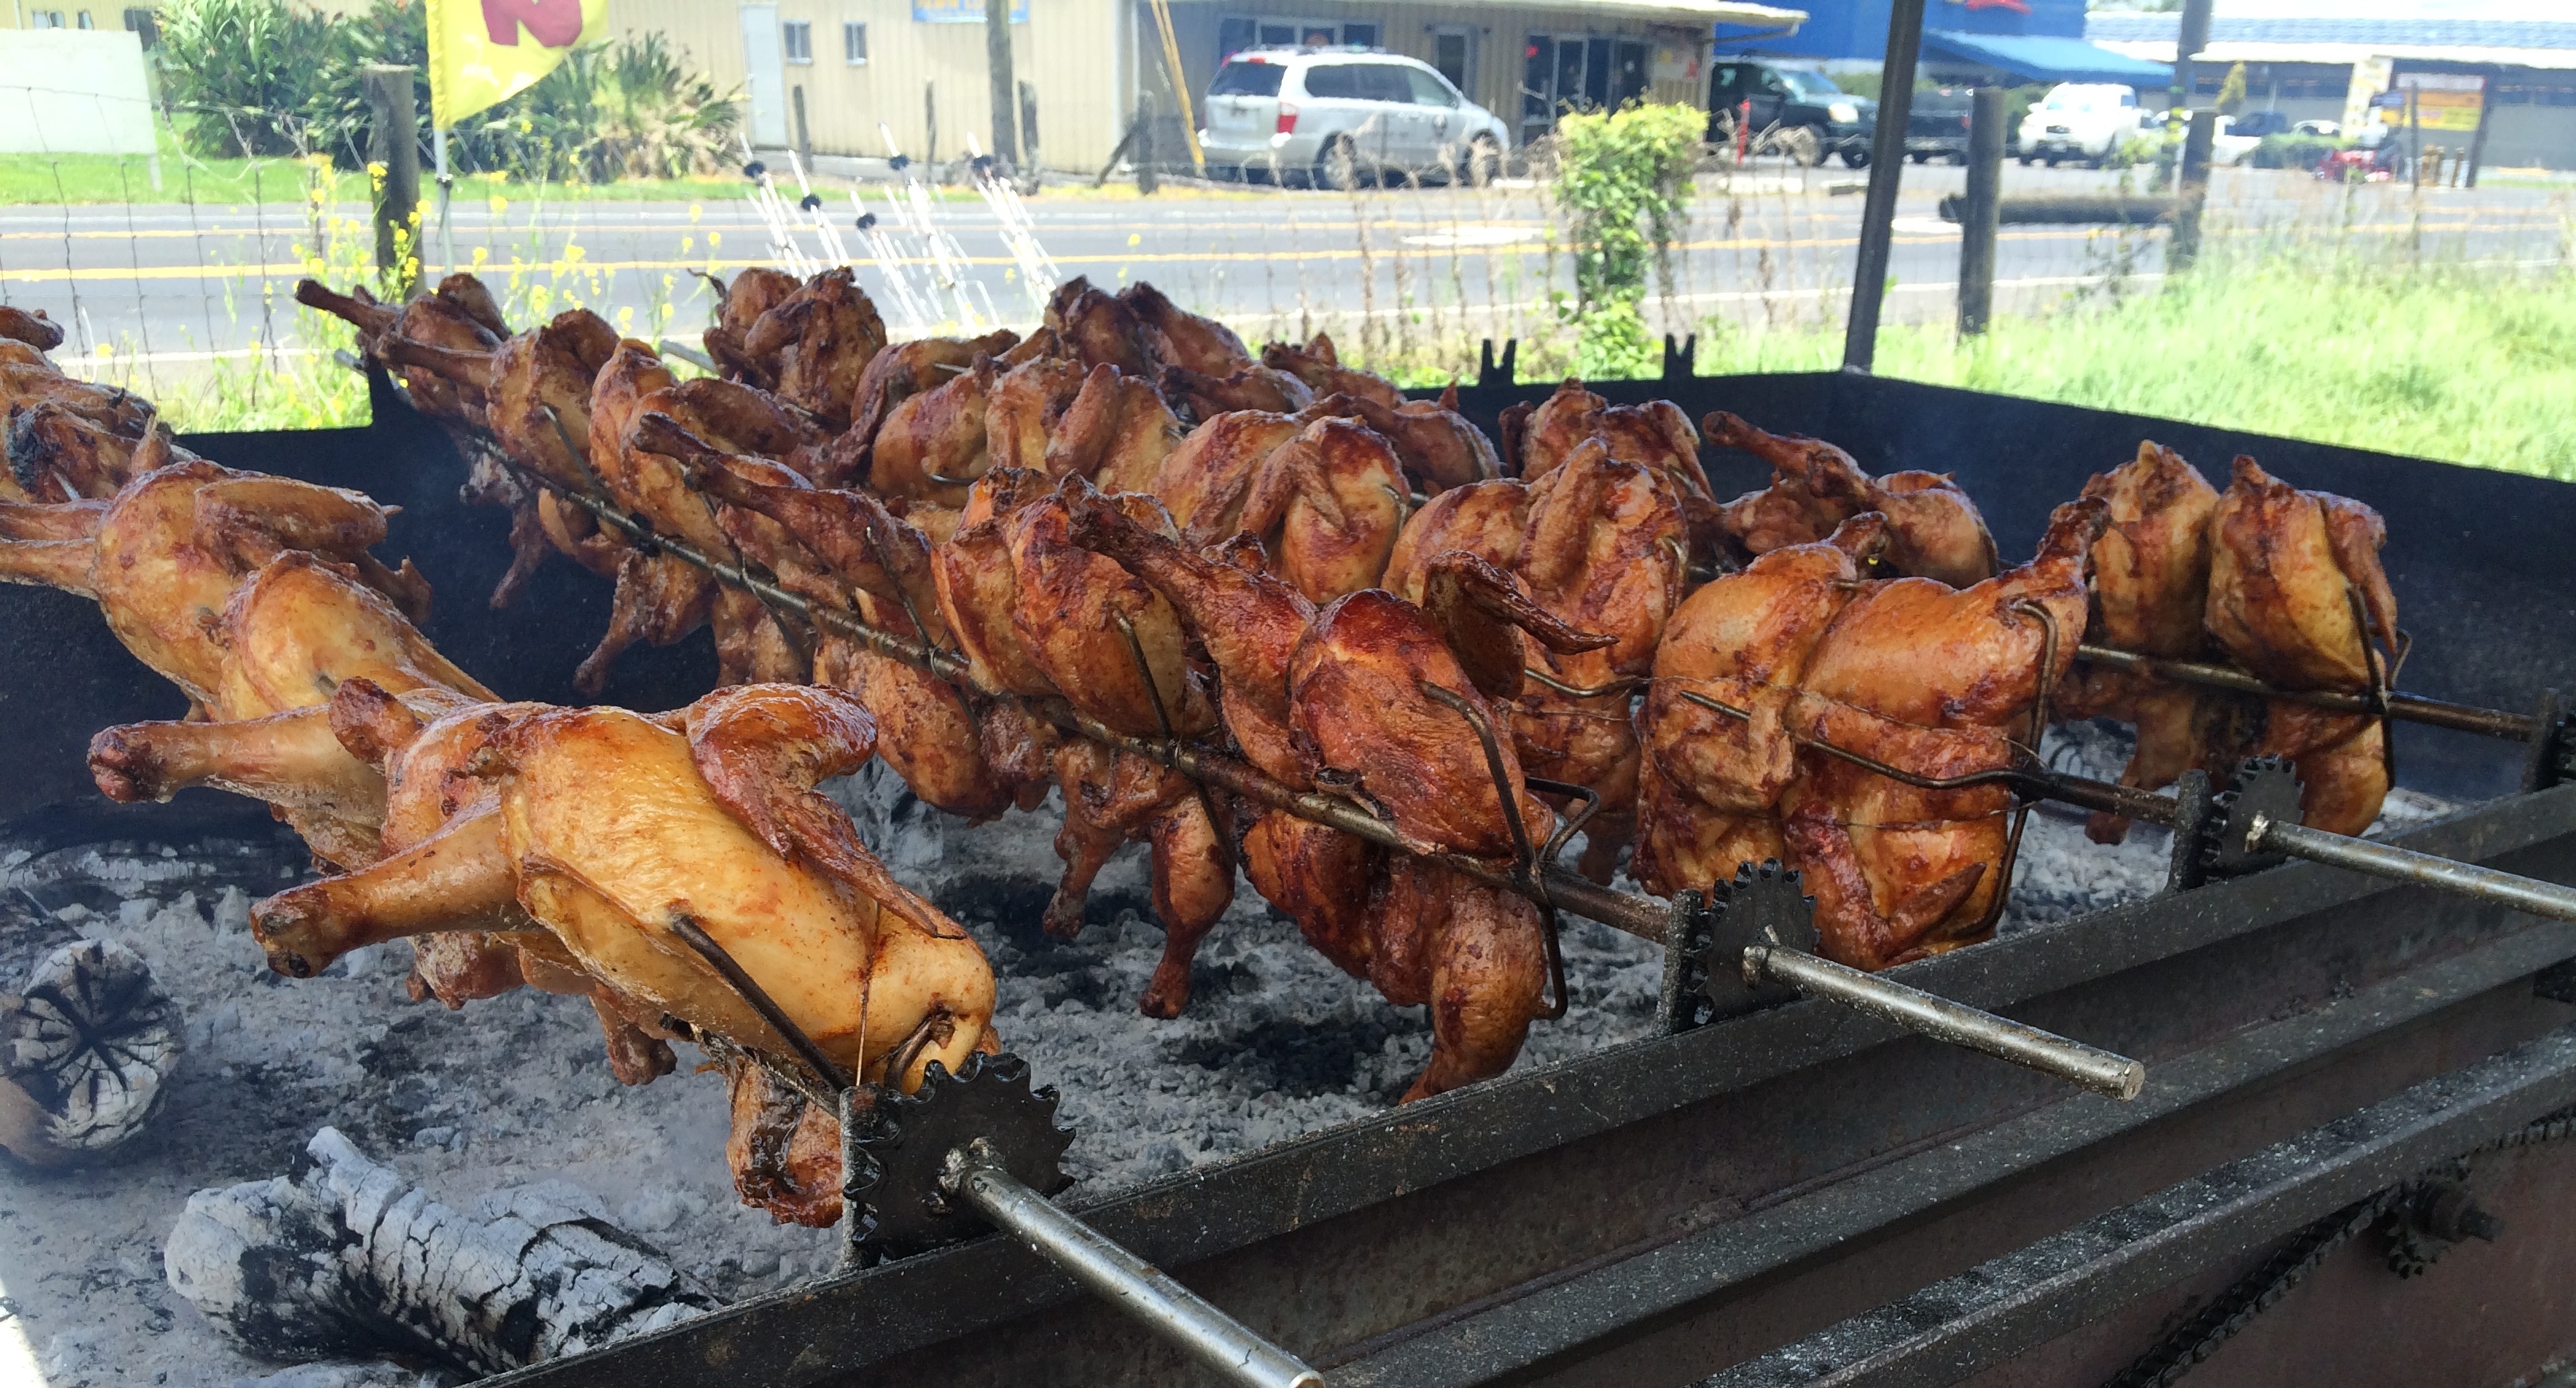
The chicken was such a hit, its popularity spread and it eventually became a favorite food for Hawaiian fundraisers. It’s still often used by schools, softball teams and hula halau (hula groups) to raise money. Huli Huli chicken is typically cooked between two grills or on a large rotisserie. The grills are flipped over repeatedly to allow the chicken to cook evenly on all sides. And since huli is the Hawaiian word for turn, it became known as Huli-Huli Chicken.
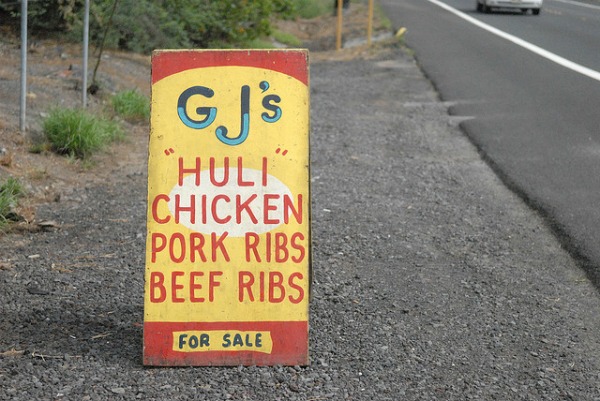
If you’re ever on the Big Island, you owe it to yourself to check out GJ’s roadside Huli Huli chicken stand. I promise you the smell alone will pull you over. You can read all about GJ’s Huli Huli chicken here. It’s amazingly good.
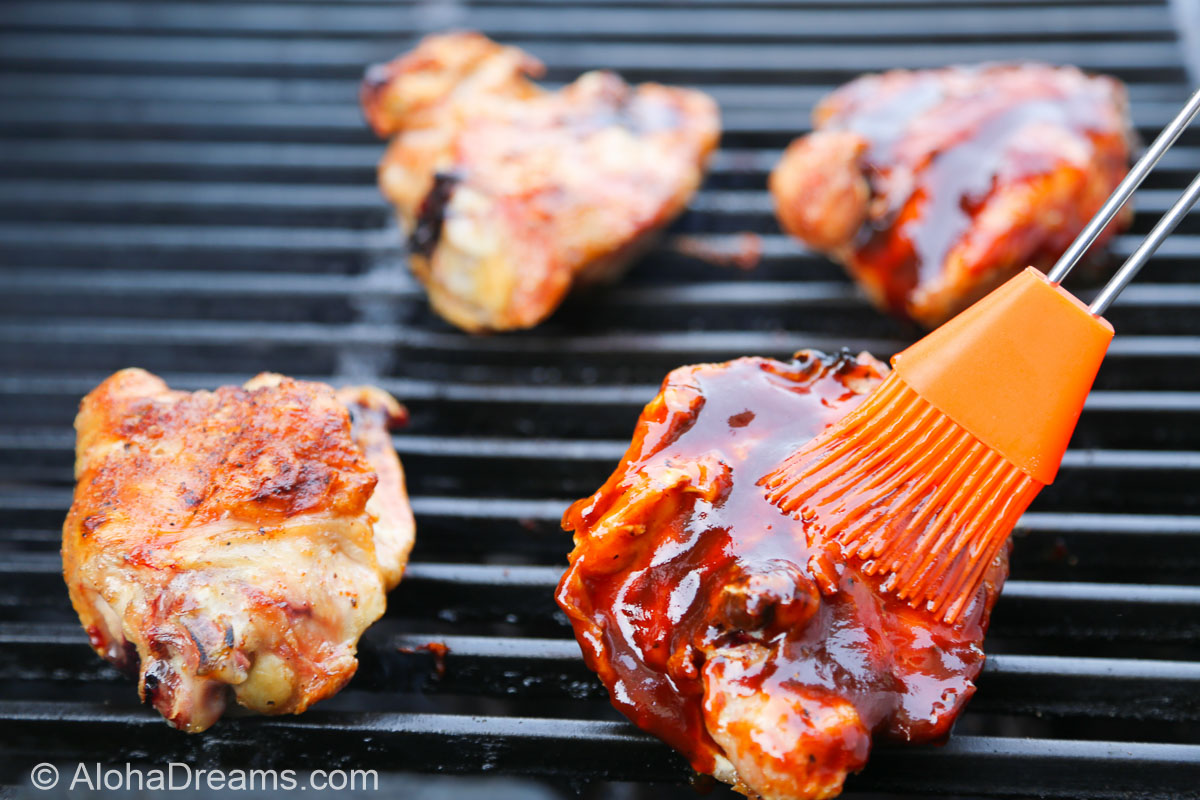
There are several secrets to great Huli-Huli chicken. First of all you need to marinate your chicken for at least an hour and preferable longer, but don’t exceed 8 hours or it will be too salty. Secondly, use thighs – they are much less likely to dry out than breasts and they are more flavorful. Third, apply the glaze right before you remove the chicken from the grill. There is a lot of sugar in the glaze and if you apply it any sooner, the chicken can easily burn.
To make cooking your chicken, steaks or any meat on your grill or oven a worry-free event, consider using one of these cool tools:

It will only take you seconds to get this sleek Bluetooth thermometer up and running. It reports accurate readings on your smart phone up to 100 - 150 feet from its base. From the moment your meat is placed in the oven (or grill) to the second it reaches the perfect temperature, the iGrill has your back. Insert the temperature probe(s) into your meat and track the doneness of your food from your smart phone on the Weber iGrill app, without having to lift the lid. It comes with 2 probes and you can order 2 more, for a total of 4! And you can use it for everything including chicken, steak, burgers, pork roasts. You'll love it for baking chicken because you'll know exactly when the chicken is done so it doesn’t get dried out. It's the reason my dishes come out at just the right degree of done-ness time after time!
Fourth, don’t forget to huli the chicken. And if you have an mesquite chips, now’s the time to bring them to the party. In Hawaii they use kiawe (pron. key-AH-vey) wood, a tree from the mesquite family. These are kiawe trees. Don’t sweat it if you don’t have mesquite chips, it will be WONDERFUL even still.
Finally, feel free to invite us over.
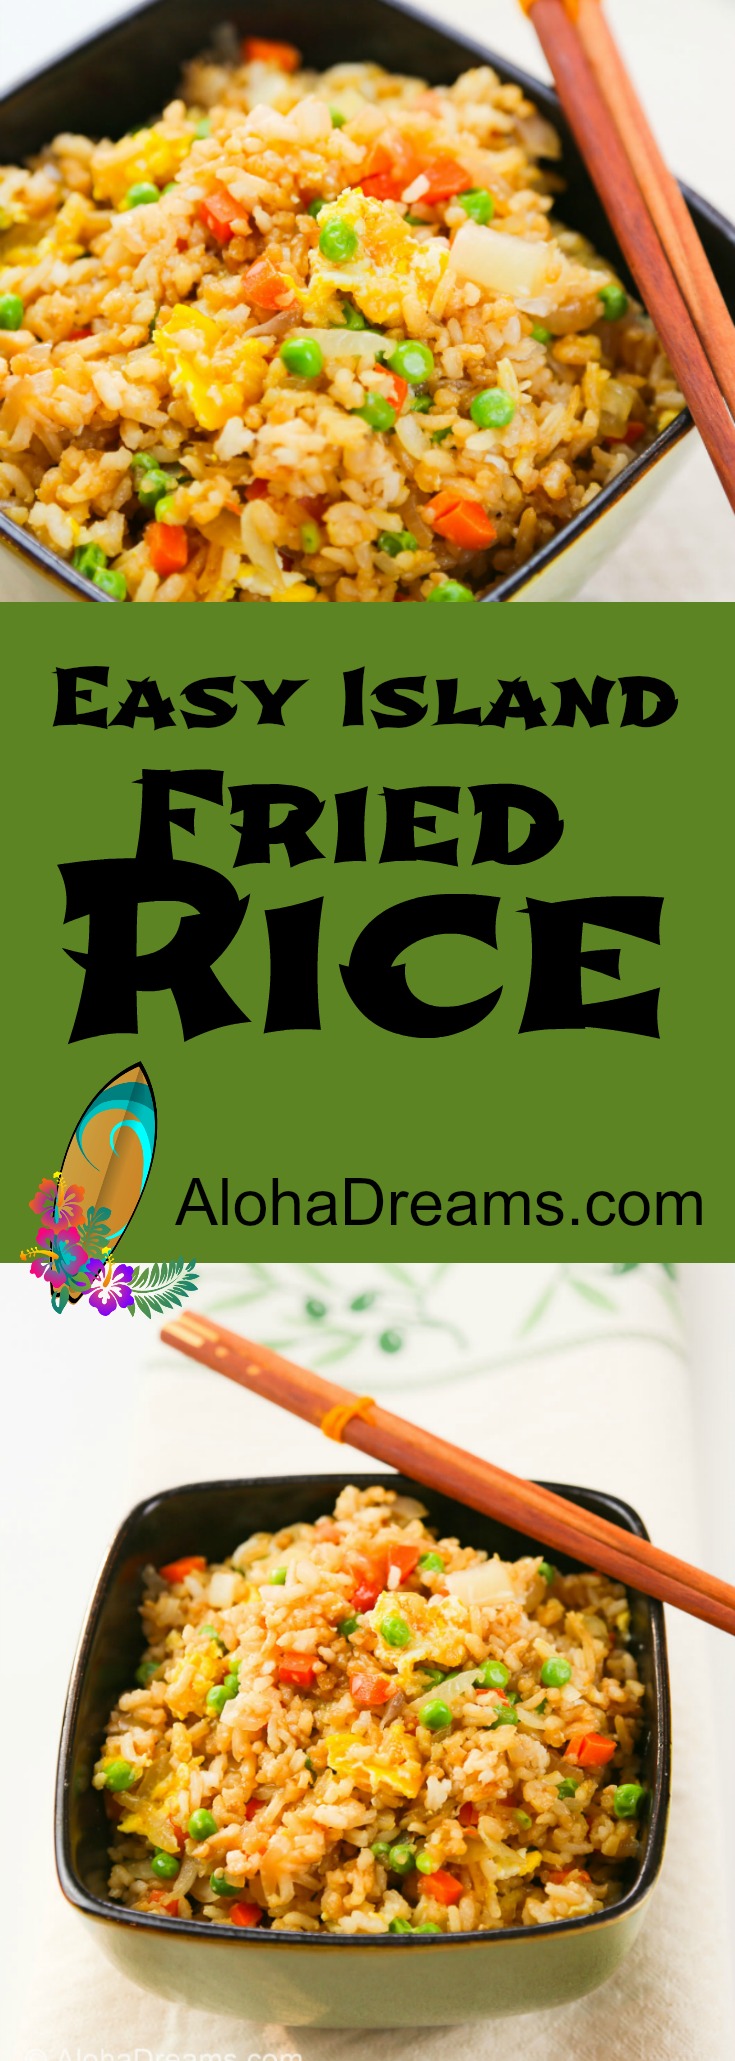
Pin for Later
Or Make Now – Large Group & Family Size Recipes Below
Large Group
- 16 quarts water
- 16 cups soy sauce
- 16 tablespoons vegetable oil
- 2 cups minced garlic from a jar
- 4 tablespoon grated fresh ginger from a jar
- 100 chicken thighs
- 4 ½ (46 ounce) cans pineapple juice
- 3 cups light brown sugar packed
- 3 cups soy sauce
- 3 cups ketchup
- 3 cups rice vinegar
- 1 1/3 cup minced garlic from a jar
- ¾ cup grated fresh ginger
- 1 teaspoon chili-garlic sauce
- 3 (approximately 54” x 29”) gas grills or 1 grill which will accommodate 100 thighs
-
In a large bowl, combine water and soy sauce in large bowl. Set aside. In a large skillet, heat oil over medium-high heat until shimmering. Add garlic and ginger and cook until fragrant, about 30 seconds. Stir into water/soy sauce mixture. Add chicken and refrigerate, covered, for at least 1 hour and up to 8 hours. Go for the full 8 hours if at all possible, but no more than that or the chicken will get too salty.
-
In a medium sauce pan, combine the pineapple juice, sugar, soy sauce, ketchup, vinegar, garlic, ginger, and chili-garlic sauce. Bring to a boil then reduce heat to medium and let simmer until glaze is thick and syrupy about 20 to 25 minutes. This should result in about 12 cups of glaze.
-
For a kettle grill: open bottom vents on grill. Light about 75 coals. When coals are covered with fine gray ash, spread evenly over bottom of grill. Set cooking grate in place and heat, about 5 minutes. For a gas grill: heat all burners to medium-low. Scrape and oil cooking grate.
-
Remove chicken from brine and pat dry with paper towels. Arrange chicken skin-side up on grill. Grill, covered, until chicken is well browned on bottom and meat registers 120 degrees, about 25 to 30 minutes. Flip chicken skin-side down and continue to grill, covered, until skin is well browned and crisp and meat registers 170 to 175 degrees, 20 to 25 minutes longer. Apply glaze several minutes before removing chicken from grill.
-
You can make the chicken to this point up to 2 hours before serving. Transfer to a large disposable aluminum serving tray, cover with foil and hold in a 200 degree (warm) oven.
NOTE: Do not exceed approximately 36 - 40 thighs on a standard size gas grill. Many more than that and they will render so much fat that you can easily have a grill fire. Not good.
Family Size
Like all my chicken grilling recipes, this recipe calls for basting right before you remove the chicken from the grill. That's especially important in this case because the sugar in the glaze will burn easily if you apply it any sooner than that. Adapted from Cooks Country (a WONDERFUL magazine).
- 2 quarts water
- 2 cups soy sauce
- 2 tablespoons vegetable oil
- 8 cloves garlic minced
- 1 tablespoon grated fresh ginger
- 8 - 10 chicken thighs
- 3 (6 ounce) cans pineapple juice
- 1/4 cup light brown sugar , packed
- 1/4 cup soy sauce
- 1/4 cup ketchup
- 1/4 cup rice vinegar
- 6 cloves garlic minced
- 2 tablespoons grated fresh ginger
- 1/2 teaspoon chili-garlic sauce
-
In a large bowl, combine water and soy sauce. Set aside. In a large skillet, heat oil over medium-high heat until shimmering. Add garlic and ginger and cook until fragrant, about 30 seconds. Stir into water/soy sauce mixture. Add chicken and refrigerate, covered, for at least 1 hour and up to 8 hours. Go for the full 8 hours if at all possible, but no more than that or the chicken will get too salty.
-
In a medium sauce pan, combine the pineapple juice, sugar, soy sauce, ketchup, vinegar, garlic, ginger, and chili-garlic sauce. Bring to a boil then reduce heat to medium and let simmer until glaze is thick and syrupy about 20 to 25 minutes. This should result in about 1 cup of glaze.
-
For a kettle grill: open bottom vents on grill. Light about 75 coals. When coals are covered with fine gray ash, spread evenly over bottom of grill. Set cooking grate in place and heat, about 5 minutes. For gas grill: heat all burners to medium-low. Scrape and oil cooking grate.
-
Remove chicken from brine and pat dry with paper towels. Arrange chicken skin-side up on grill. Grill, covered, until chicken is well browned on bottom and meat registers 120 degrees, about 25 to 30 minutes. Flip chicken skin-side down and continue to grill, covered, until skin is well browned and crisp. The meat should register 170 to 175 degrees, about 20 to 25 minutes longer. Apply glaze several minutes before removing chicken from grill.
-
You can make the chicken to this point up to 2 hours before serving. Transfer to a large disposable aluminum serving tray, cover with foil and hold in a 200 degree (warm) oven.

Welcome to Aloha Dreams!
I'm so glad you dropped by. I'm Betsy. Here you'll find my favorite fabulous, trusted recipes - everything from delicious, quick meals for your family to wonderful classics made easy.
I'm also here to help you with large group recipes from 20 to 200. So next opportunity you get to cook for a large group - Say 'Yes!' Then relax. I've got your back.
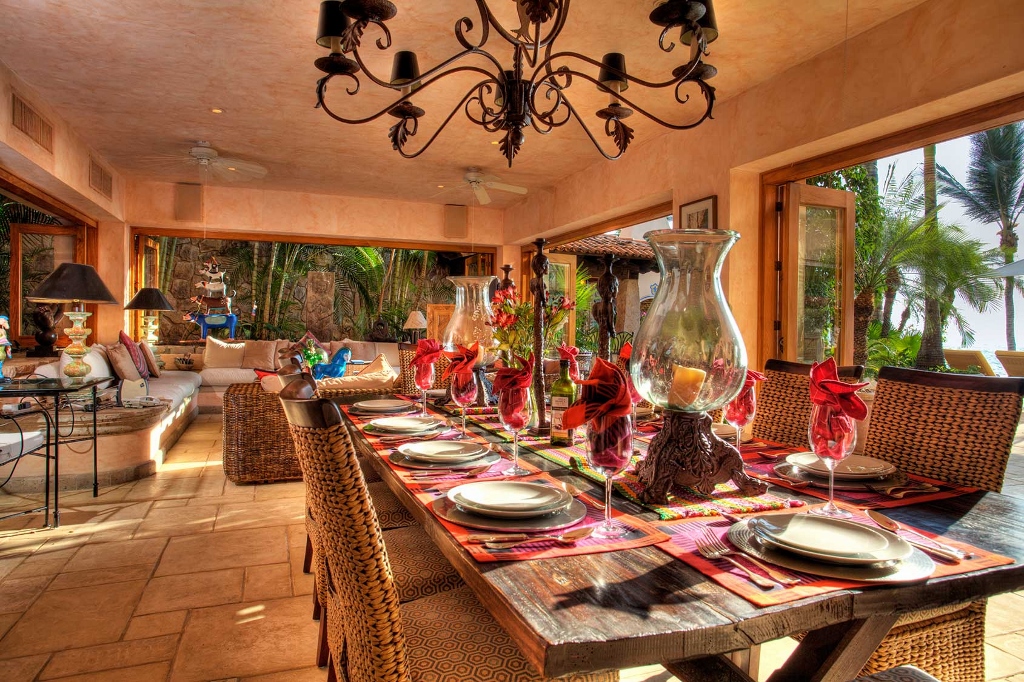
Ever wished you could build your dream home? How about building your dream home in a tropical paradise? Join me, room by room, as we design and build a fabulous dream home in Hawaii!
Explore Aloha Dreams


EXPLORE
If you're planning a vacation to Hawaii, I've got you covered on the very best places to go! From many amazing restaurants to incredible adventures in the surf and on land, this is your go-to source for unique and exciting things to do on the Big Island of Hawaii. Or just take a Virtual Vacation!! Let's go!
SAY YES!
If you've been asked to cook for a large group activity, be it a Girl's Camp or a Graduation Party, say Yes! I'm here to help. From Menus to Game Plans to Recipes, I'll help you keep on schedule and turn out amazingly delicious food if you're cooking for a crowd! My recipes are tested and trusted. Let's cook!
AHONUI
Ever wished you could build your dream home? Like amazing house design and home building ideas? Me too! Join me as I design and build a home on the Big Island of Hawaii. Follow along while I design each room. Enjoy a front row seat for the entire amazing construction process. Let's play!
PARTY
Would you like to throw a Luau, but not sure where to start? Want to know how to build a tiki bar and roast a pig? Here's everything you need to have a luau. How about a Christmas Feast or even a fabulous dinner for your neighborhood supper club? You've come to the right place. Let's party!