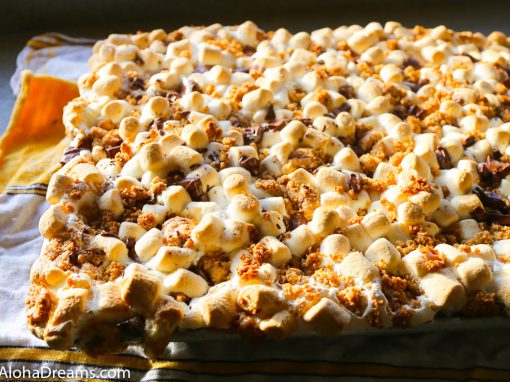
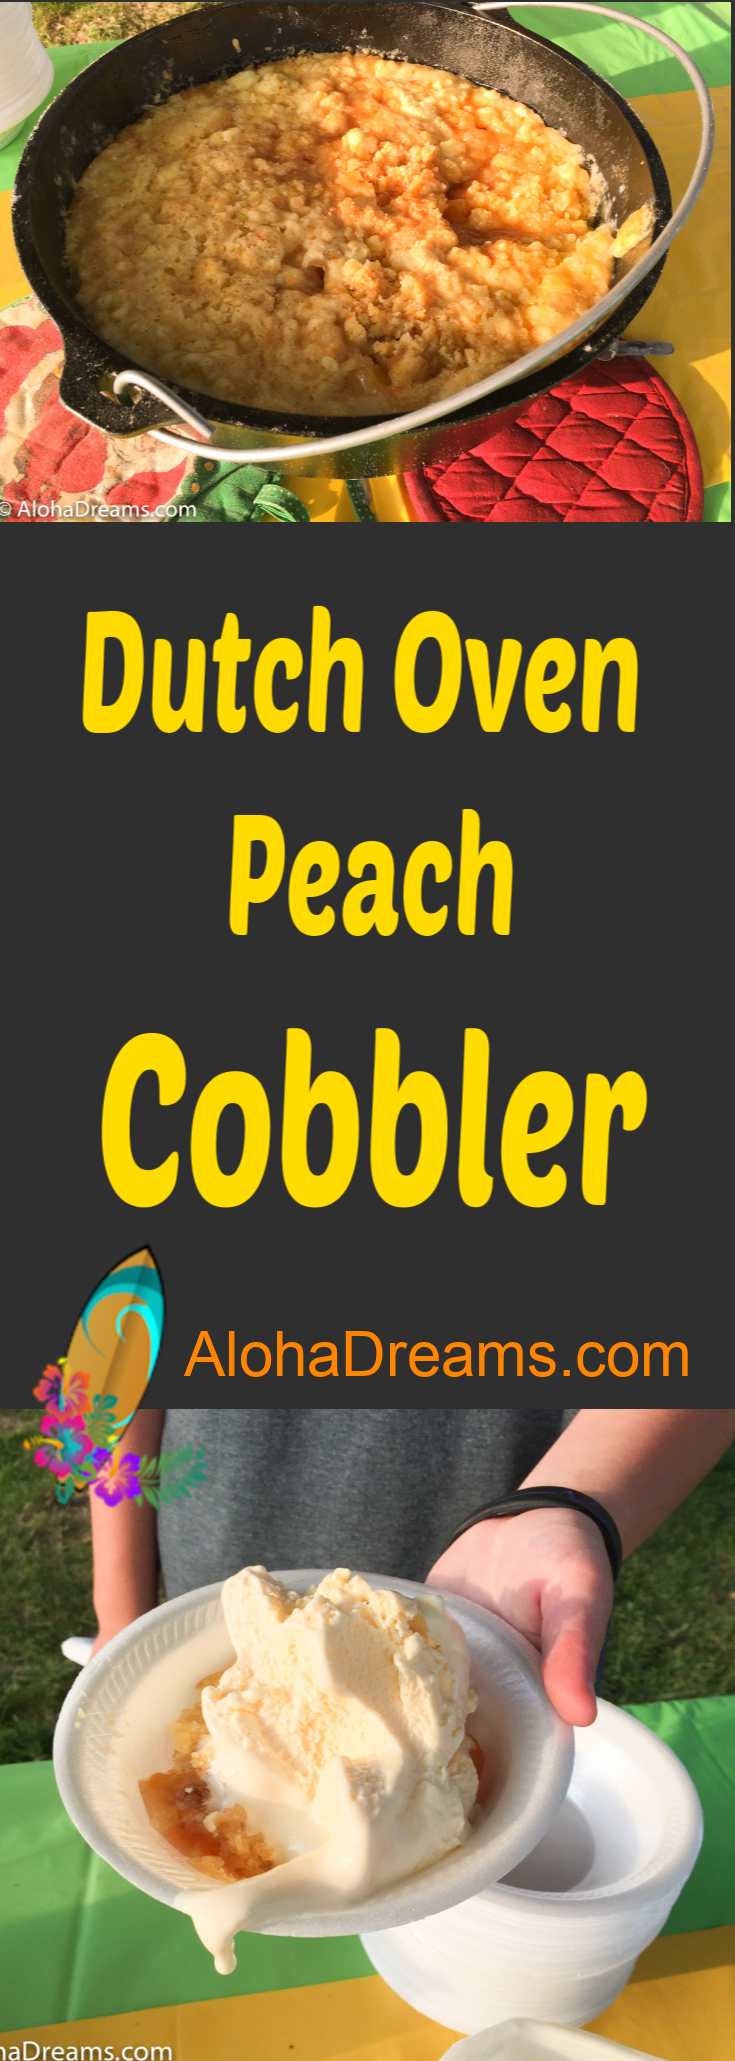
Dutch Oven Peach Cobbler


Dutch Oven Peach Cobbler
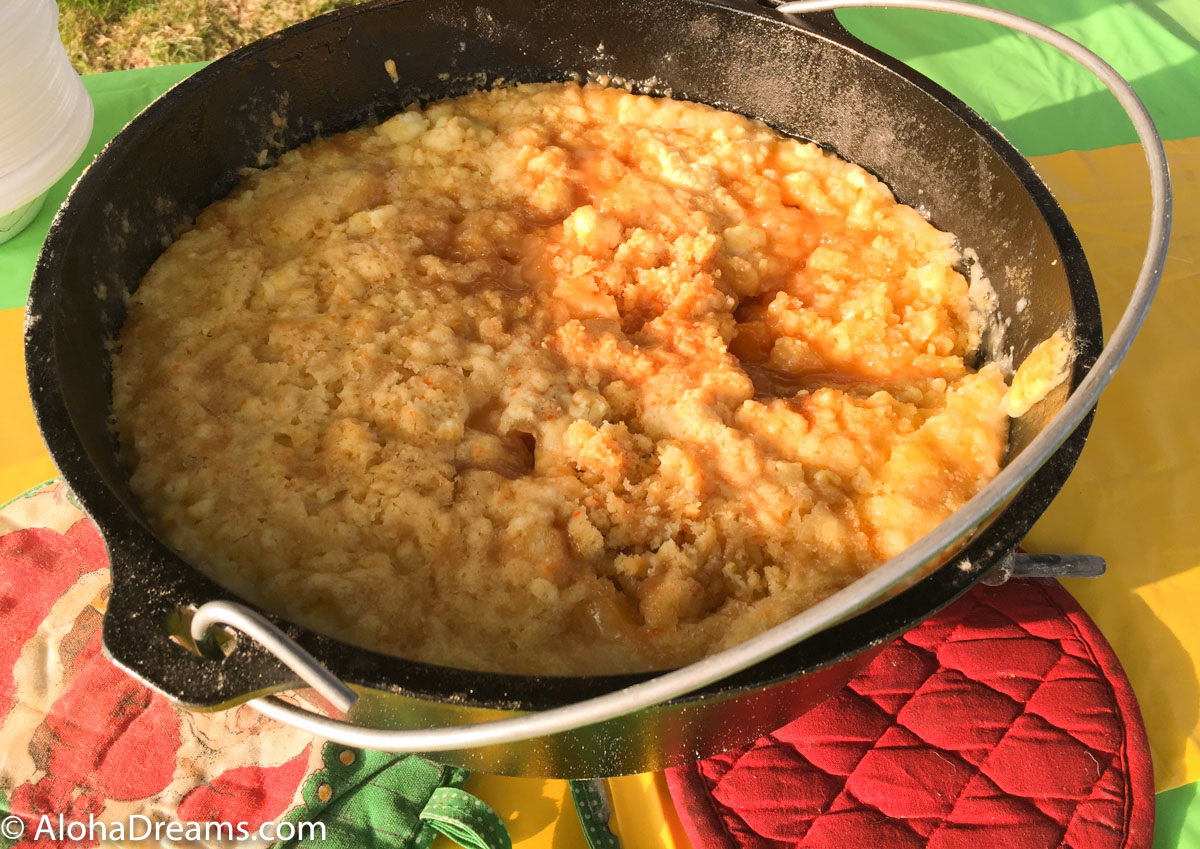
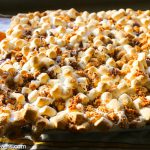
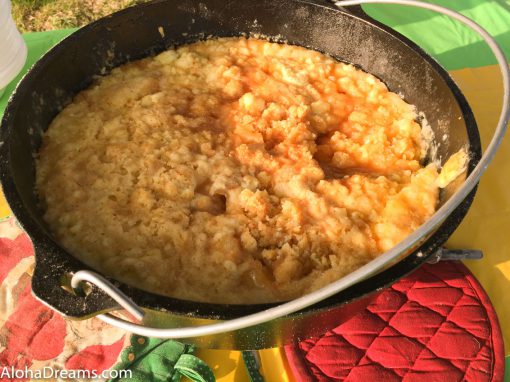
What better camping dessert for a crowd than Dutch Oven Peach Cobbler?
I admit it, my definition of camping runs far more to this ‘glamp-ing’ version, including air-conditioned cabins and no bugs. But one of the hallmarks of a great meal is a sense of time and place. So, since I’m cooking 2 dinners for the Young Men and Young Women’s Camping Trip, I figured there better be a Dutch Oven involved in there somewhere.
Our home is only 15 minutes away from the campground at the lake, and having cheated on many of the other components of the menu, I figured we needed some authentic campfire cooking for the dessert. (And by ‘cheated’ I mean I prepared and cooked the other components in a clean, air-conditioned gourmet kitchen. Where else?)

Fantastic Camping Dessert for a Crowd
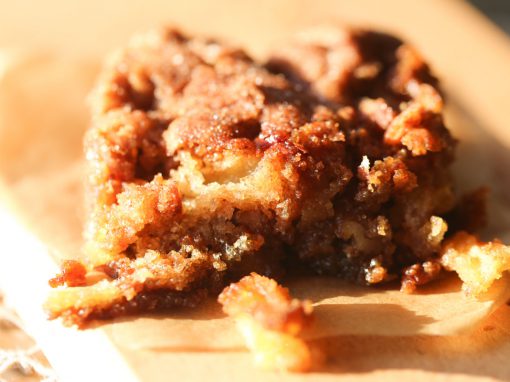
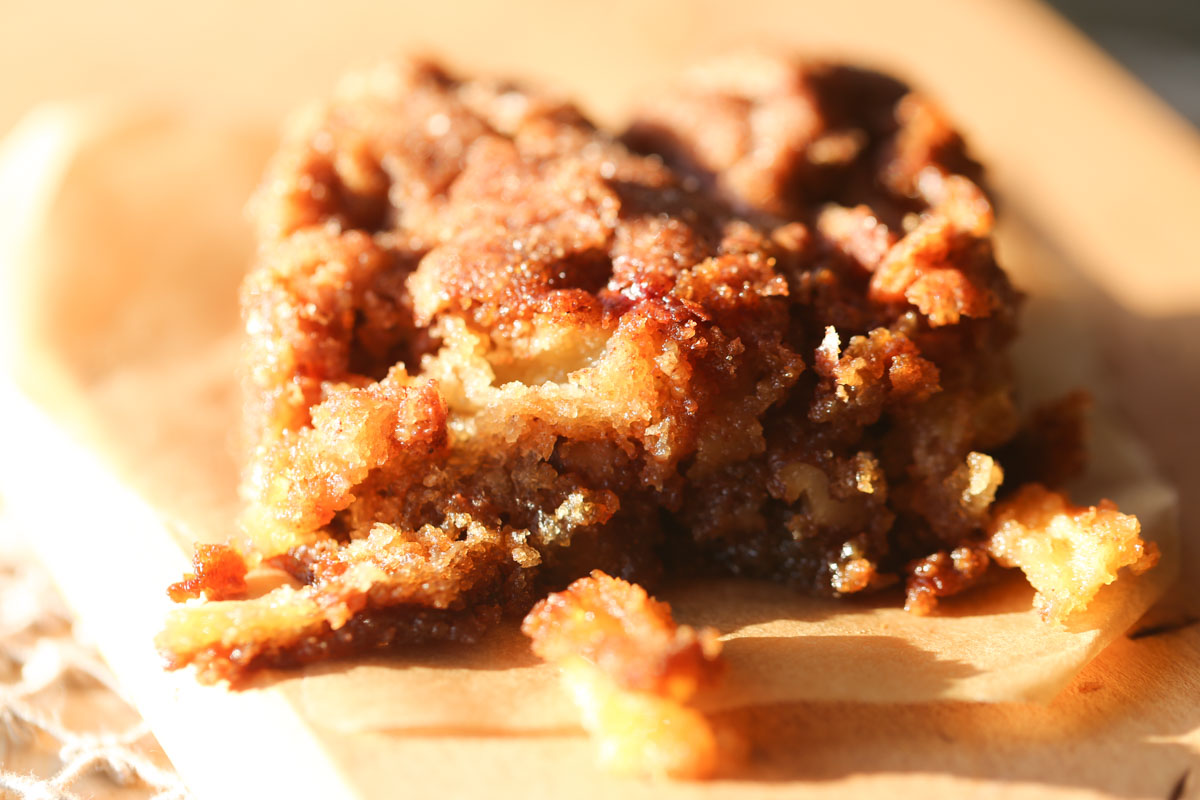
This Dutch Oven Peach Cobbler includes some elements of “Dump Cake”, but is a whole lot better. I wouldn’t hesitate to serve this dessert (baked in a civilized oven for heaven’s sake) at a company dinner. It’s that good.
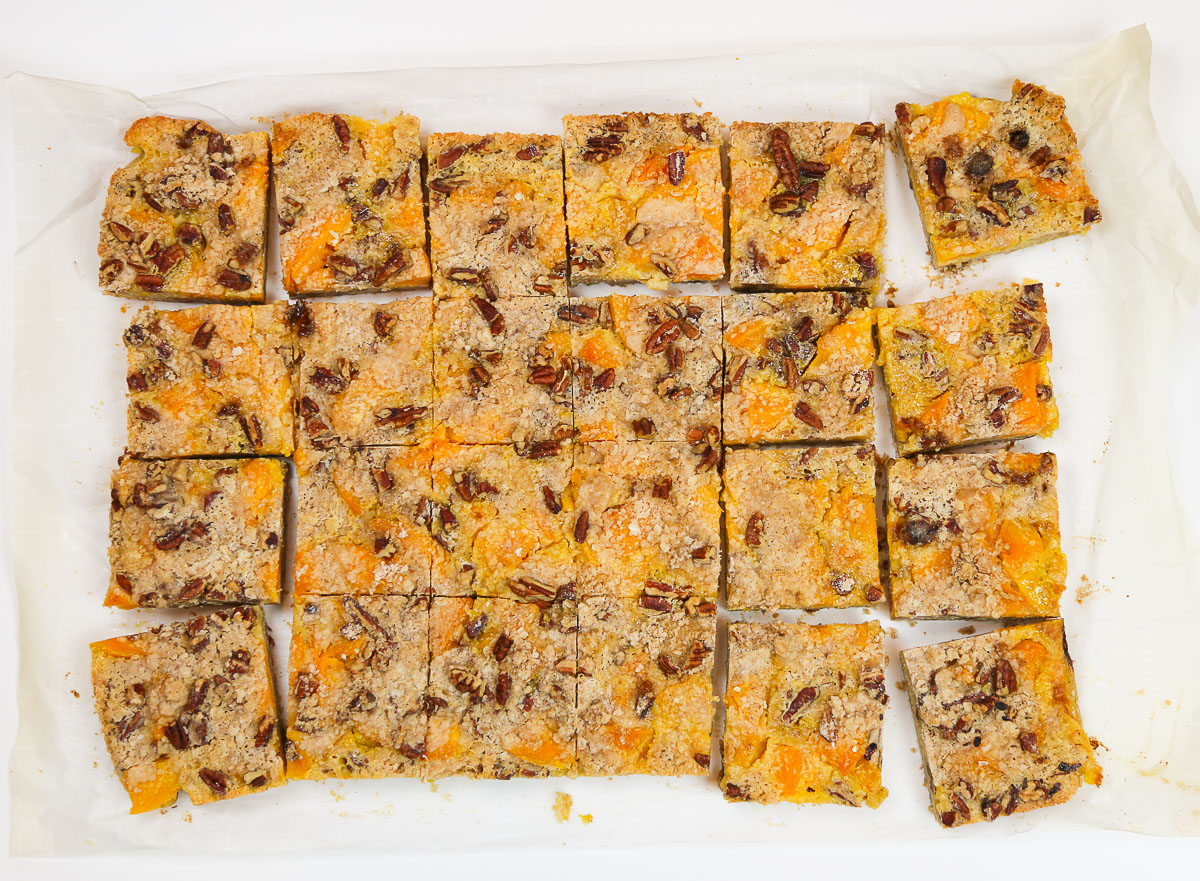
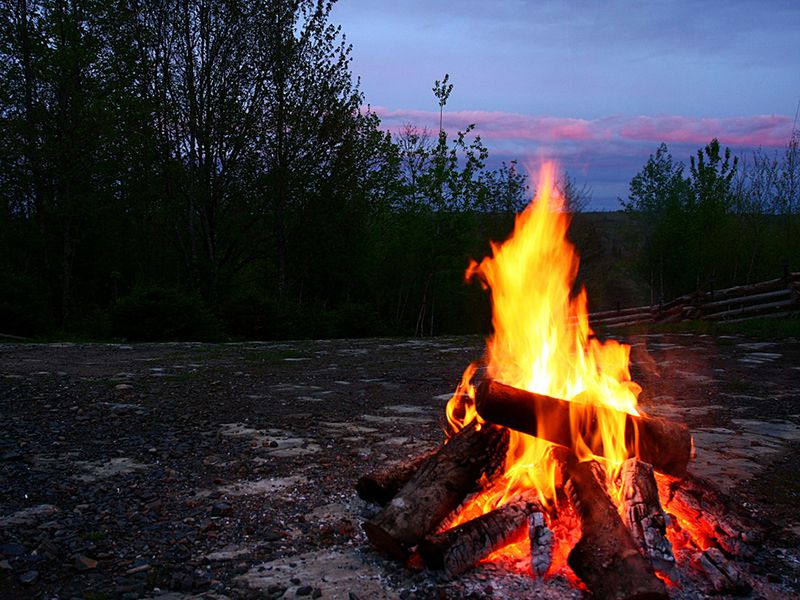
I’ve included instructions on how to light a chimney starter since when I delegated that to several of the youth, I discovered they’d never learned how. And despite my avoidance of most things ‘camping’, it’s still an important skill to have. You’ll also notice the recipe calls for 1 and ½ boxes of cake mix. You can get by with 1 but 1½ is just right and that actually gives you an excuse to double the recipe (using 3 boxes of cake mix) and make 2 cobblers! Trust me, nothing will go to waste. Each cobbler easily serves 30 with 1 scoop of ice cream.
Pin for Later

Welcome to Aloha Dreams!
I'm so glad you dropped by. I'm Betsy. Here you'll find my favorite fabulous, trusted recipes - everything from delicious, quick meals for your family to wonderful classics made easy.
I'm also here to help you with large group recipes from 20 to 200. So next opportunity you get to cook for a large group - Say 'Yes!' Then relax. I've got your back.
Ever wished you could build your dream home? How about building your dream home in a tropical paradise? Join me, room by room, as we design and build a fabulous dream home in Hawaii!
Dutch Oven Peach Cobbler
What better camping dessert for a crowd than Dutch Oven Peach Cobbler?
I admit it, my definition of camping runs far more to this ‘glamp-ing’ version, including air-conditioned cabins and no bugs. But one of the hallmarks of a great meal is a sense of time and place. So, since I’m cooking 2 dinners for the Young Men and Young Women’s Camping Trip, I figured there better be a Dutch Oven involved in there somewhere.
Our home is only 15 minutes away from the campground at the lake, and having cheated on many of the other components of the menu, I figured we needed some authentic campfire cooking for the dessert. (And by ‘cheated’ I mean I prepared and cooked the other components in a clean, air-conditioned gourmet kitchen. Where else?)
Fantastic Camping Dessert for a Crowd
This Dutch Oven Peach Cobbler includes some elements of “Dump Cake”, but is a whole lot better. I wouldn’t hesitate to serve this dessert (baked in a civilized oven for heaven’s sake) at a company dinner. It’s that good.
I’ve included instructions on how to light a chimney starter since when I delegated that to several of the youth, I discovered they’d never learned how. And despite my avoidance of most things ‘camping’, it’s still an important skill to have. You’ll also notice the recipe calls for 1 and ½ boxes of cake mix. You can get by with 1 but 1½ is just right and that actually gives you an excuse to double the recipe (using 3 boxes of cake mix) and make 2 cobblers! Trust me, nothing will go to waste. Each cobbler easily serves 30 with 1 scoop of ice cream.
Pin for Later
Or Make Now
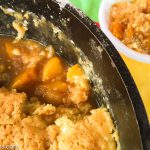
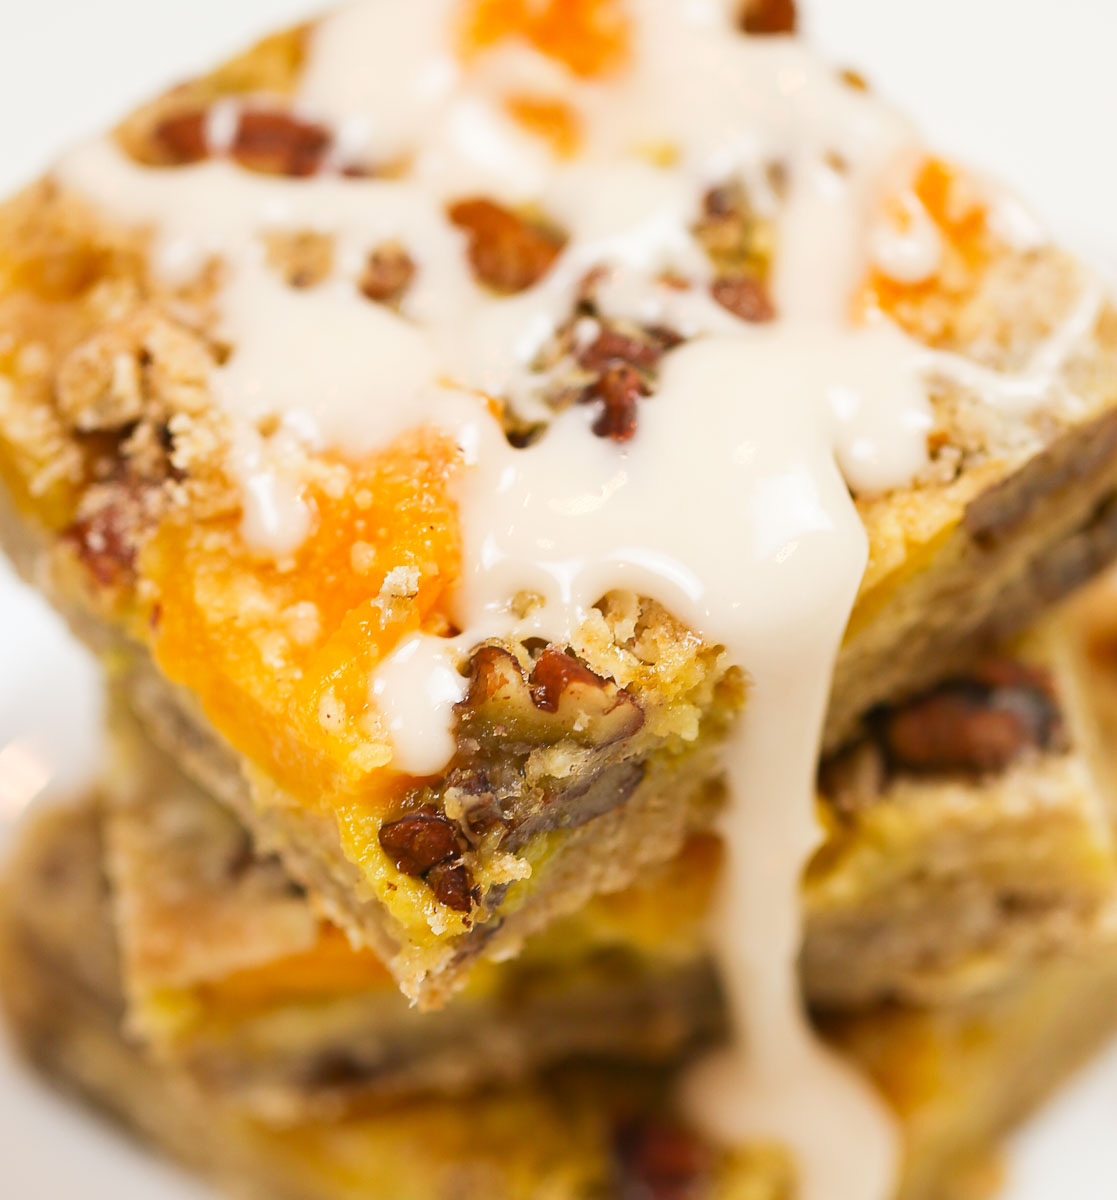
This Dutch Oven Peach Cobbler is a wonderfully easy camping dessert recipe for a crowd. Be prepared for requests for seconds!
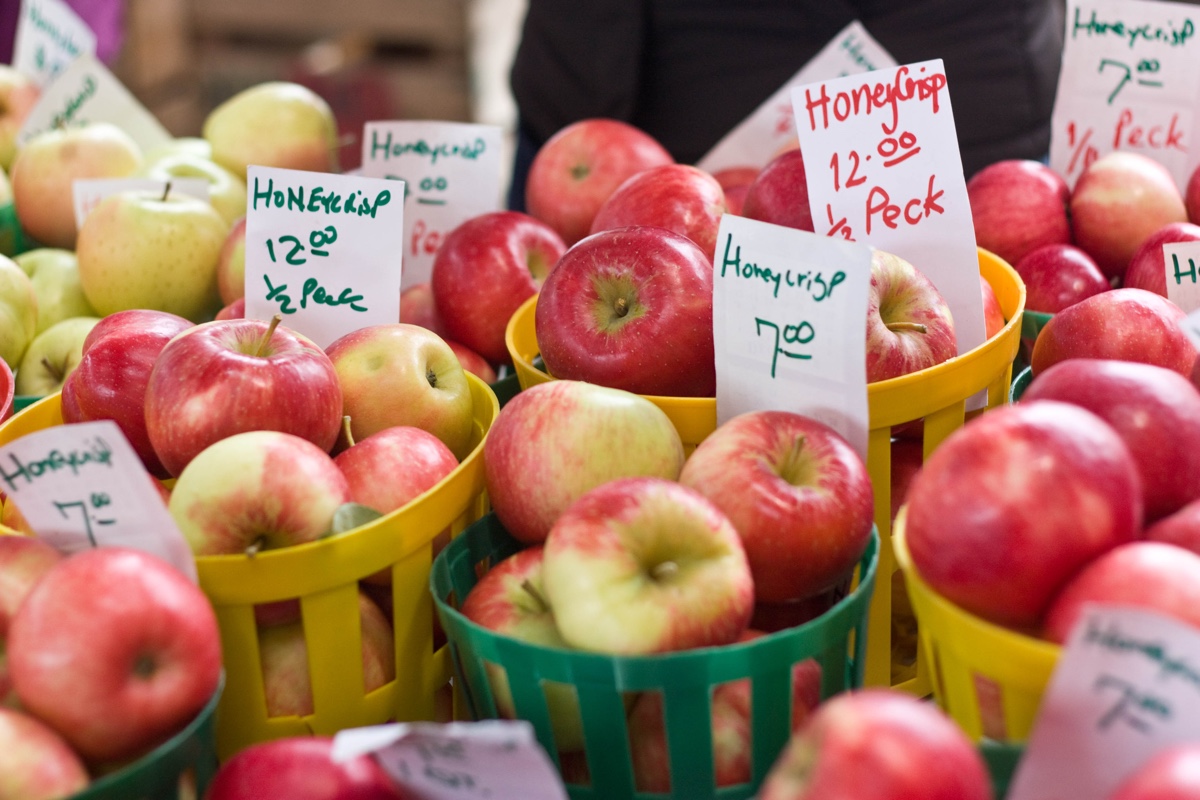
- 6 peaches peeled and sliced (3 cups)
- Cooking spray
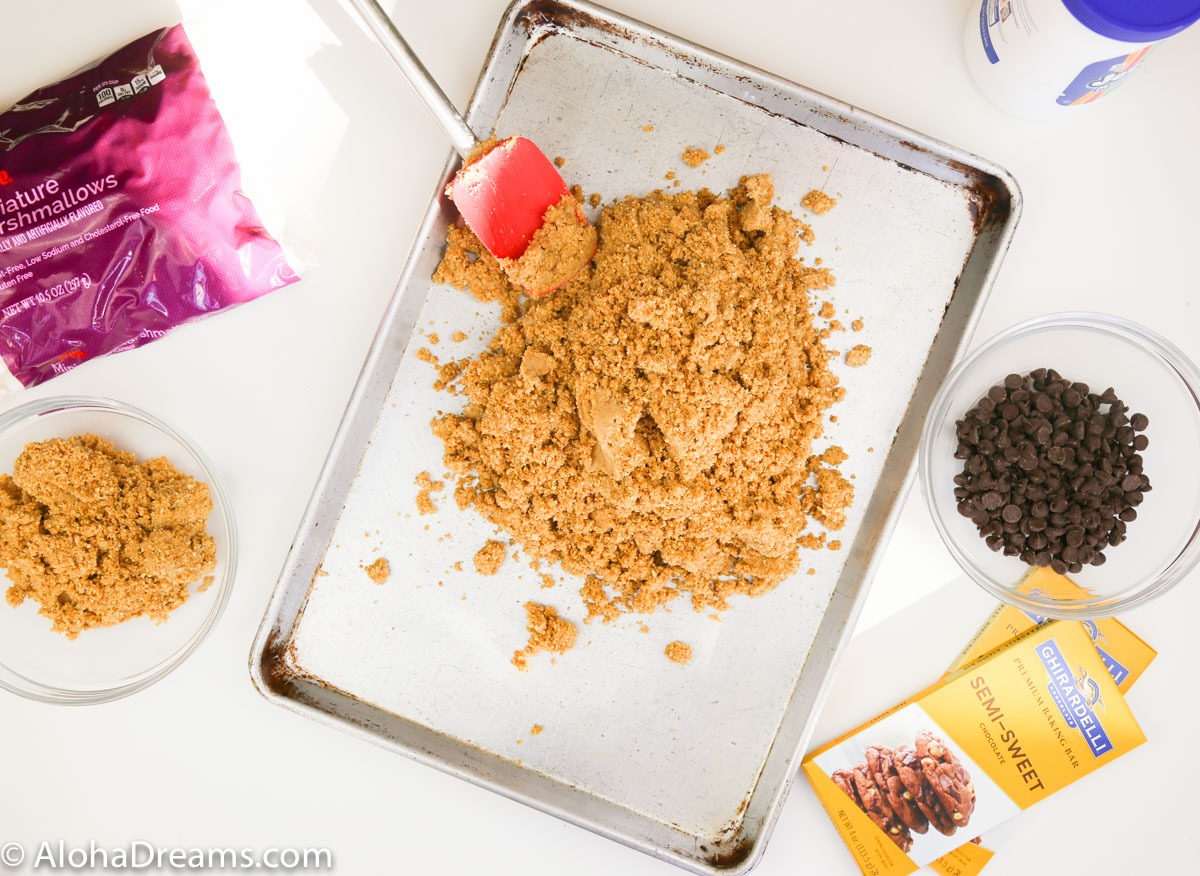
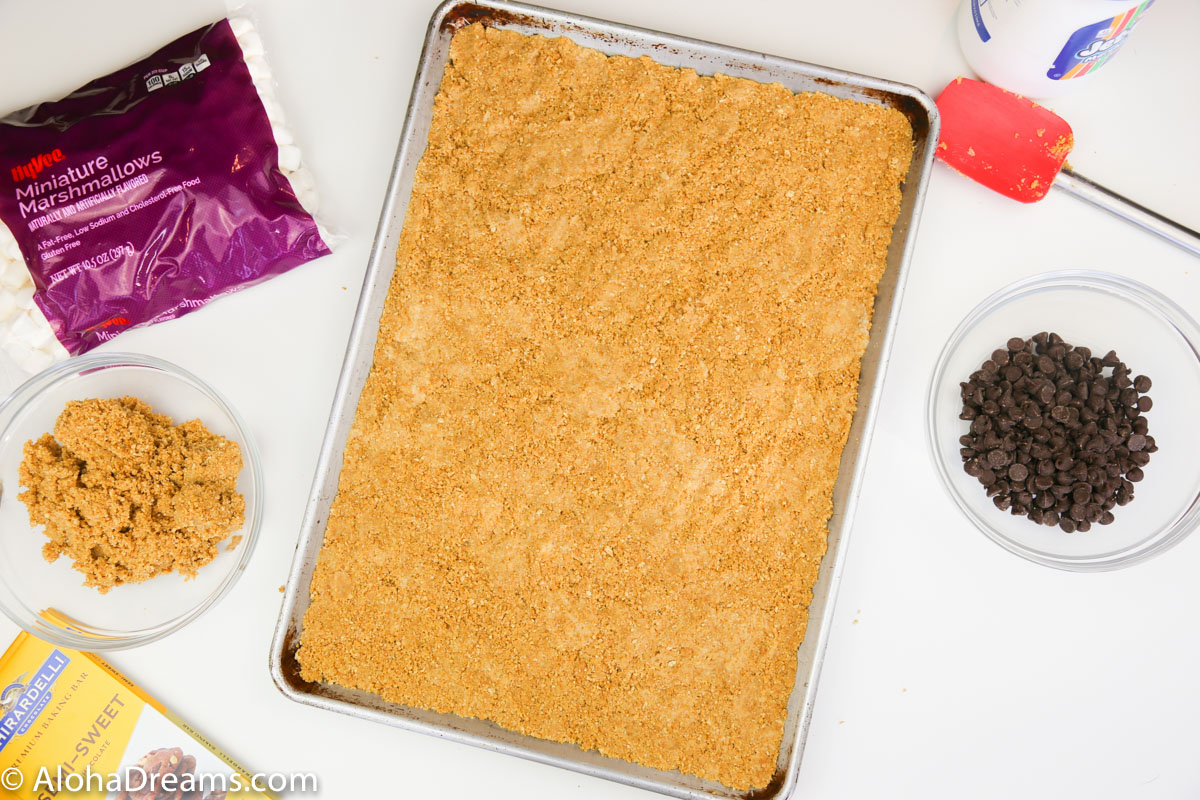
- 1 cup brown sugar - divided
- 1 cup butter - divided
- 2 (29 ounce) cans sliced peaches - 1 drained, 1 not drained
- 1 1/2 (18.25 ounce) packages white cake mix
- 1 (8 ounce) package cream cheese room temperature
- 1 gallon ice cream (serves 30 scoops)
- Chimney Starter
- Newspaper & matches
- Charcoal Briquettes
- 12-14 inch Dutch Oven (I use 6 quart, 10 quart is fine too)
- Dutch Oven Lid lifter
- Small mixing bowl
- 5 pounds Dry Ice
- Ice
- Small cooler
- Ice Cream Scoop
- Serving Spoon
-
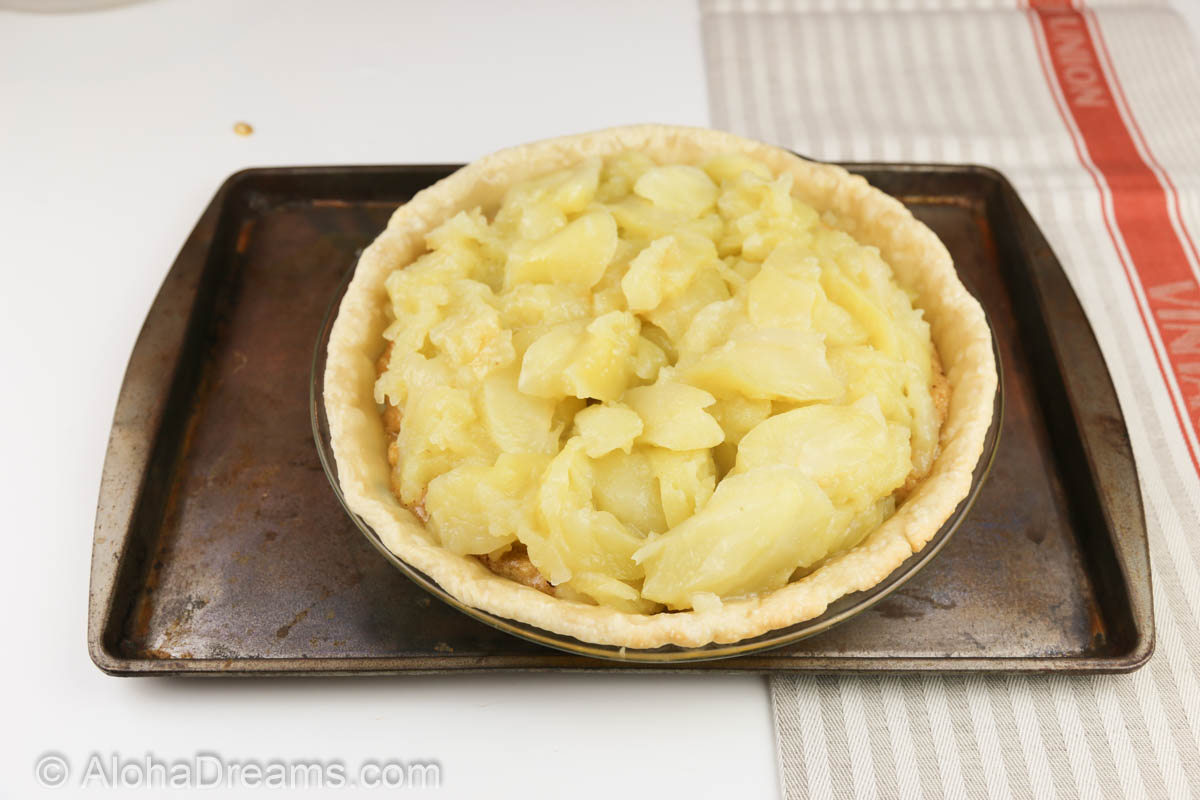
Up to 1 day in advance, peel the peaches, chop into 1-inch size pieces and mix with ½ cup brown sugar. Refrigerate if not using immediately.
-
Up to 5 hours before serving, place the ice cream in a small cooler and place the dry ice on top of the ice cream. Fill additional space with ice so that the dry ice remains on top of the ice cream.
-
Starting 2 hours before serving: Place chimney starter on a flame proof surface, stuff the bottom chamber with lightly wadded paper and fill the top chamber with charcoal briquettes for cooking (the recipe only calls for 20, but you’ll want extras just in case.) Light paper with a match. Once paper catches fire, let chimney starter sit for 20 – 25 minutes until charcoal briquettes are gray/white hot.
-
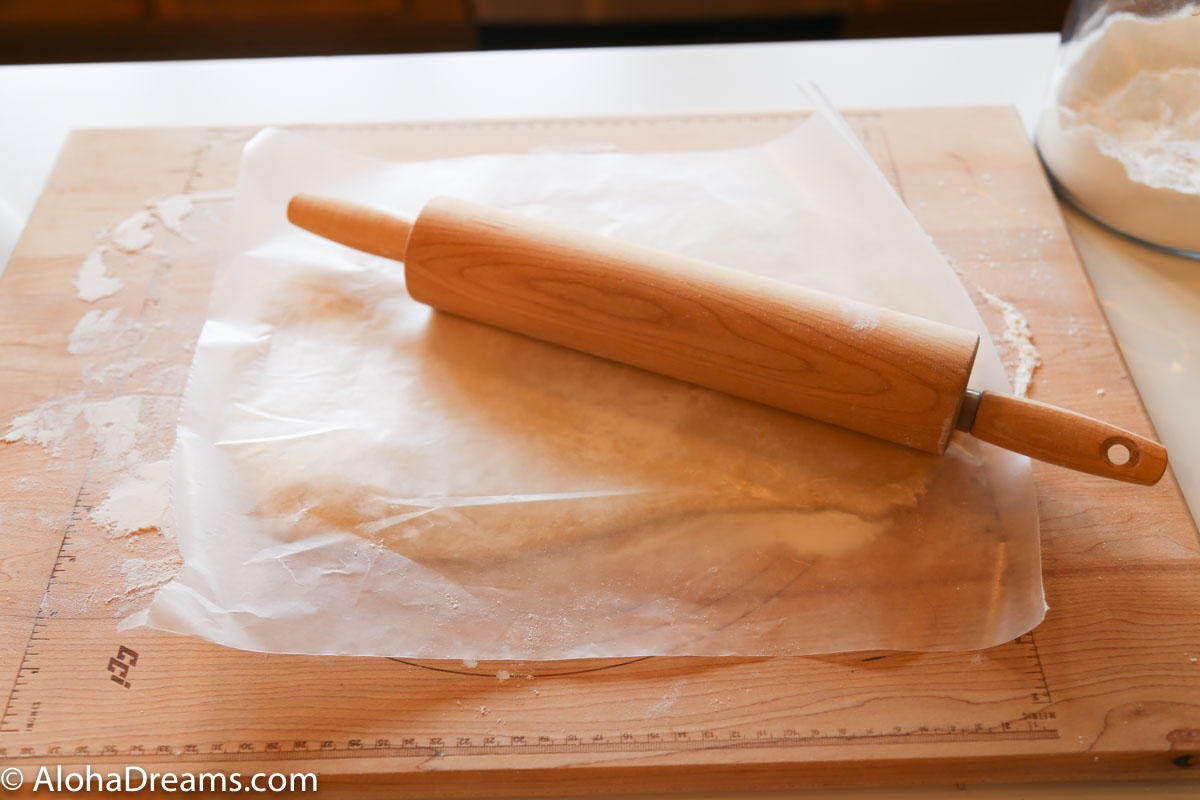
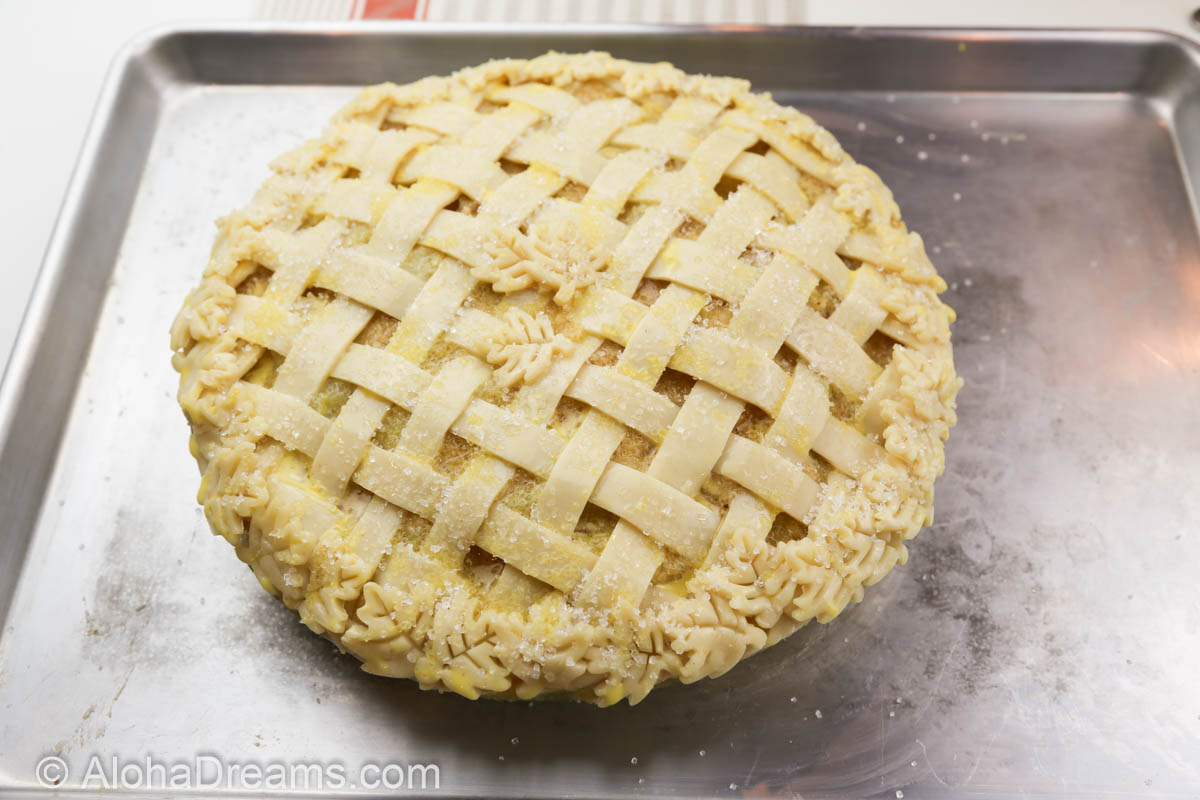
While the coals are heating, prepare the cobbler. Wipe out the Dutch Oven and spray the inside lightly with cooking oil spray.
-
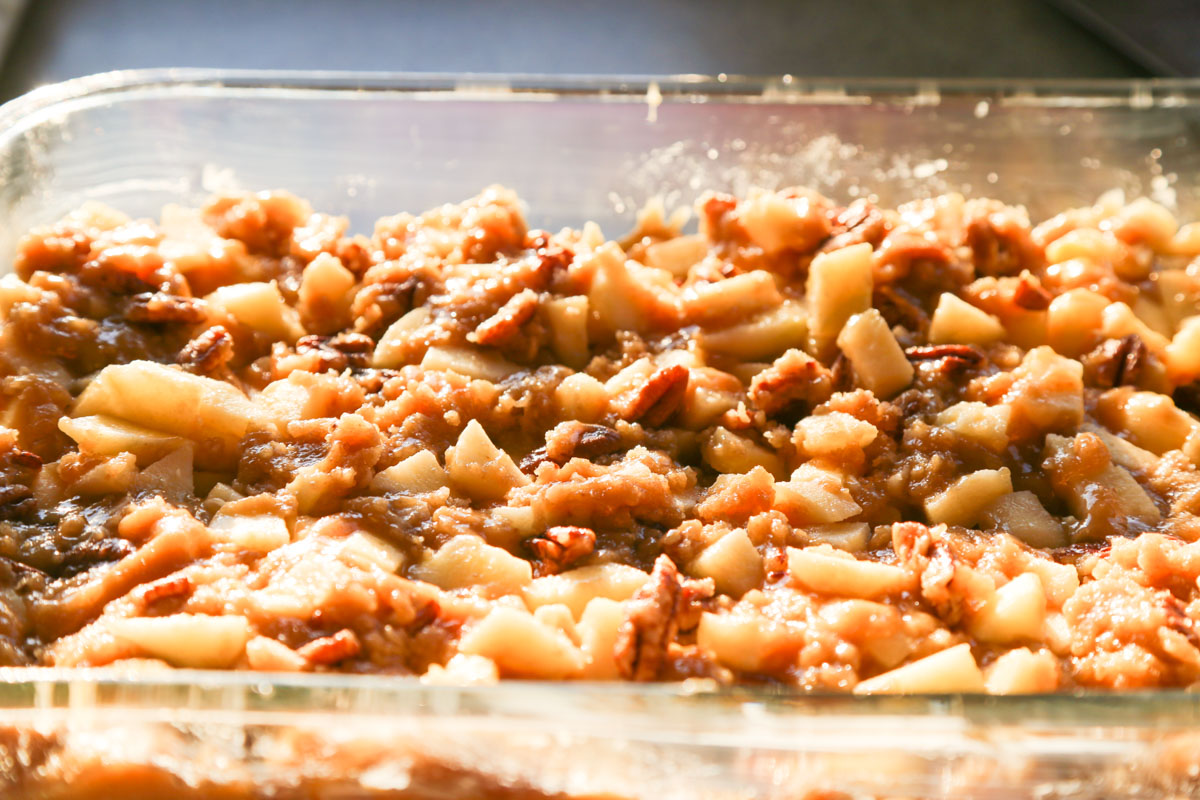
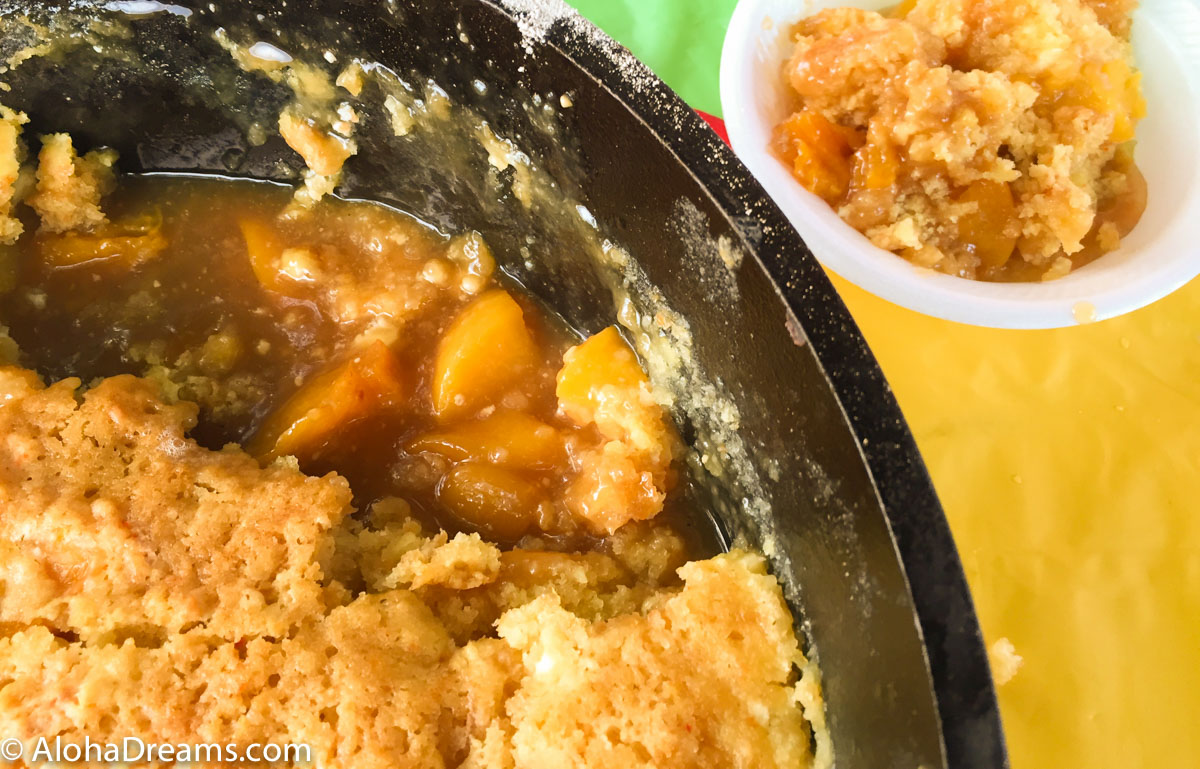
Create the cobbler base layer by placing 1/2 cup butter in the Dutch Oven and suspending it over the chimney starter to melt the butter. Add ½ cup brown sugar the prepared peaches, one drained can of peaches and one un-drained can of peaches. Stir to coat the peaches in the brown sugar and evenly distribute. Set aside.
-
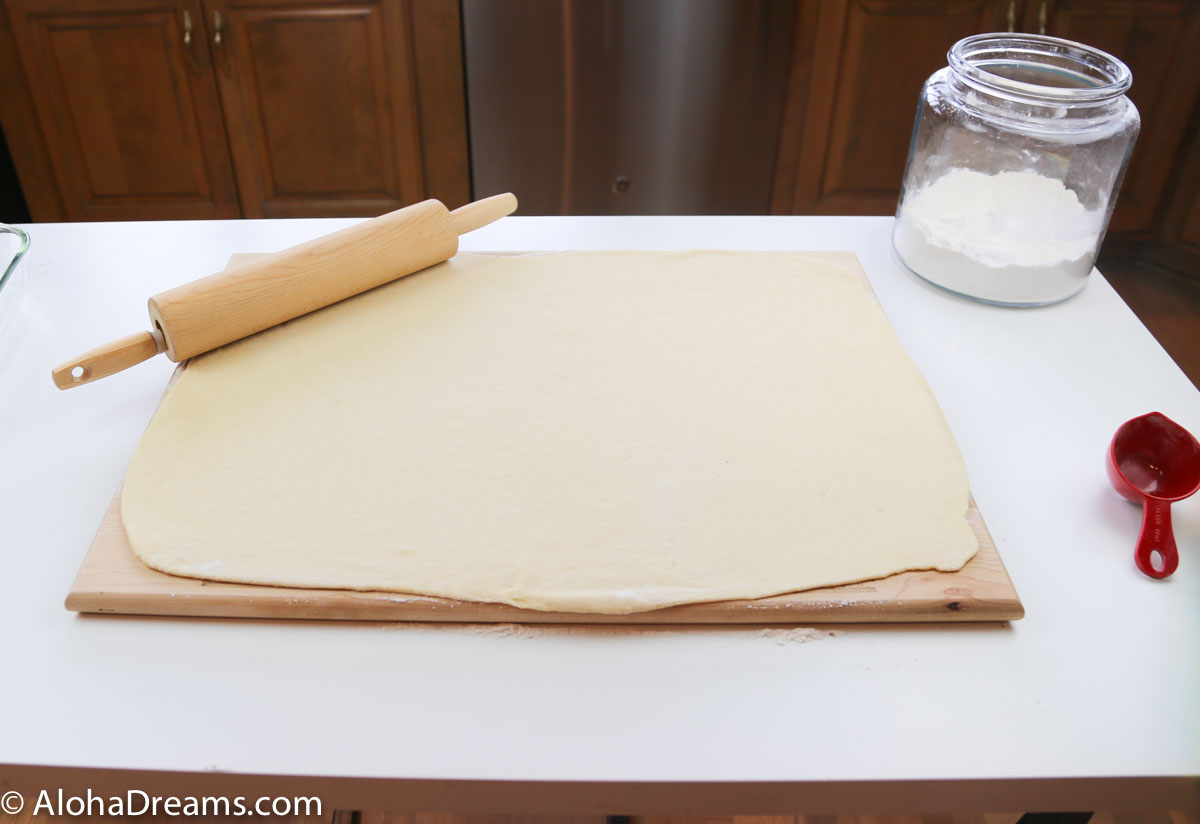
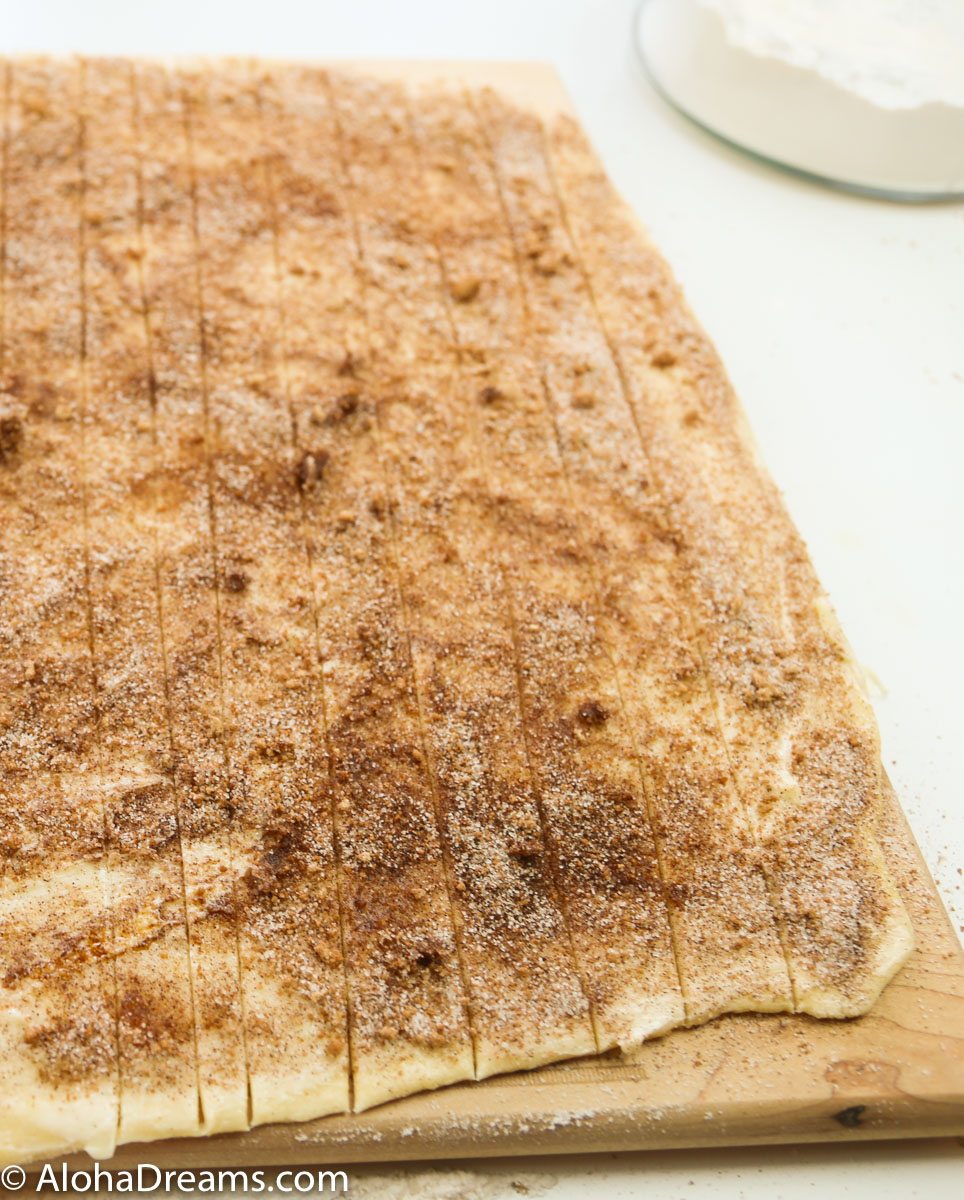
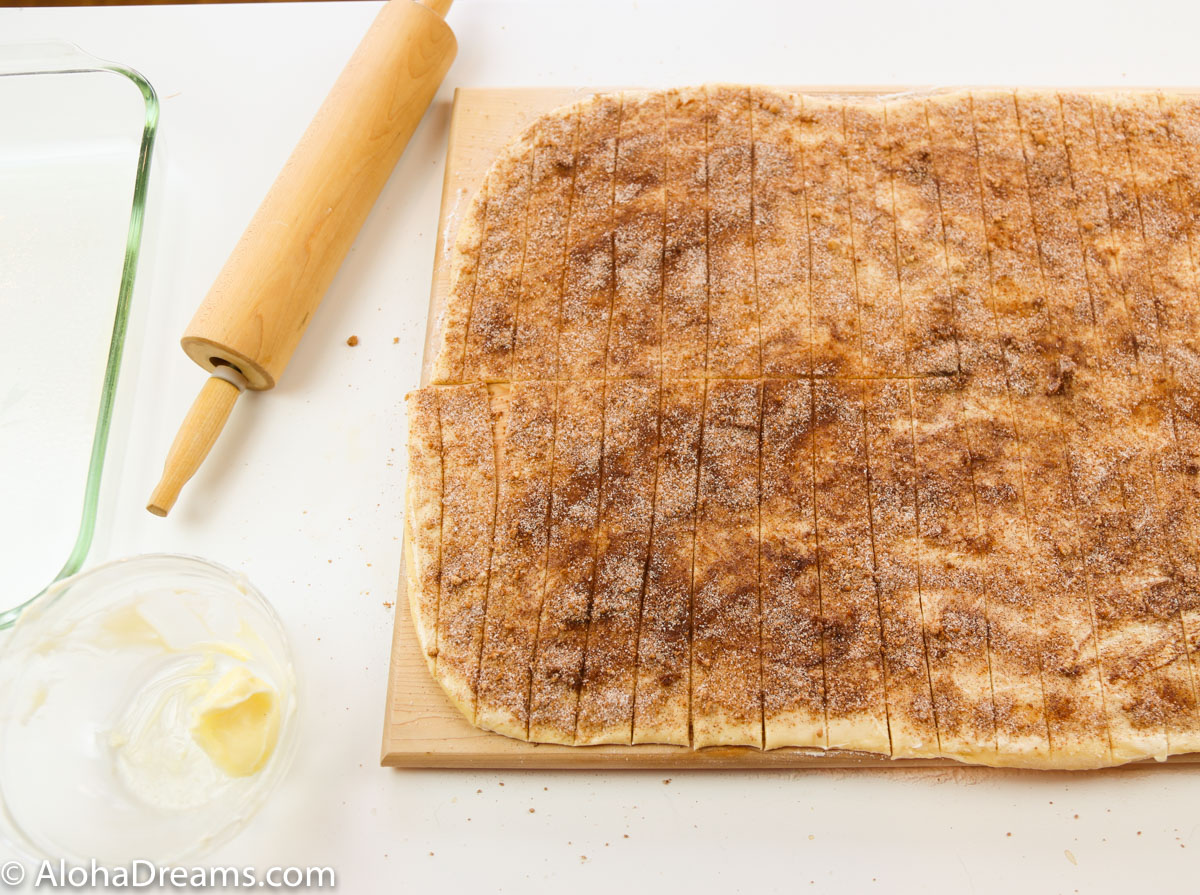
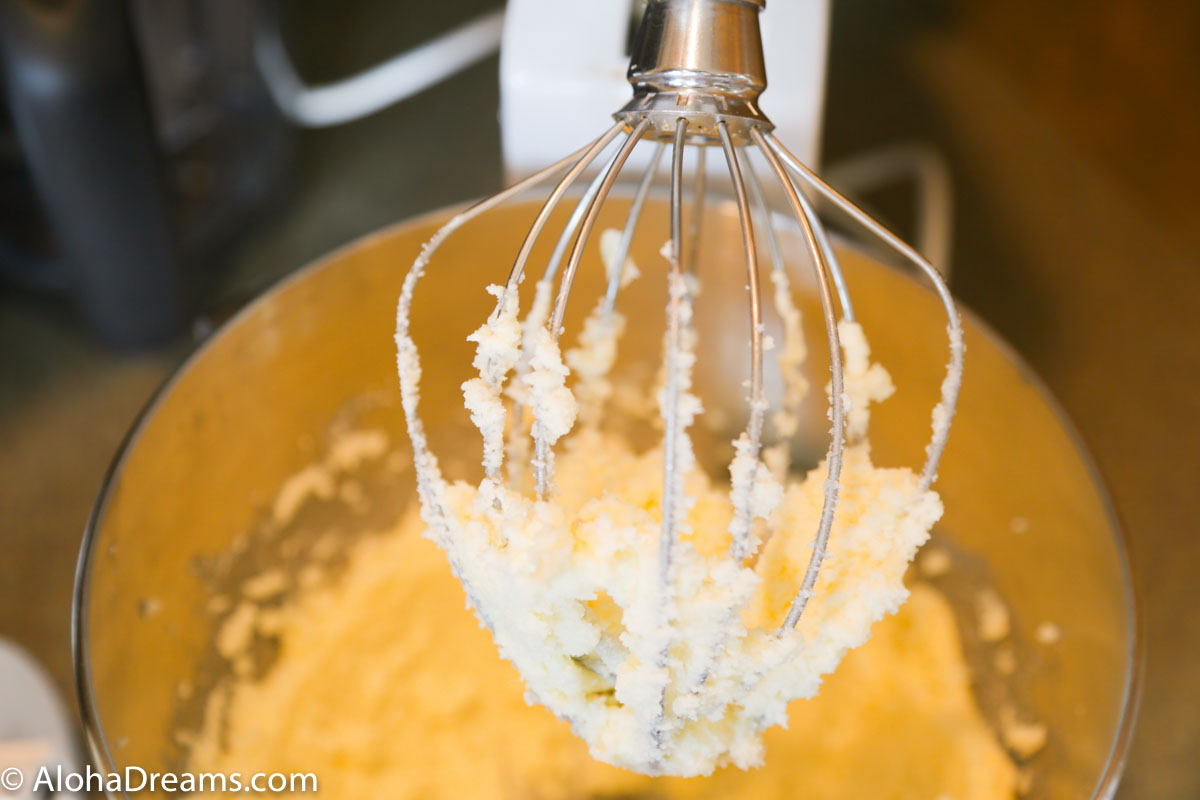
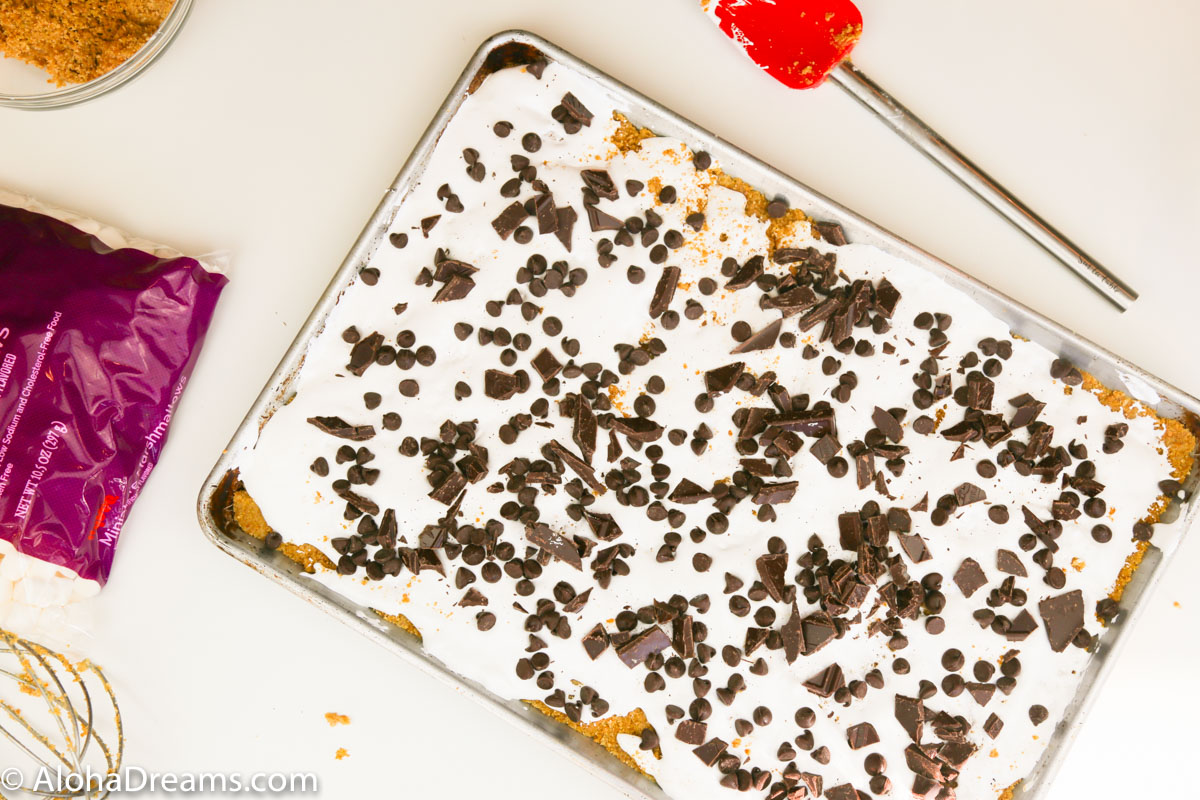
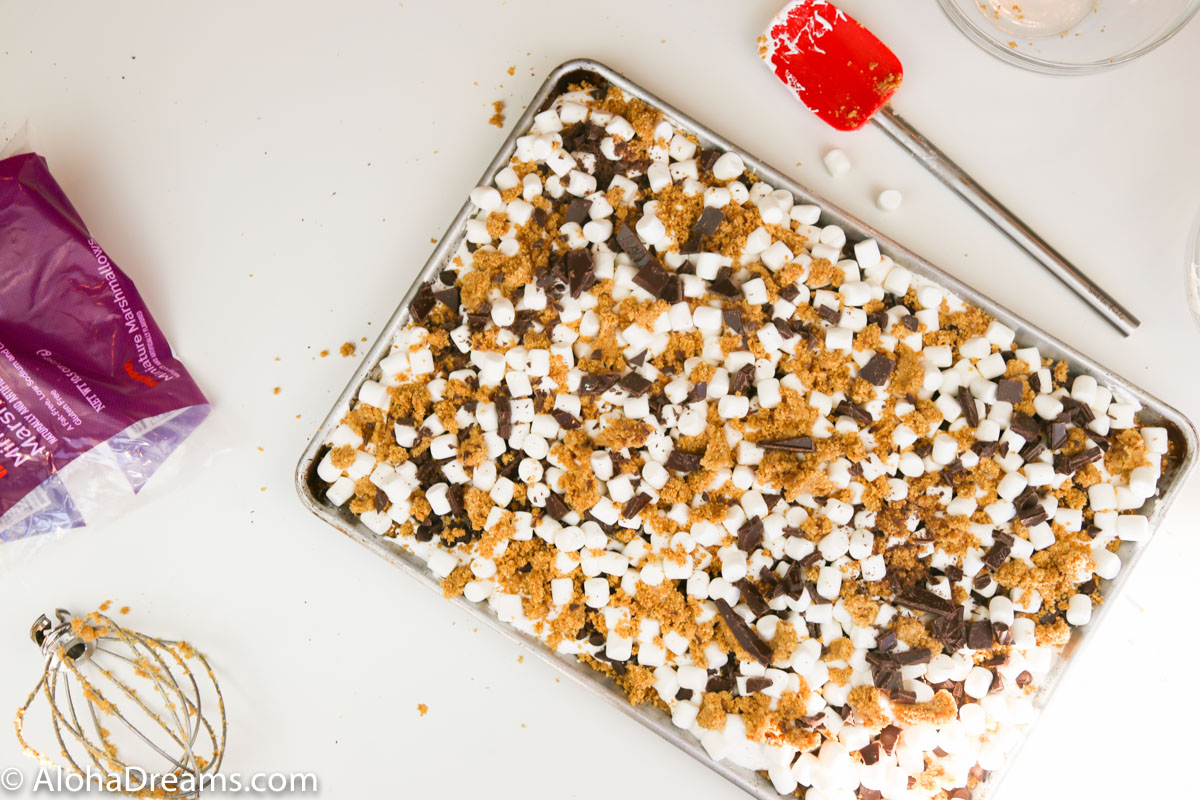
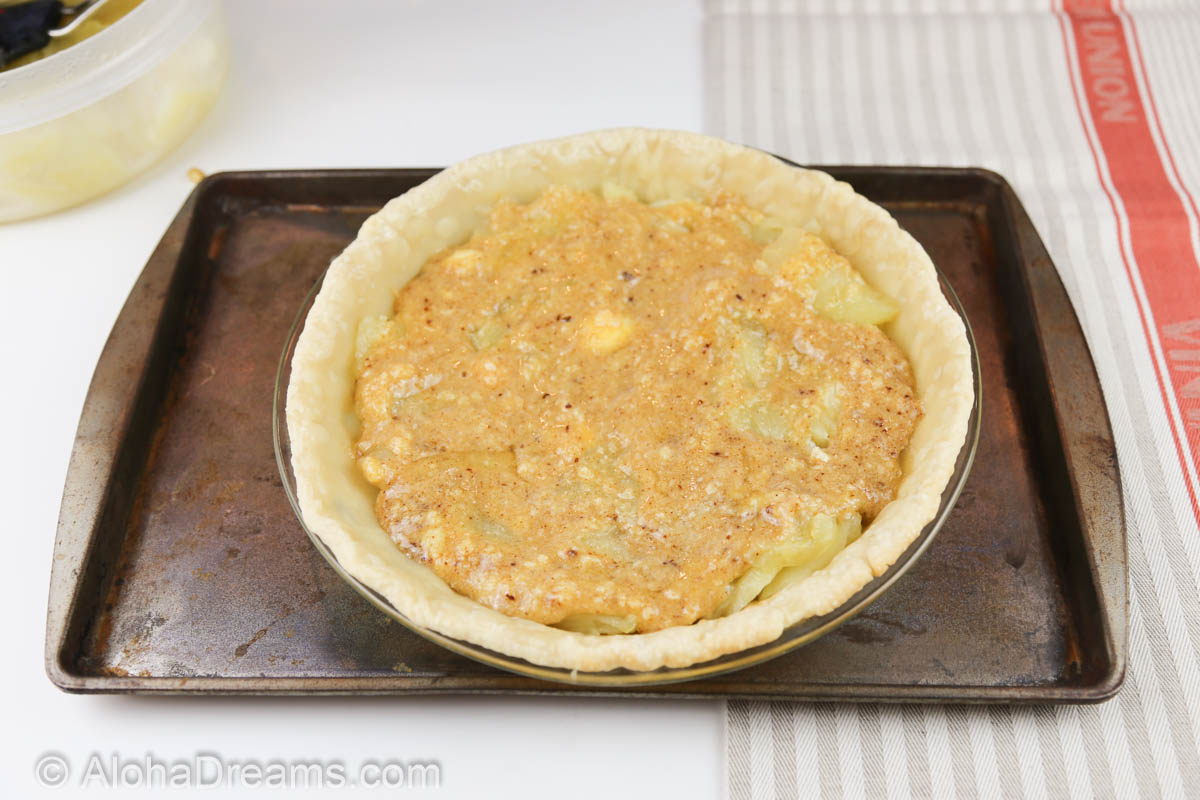
Place 1 ½ boxes of the cake mix and cream cheese in the mixing bowl. Using a knife and fork, cut the cream cheese into the cake mix until the mixture is crumbly with marble-size chunks (like making pie dough).
-
Pour the cake mixture over the peaches. Dot the remaining 1/2 cup butter over the cake mixture. Place the lid on top of the Dutch Oven and place the Dutch Oven on a fire-proof surface.
-
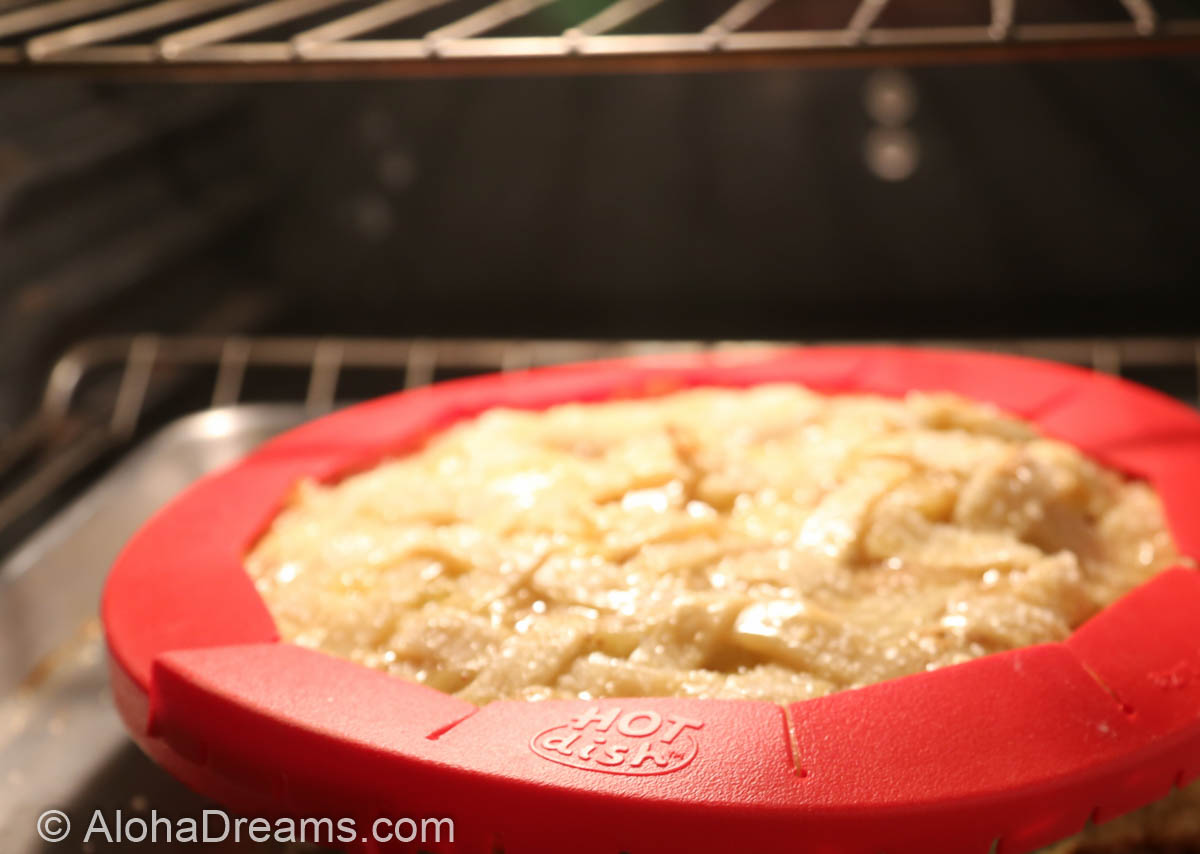
Once the coals are white, place 8 hot coals under the Dutch Oven and 12 on top of the Dutch Oven.
-
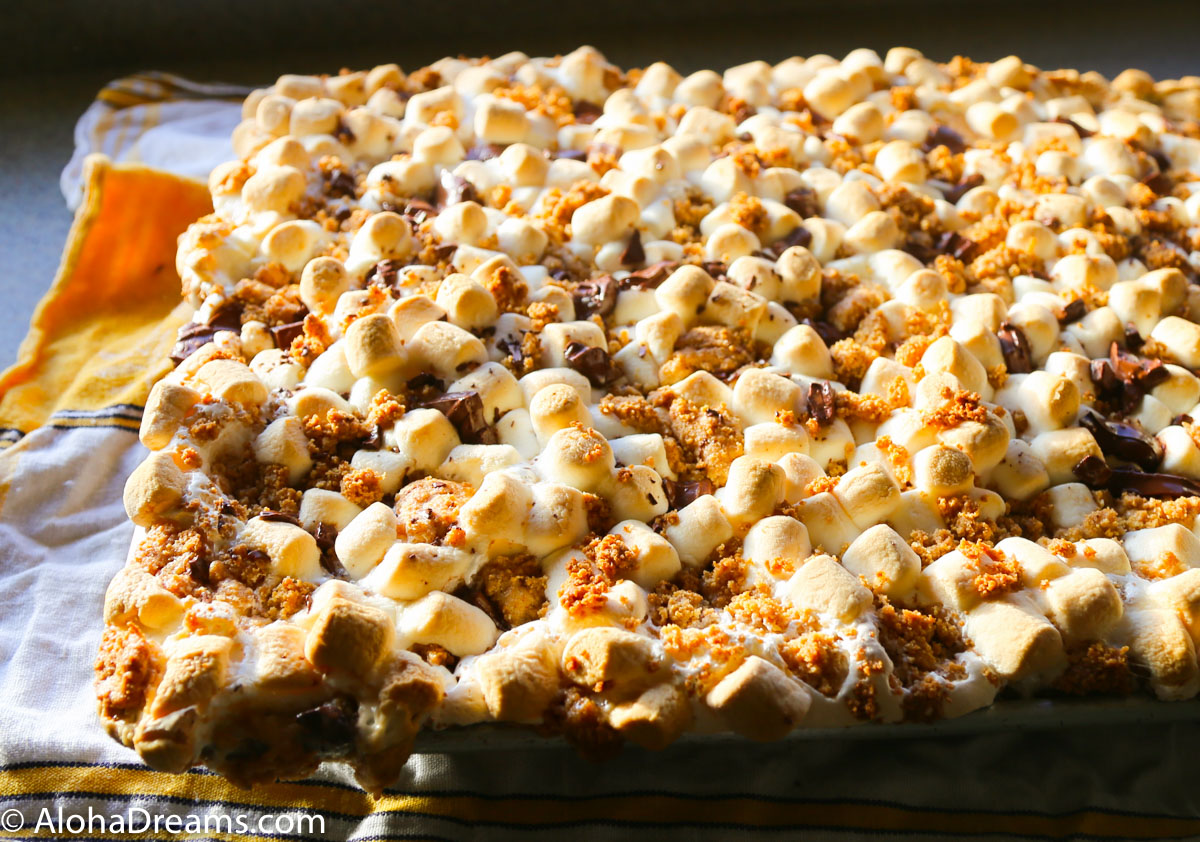
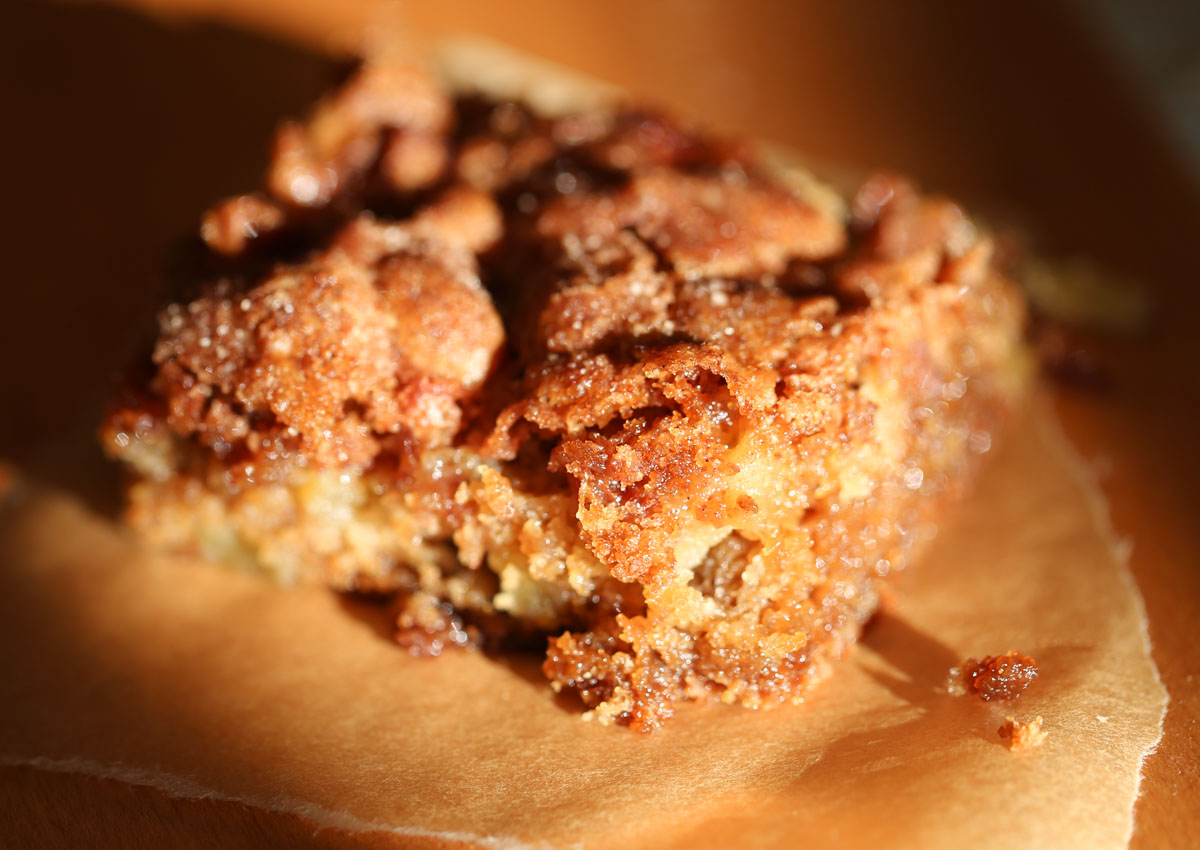
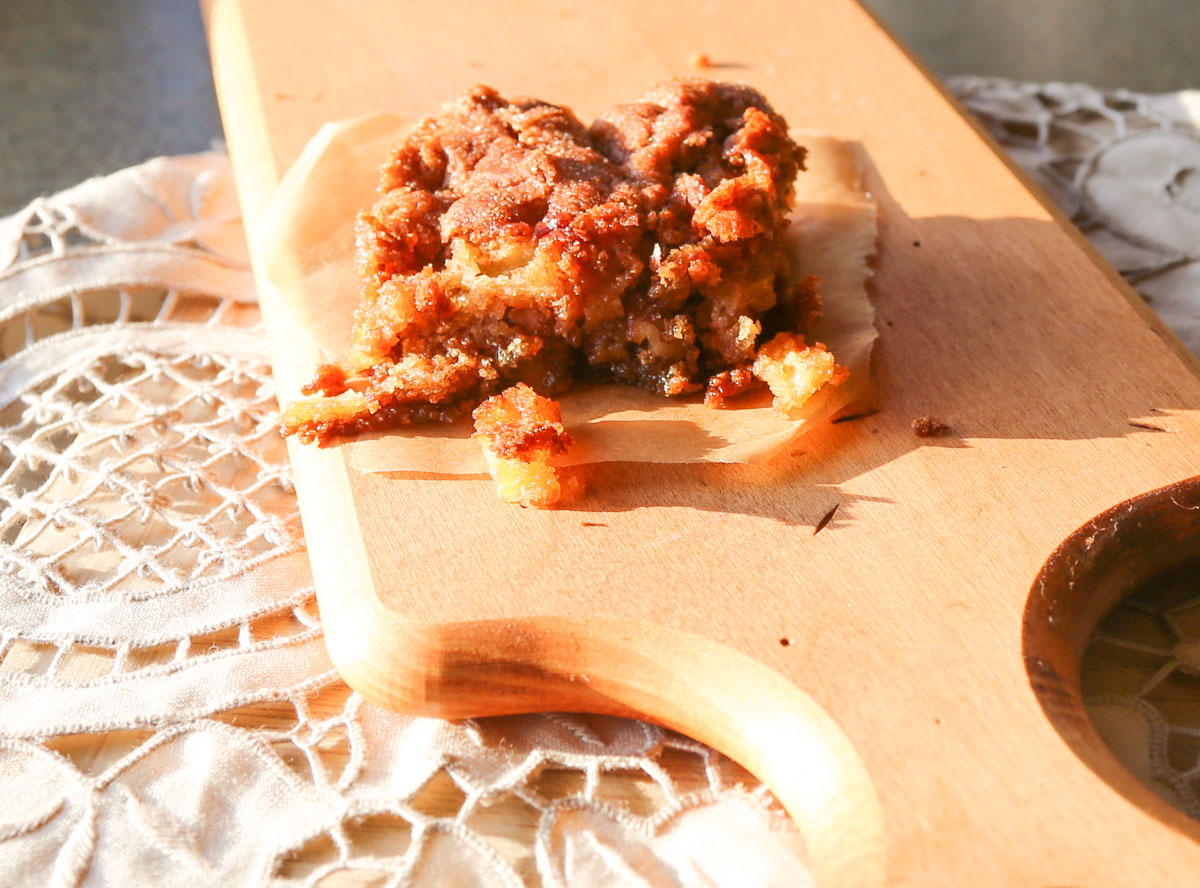
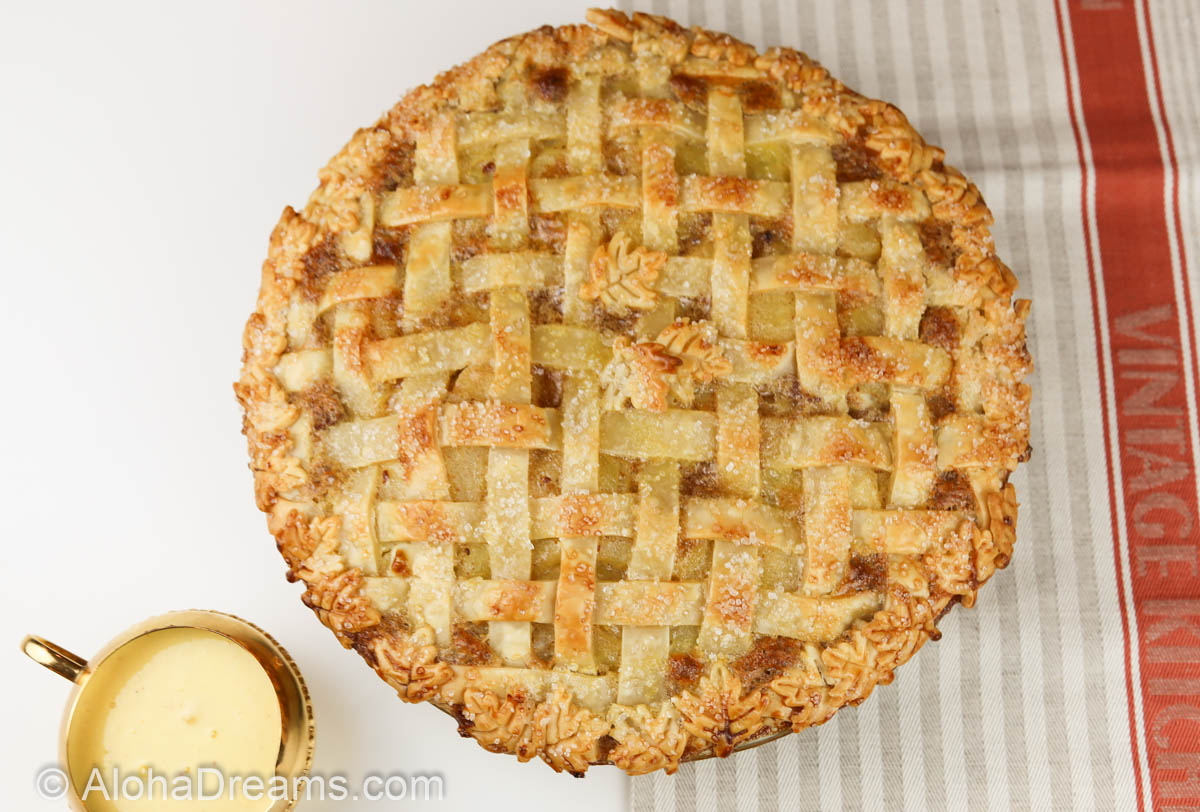
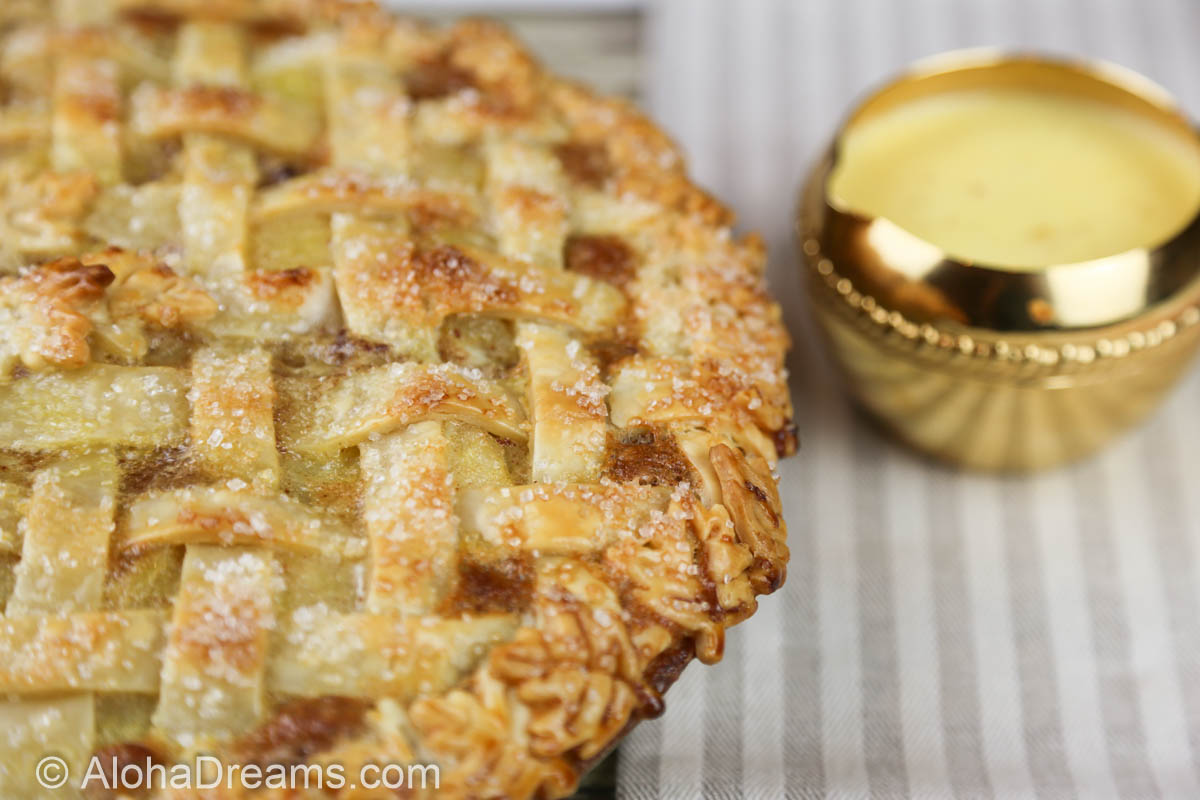
Bake for 1 hour, checking at 30 and 45 minutes (depending on the stage of your charcoal, the cooking time can vary). Cobbler is done when a knife or fork inserted in the cake topping comes out without wet batter and no raw white cake mix is visible.
-
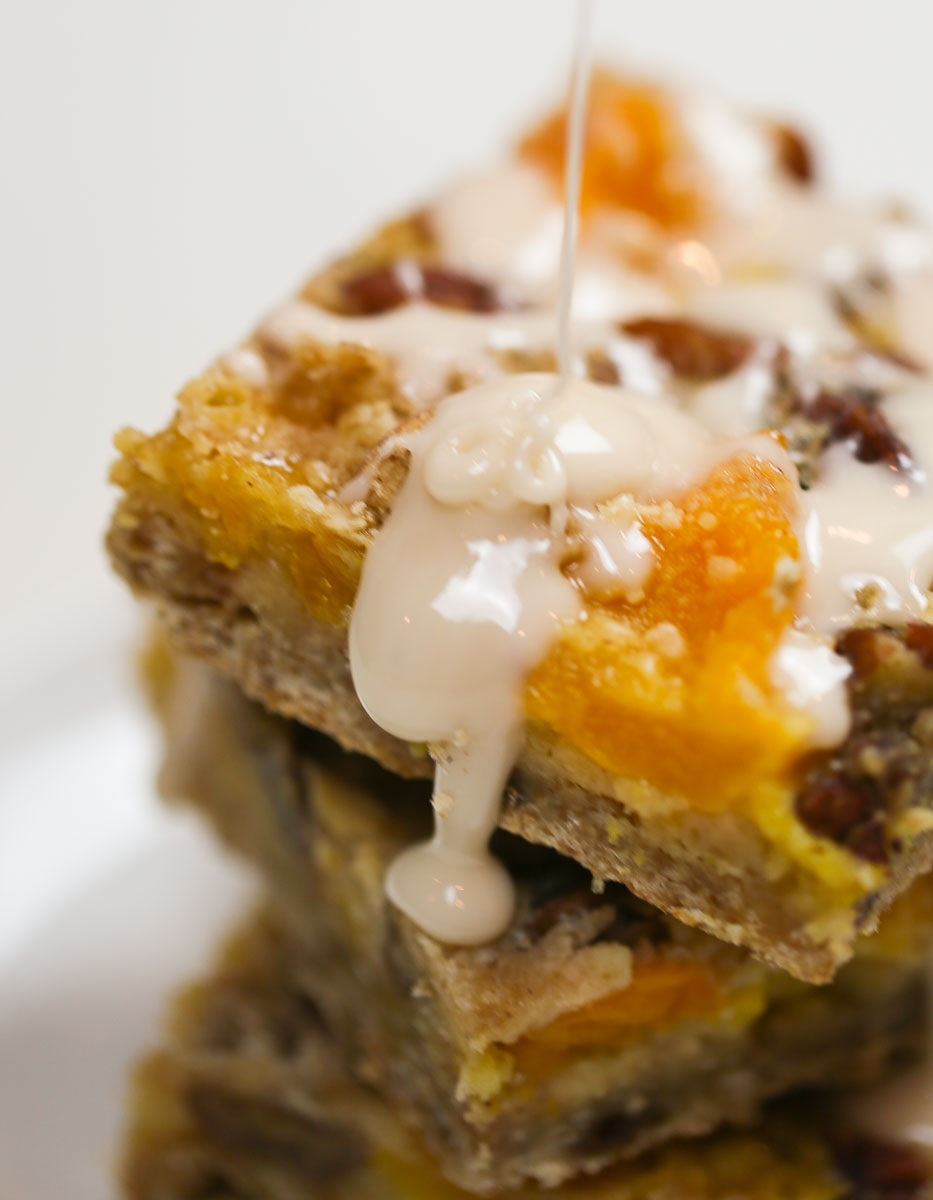
Serve with vanilla ice cream.
Family Size

Easy peach cobbler is the perfect summer dessert. Savor the flavors of summer with peaches bubbling away with butter and spices. The crunchy, buttery cobbler topping can made in a snap and the fresh peaches can be omitted if not available.
- 3 peaches , peeled and cut into 1 inch chunks
- 1 cup brown sugar , divided
- 1 cup butter , divided
- 1 (29 ounce) can peaches
- 1 (18.25) box white cake mix
- 6 ounces cream cheese , room temperature
- 1 pint ice cream
-
Up to 1 day in advance, peel the peaches, chop into I inch size pieces and mix with ½ cup brown sugar. Refrigerate if not making recipe now.
-
Pre-heat oven to 375 degrees.
-
Melt 1/2 cup butter in a 9 x 13 baking dish
-
Add ½ cup brown sugar, the prepared peaches and one can of peaches. Stir to coat the peaches in the brown sugar and evenly distribute. Set aside.
-
Place cake mix and cream cheese in a mixing bowl. Using a knife and fork, cut the cream cheese into the cake mix until the mixture is crumbly with marble-size chunks (like making pie dough).
-
Pour the cake mixture over the peaches. Dot the remaining 1/2 cup butter over the cake mixture.
-
Bake at 375° for 40 to 45 minutes or until golden brown.
-
Cobbler is done when a knife or fork inserted in the cake topping comes out without wet batter and no raw white cake mix is visible.
-
Serve warm with vanilla ice cream.
Here’s some other fantastic recipes if you’re cooking breakfast.


Explore Aloha Dreams


EXPLORE
If you're planning a vacation to Hawaii, I've got you covered on the very best places to go! From many amazing restaurants to incredible adventures in the surf and on land, this is your go-to source for unique and exciting things to do on the Big Island of Hawaii. Or just take a Virtual Vacation!! Let's go!
SAY YES!
If you've been asked to cook for a large group activity, be it a Girl's Camp or a Graduation Party, say Yes! I'm here to help. From Menus to Game Plans to Recipes, I'll help you keep on schedule and turn out amazingly delicious food if you're cooking for a crowd! My recipes are tested and trusted. Let's cook!
AHONUI
Ever wished you could build your dream home? Like amazing house design and home building ideas? Me too! Join me as I design and build a home on the Big Island of Hawaii. Follow along while I design each room. Enjoy a front row seat for the entire amazing construction process. Let's play!
PARTY
Would you like to throw a Luau, but not sure where to start? Want to know how to build a tiki bar and roast a pig? Here's everything you need to have a luau. How about a Christmas Feast or even a fabulous dinner for your neighborhood supper club? You've come to the right place. Let's party!
Explore Aloha Dreams

PARTY
Would you like to throw a Luau, but not sure where to start? Want to know how to build a tiki bar and roast a pig? Here's everything you need to have a luau. How about a Christmas Feast or even a fabulous dinner for your neighborhood supper club? You've come to the right place. Let's party!
AHONUI
Ever wished you could build your dream home? Like amazing house design and home building ideas? Me too! Join me as I design and build a home on the Big Island of Hawaii. Follow along while I design each room. Enjoy a front row seat for the entire amazing construction process. Let's play!
EXPLORE
If you're planning a vacation to Hawaii, I've got you covered on the very best places to go! From many amazing restaurants to incredible adventures in the surf and on land, this is your go-to source for unique and exciting things to do on the Big Island of Hawaii. Or just take a Virtual Vacation!! Let's go!
SAY YES!
If you've been asked to cook for a large group activity, be it a Girl's Camp or a Graduation Party, say Yes! I'm here to help. From Menus to Game Plans to Recipes, I'll help you keep on schedule and turn out amazingly delicious food if you're cooking for a crowd! My recipes are tested and trusted. Let's cook!