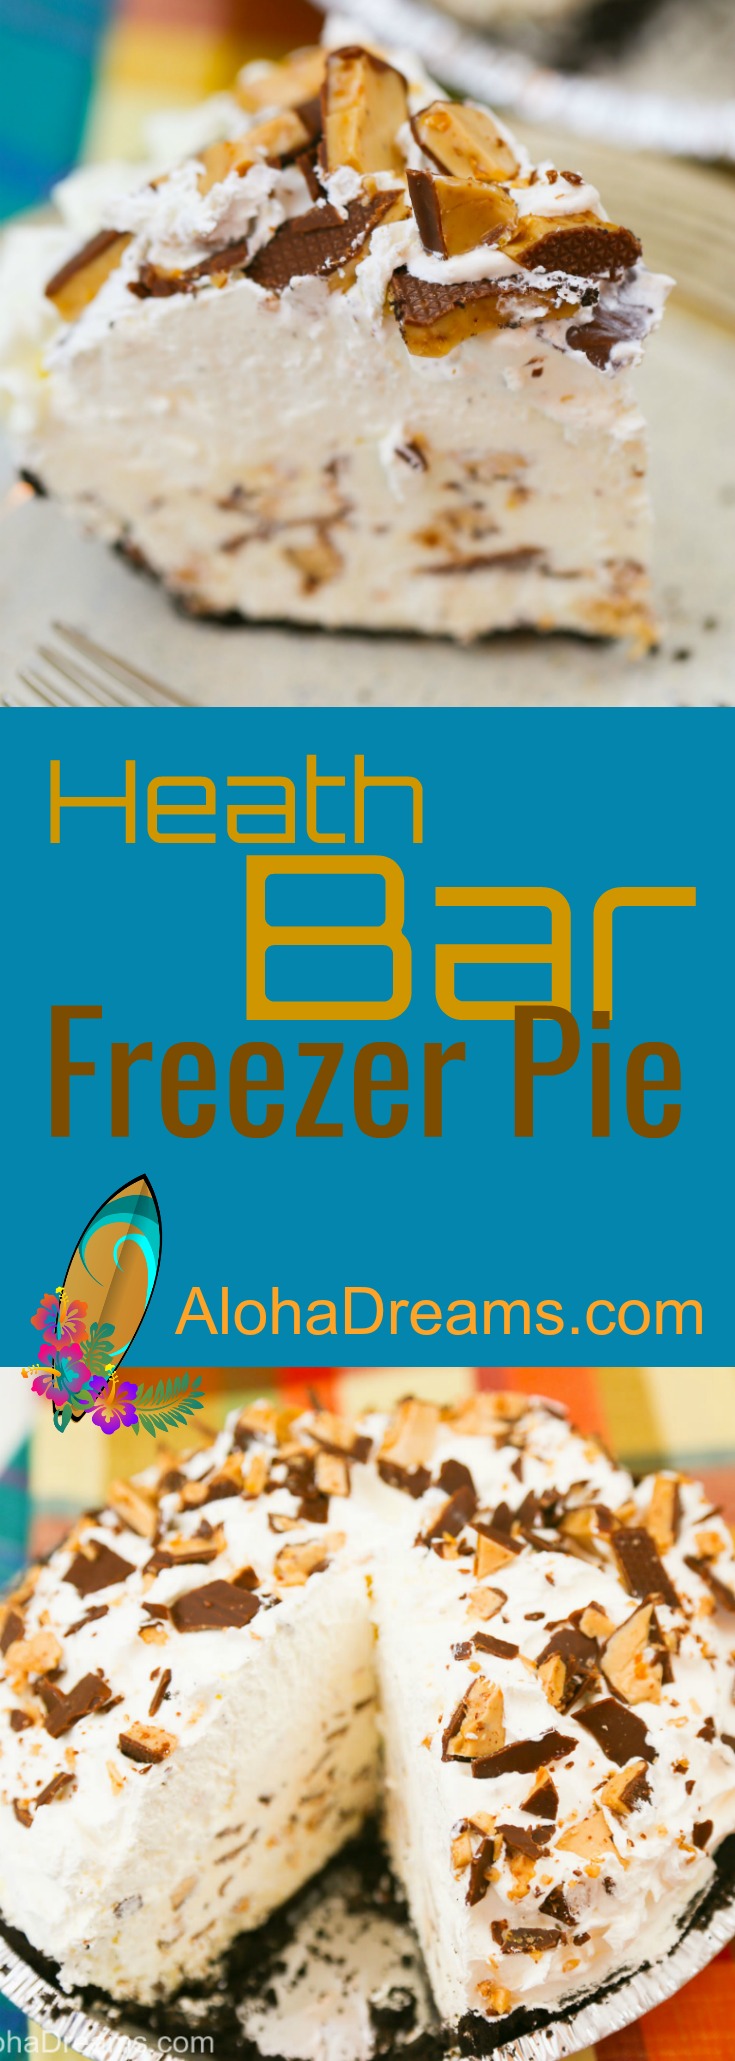
Wicked Good Loaded Halloween Bark
 Aloha Dreams
Fabulous Recipes, Cooking for a Crowd & Dream Home Design


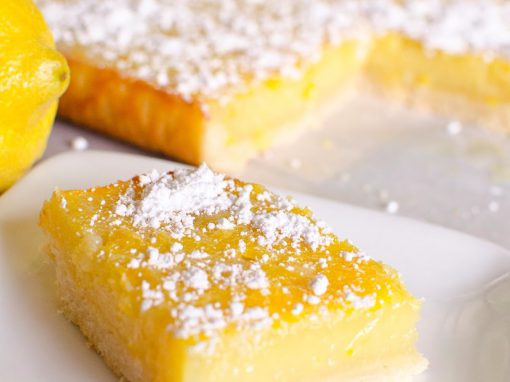
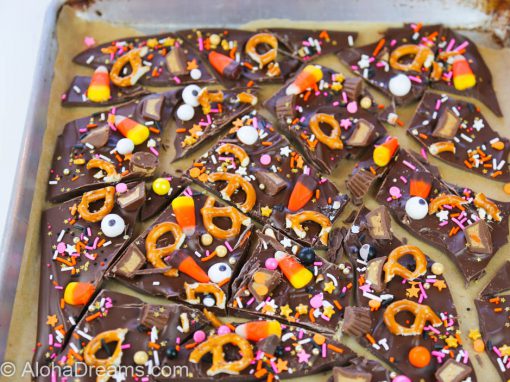
Wicked Good Loaded Halloween Bark
So what’s your favorite Halloween memory? Mine is getting to draw creepy halloween silhouette pictures in grade school. I loved to draw spooky haunted houses with creepy trees, black cats on fences and of course a witch flying in front of the full moon.

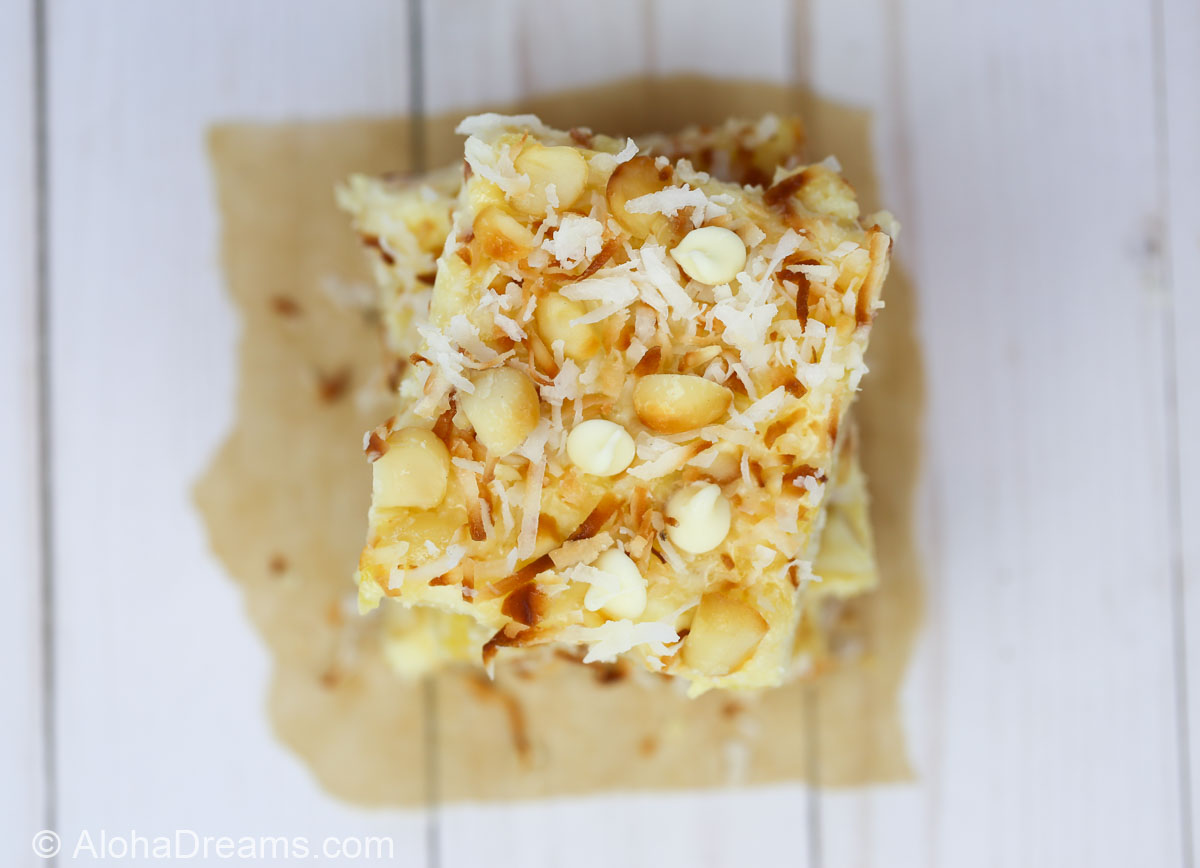
Seeing these type pictures still brings a smile to my face. So does this Wicked Good Halloween Bark.
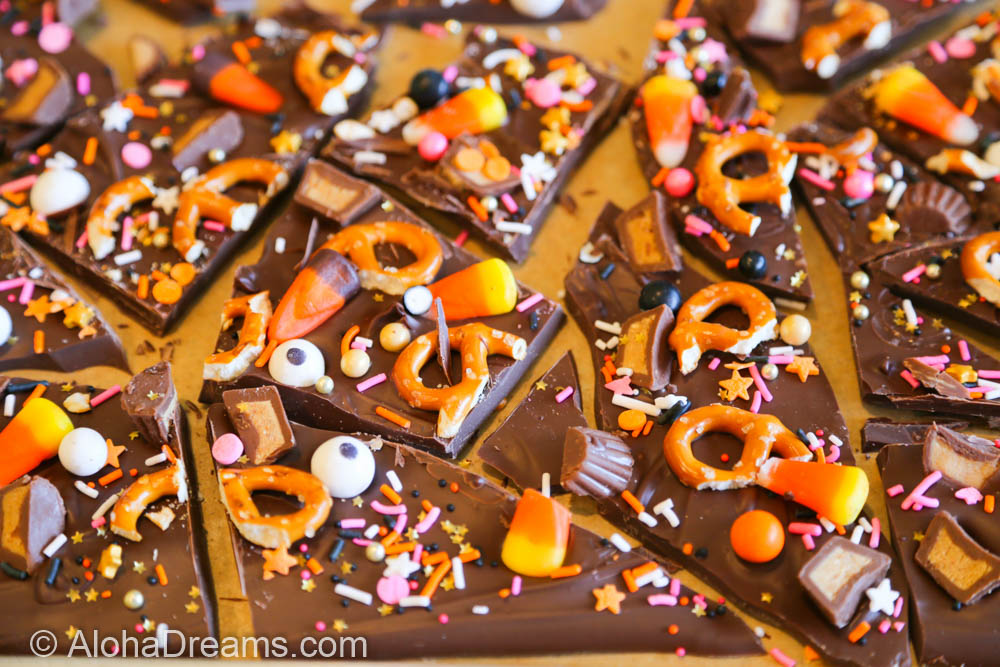
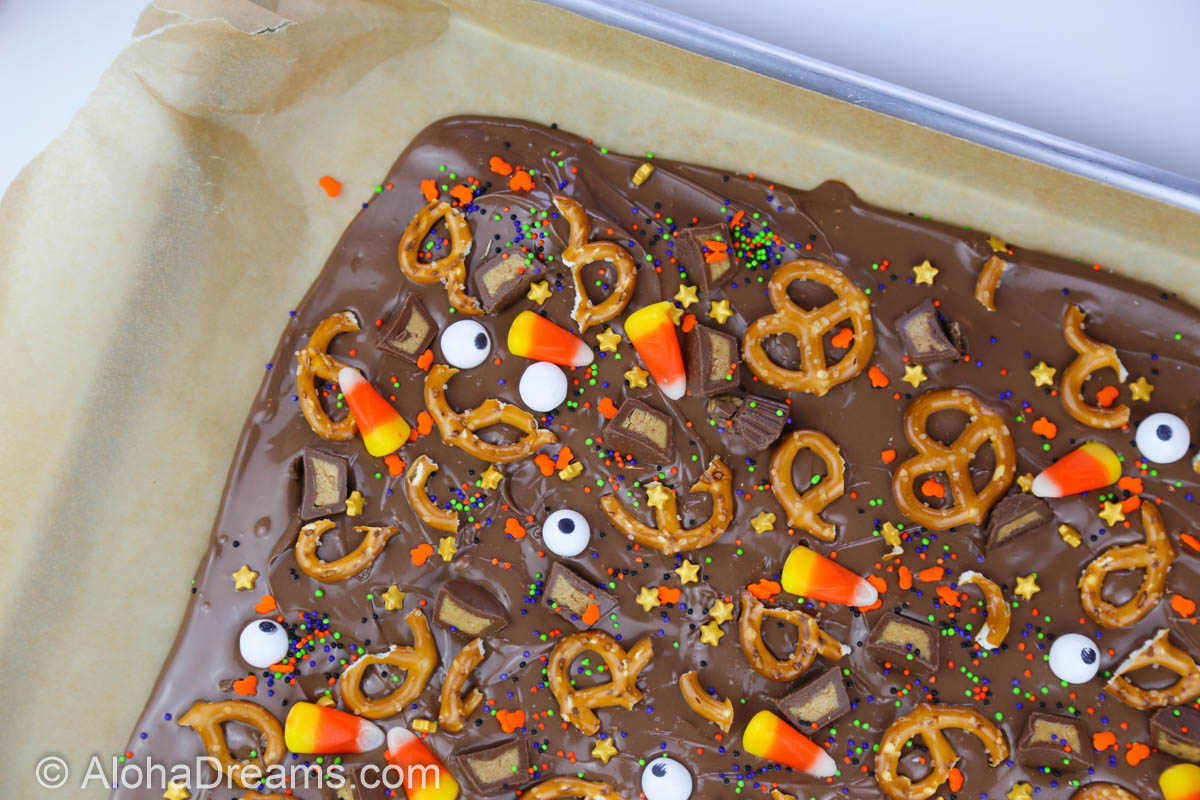
Making Bark is ridiculously easy. It’s ready in 15 minutes and is loaded with all kinds of fun flavors and textures. The salty crunch from the pretzels and peanut butter cups tempers the sweetness of the silky chocolate while the sprinkles and the candy corns add a great pop of Halloween color.
You’ll love making this Loaded Wicked Good Halloween Bark. My 5 secrets guarantee your bark will be as DELICIOUS as it is EASY!
5 Secrets to Making Great Bark
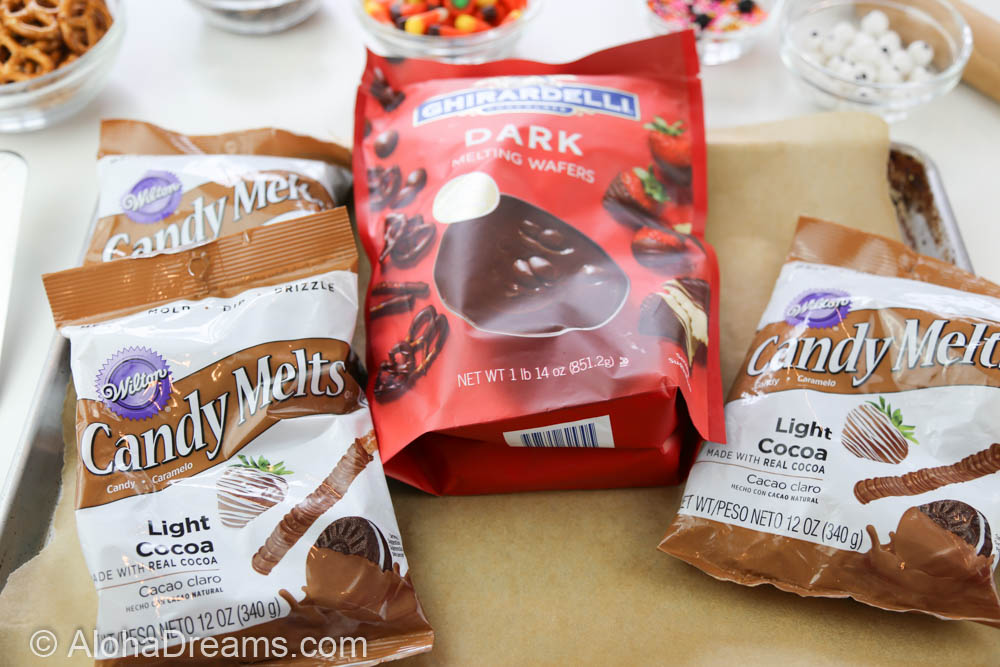
Secret #1 Use the right chocolate.
For dark chocolate bark, you can’t beat Ghirardelli Chocolate Melting Wafers. They have a wonderful chocolate-ly depth of flavor without the typical dark chocolate bitter taste. You can get them on Amazon. For milk chocolate, most craft stores carry Wilton Light Candy Cocoa Melts. I don’t recommend using chocolate chips because in general when they melt, they’re thicker, less pourable, and harder to handle than melted bars or melting wafers of chocolate.
If it’s white chocolate you’re craving, Wal-mart, Target or Amazon carry Ghirardelli Chocolate White Chocolate Melting Wafers. You can also easily order them on Amazon. When working with white chocolate be EXTRA careful. White chocolate melts more quickly, and burns more quickly. Don’t even think about exceeding the 30-second microwave bursts, stirring between each. I do NOT recommend using white chocolate CHIPS as they tend to scorch way too easily.
Secret #2 Include a Salty Item
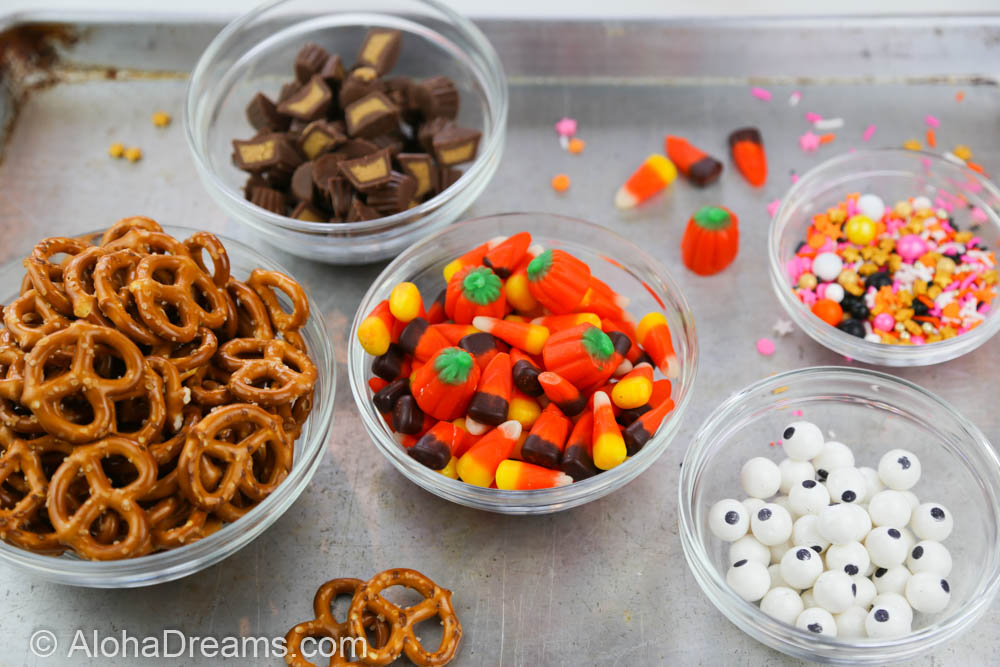
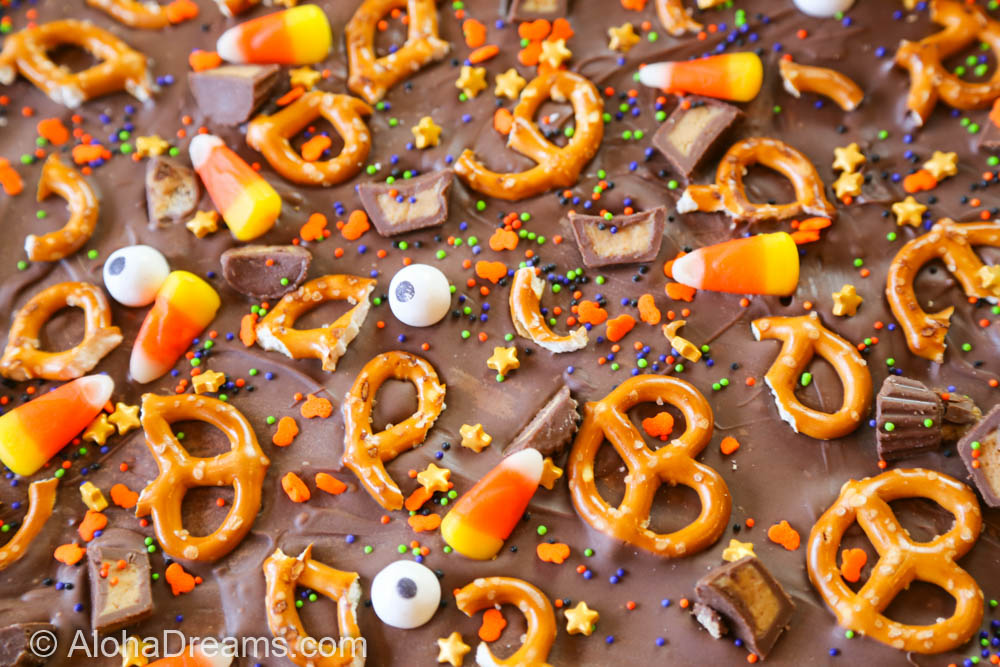
I always like to include a salty item in the toppings, in this case the pretzels, but nuts of all kinds work well or even potato chips if you want to do a “snack” bark. This wicked bark is loaded with all kinds of other goodies such as mini peanut butter cups or mini Kit Kats, and loads of color from wonderful witchy gold stars. Seasonal items are also fun, like the creepy eyeball candy or the candy corn.
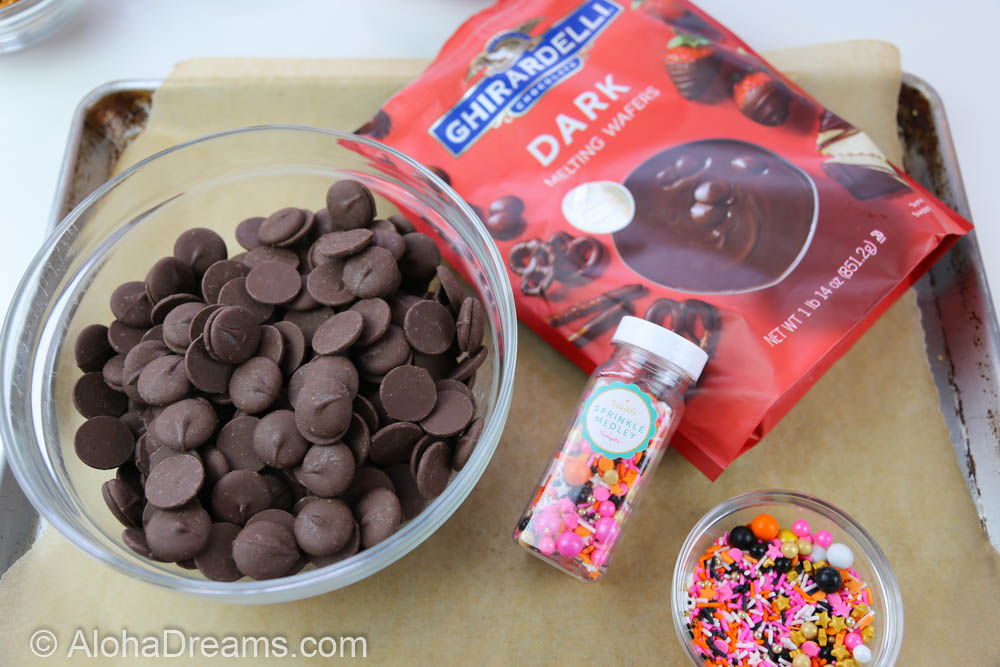
To prep I simply put each of the ingredients in a small bowl and line a baking sheet with parchment or a Sil-Pat silicone mat.
Grocery stores are starting to carry many fun sprinkle options, but one of my favorite sprinkle shops is Sweetapolita – with absolutely the best sprinkles ever. They have a delightful selection of sprinkles and will often send you a free “Emergency” sprinkle kit for your purse, just in case. How fun!
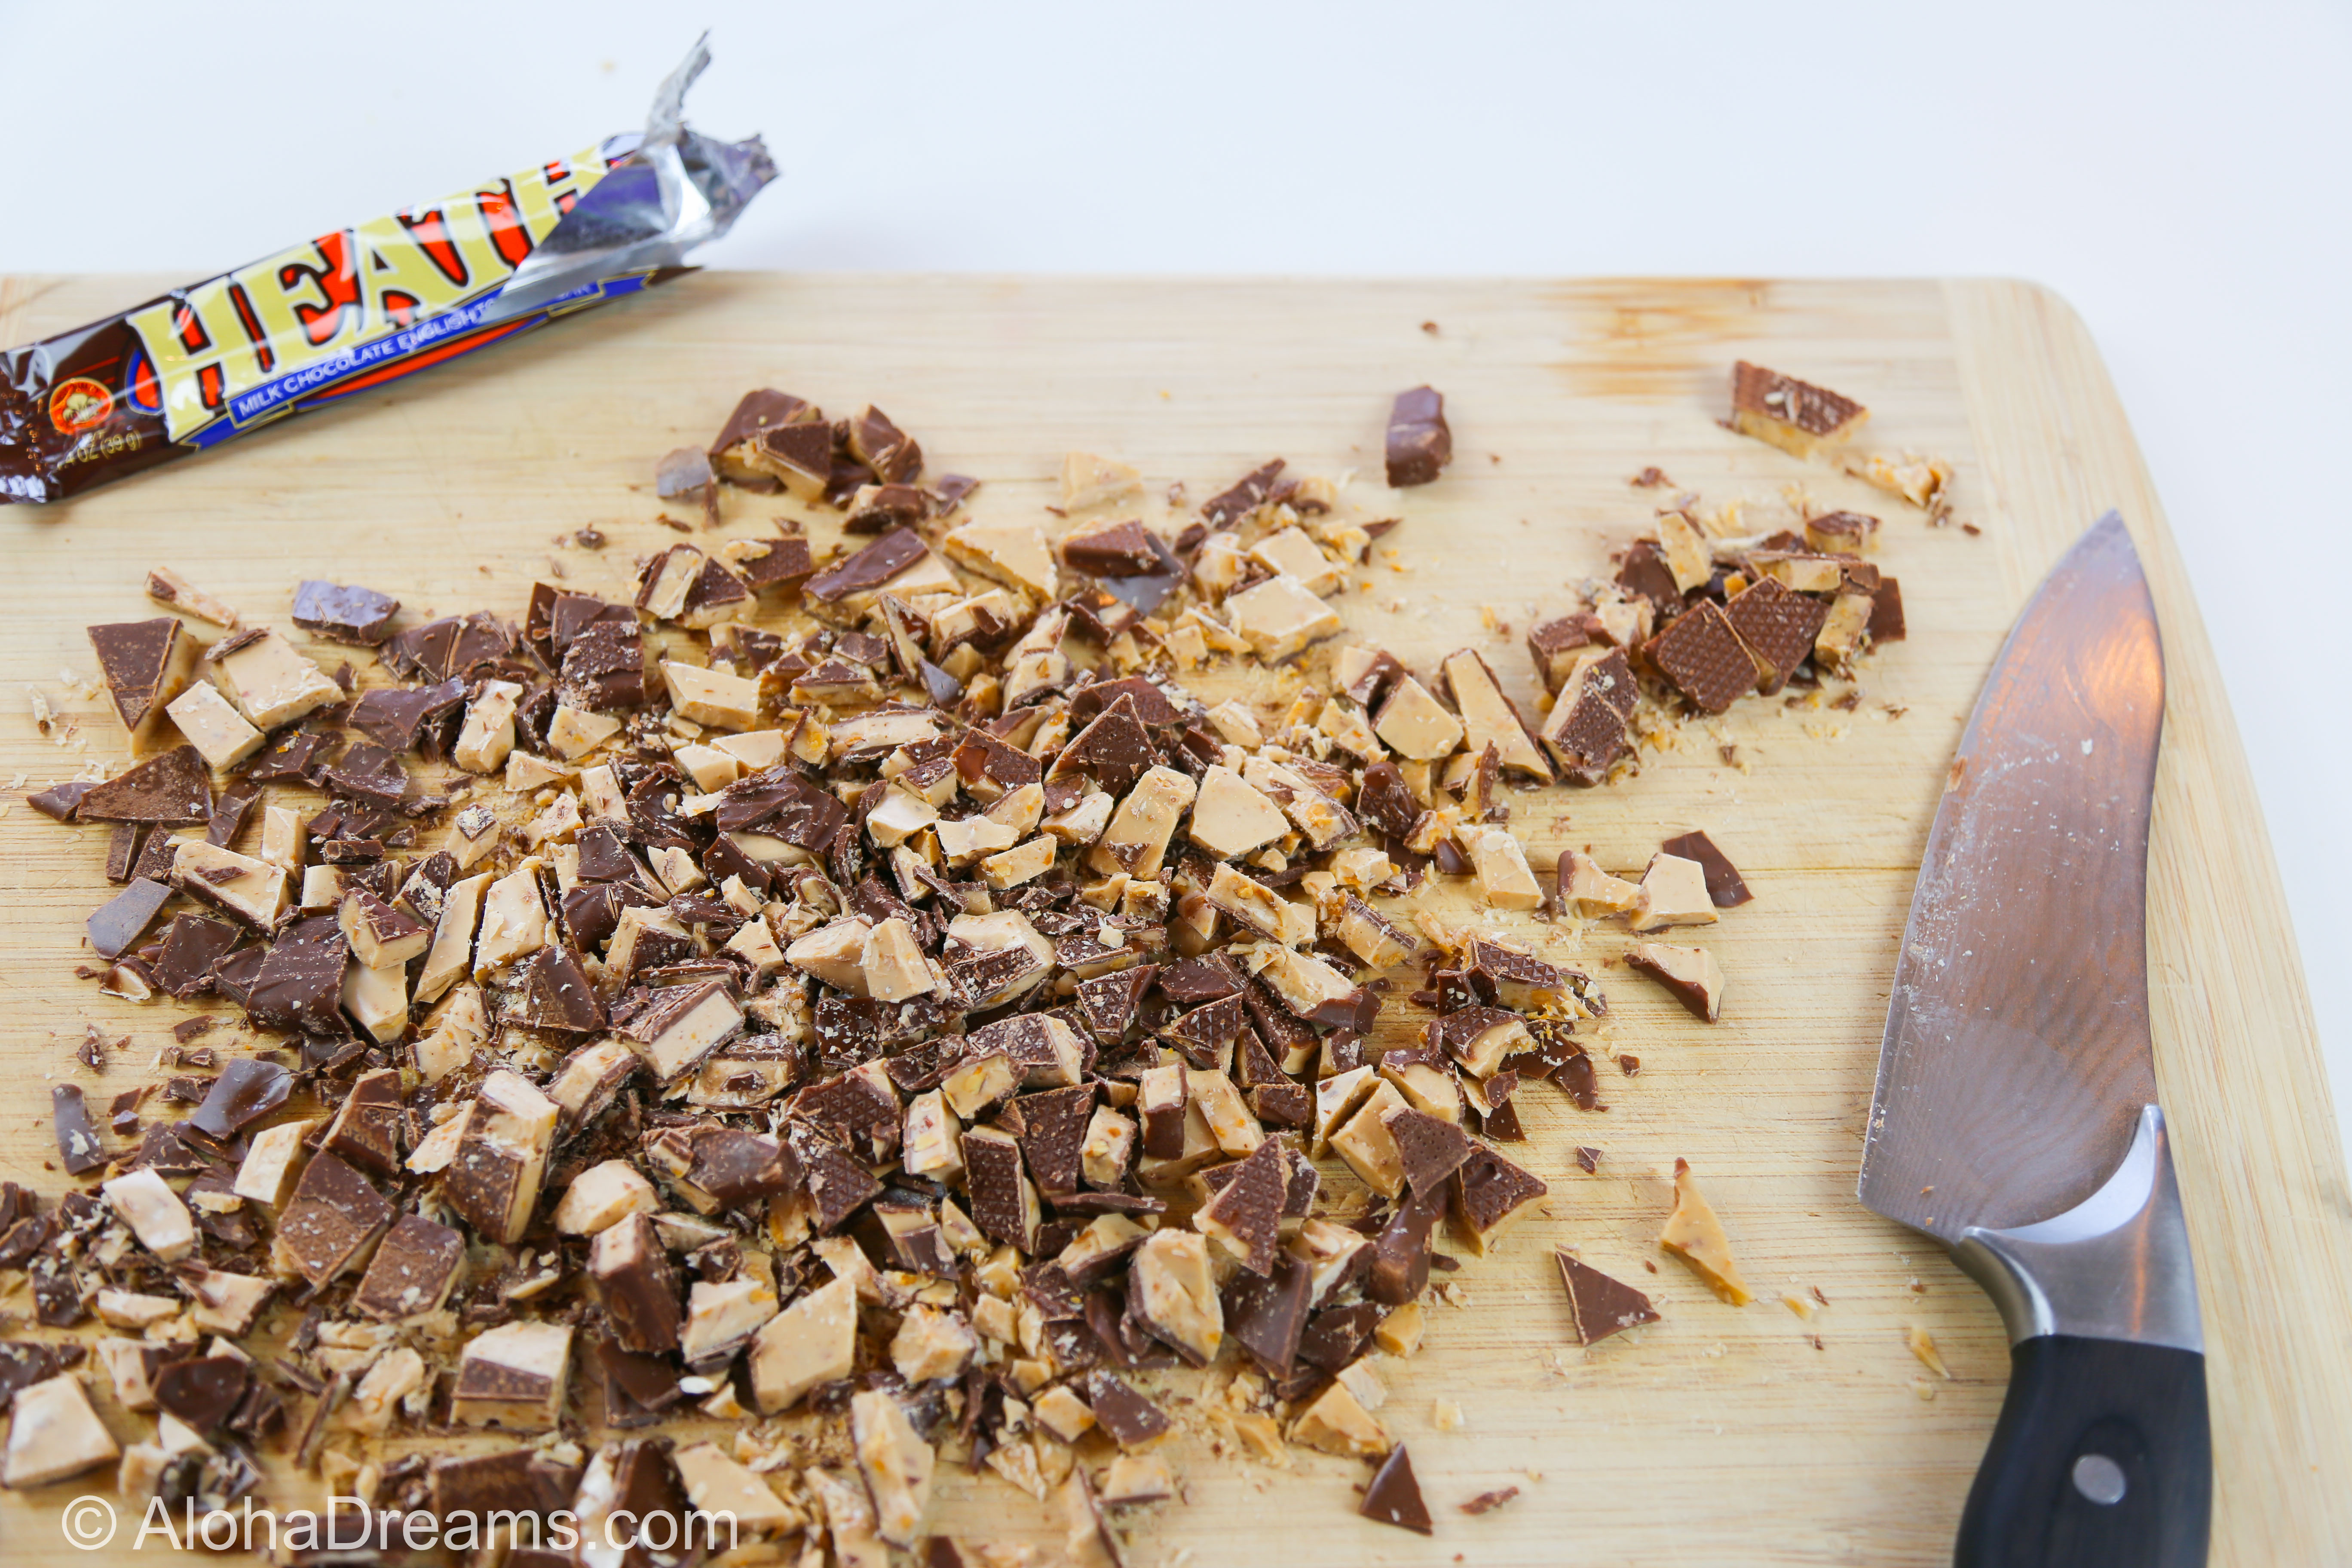
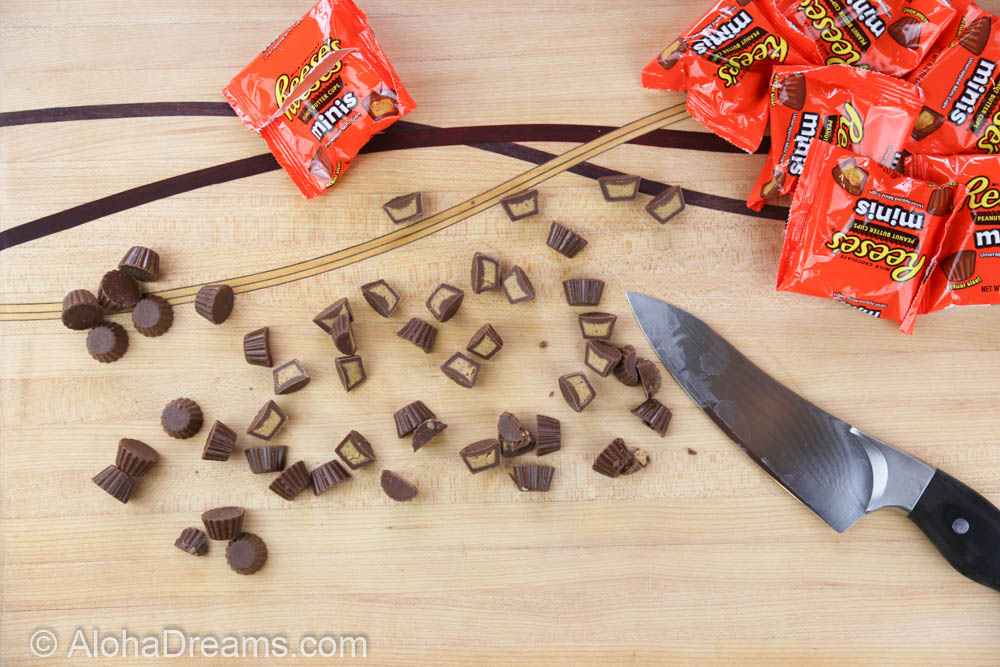
Beyond that, the sky’s the limit. Our Wicked Good bark is loaded with pretzels, creepy eye ball candy, and mini peanut butter cups. I usually chop the mini candy bars into bite-size pieces to include in the mix. I especially like the mini Reese’s Peanut Butter cups or the mini Kit Kat bars. Seasonal items are also fun, like the creepy eyeball candy or the candy corn. One note: The mini eyeballs are actually gum balls. Not being a gum fan I wouldn’t have used them had I realized that. Somehow gum does not seem to be a good fit with chocolate.
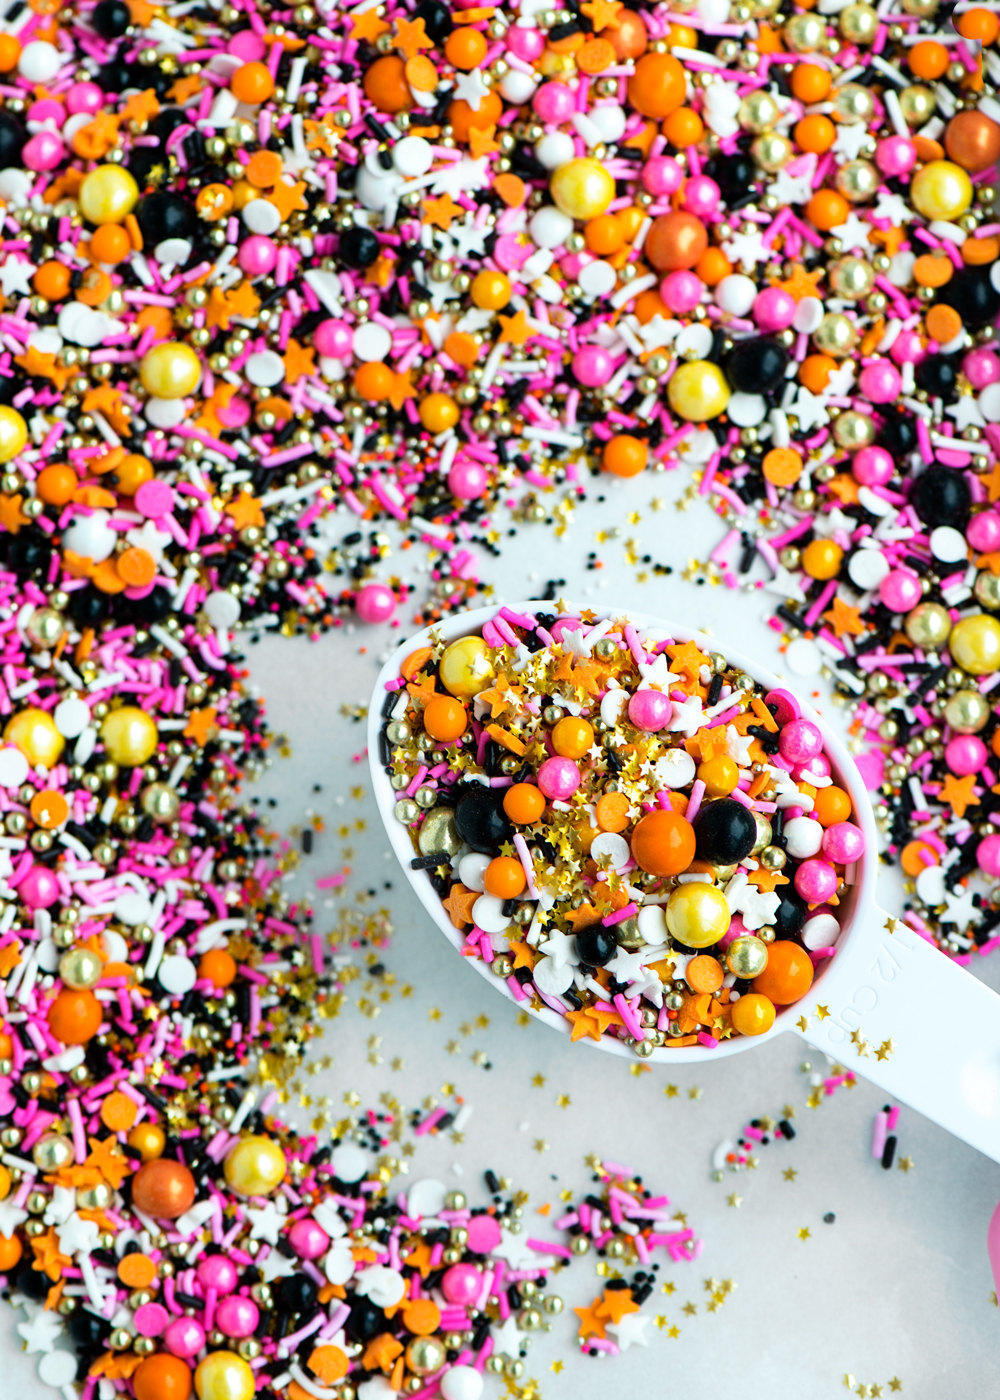
Aren’t those sprinkles wonderful!! They would make anything into a festive event. (Of course I LOVE anything that sparkles!)
#3 Melt the chocolate.
The easiest way to do this is in the microwave. Place your chocolate in a microwave safe dish and microwave for 1 minute on 50% power. Very likely nothing will happen. Stir the chocolate and put it back for additional 30 second increments at 50% power. Most of the chocolate discs will not change shape and will have to be stirred after each heating to determine if they have melted enough. Be careful and do not over-cook as it can scorch the chocolate. Keep sneaking up on it in the 30 second increments. It will probably take a total of 2 1/2 – 3 minutes.
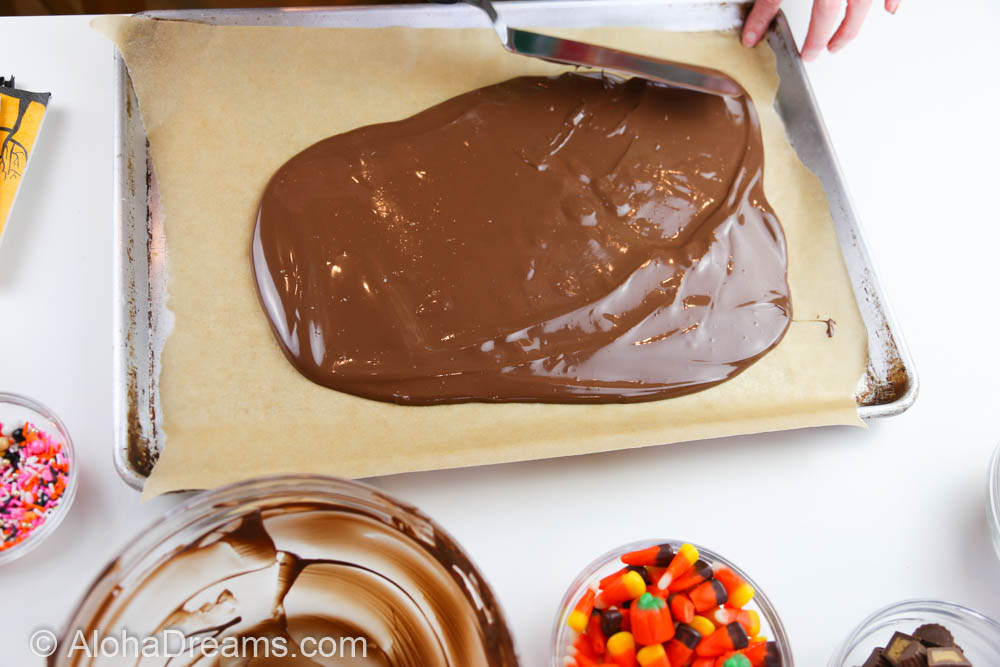
Secret #4 Spread the chocolate 1/4 thick and gently press in the toppings.
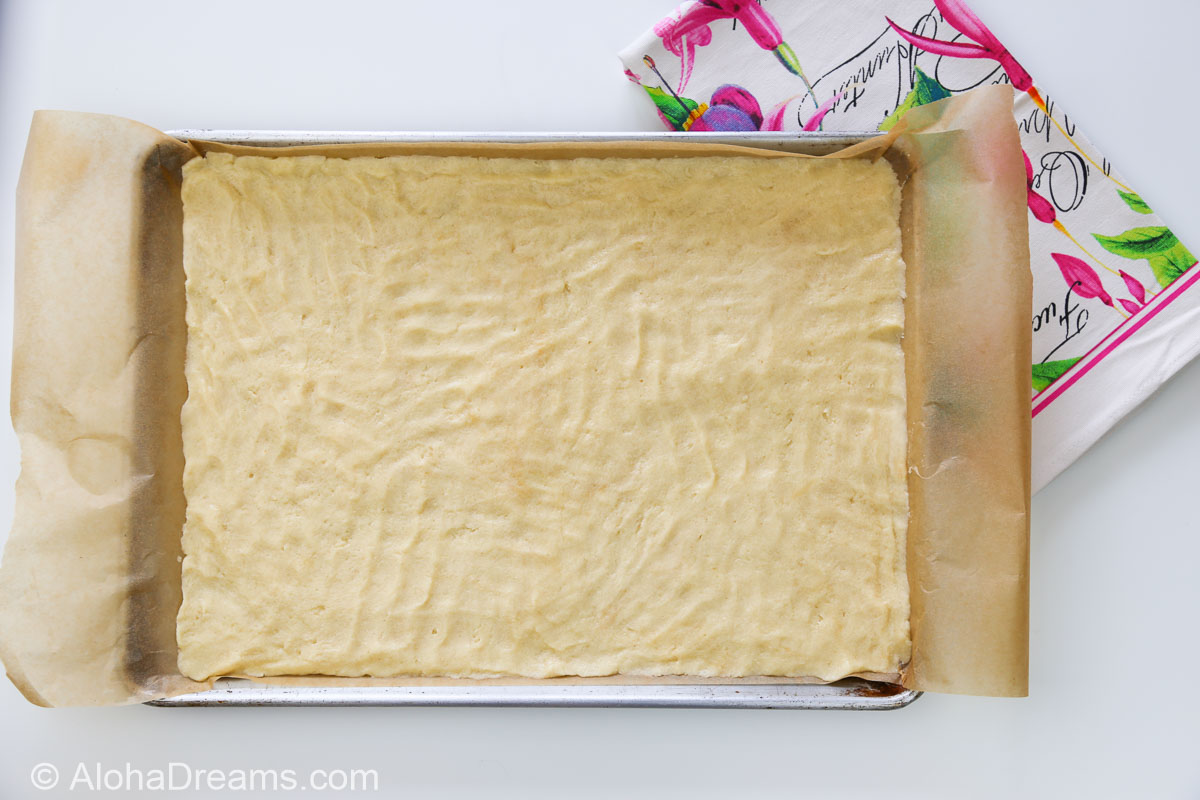
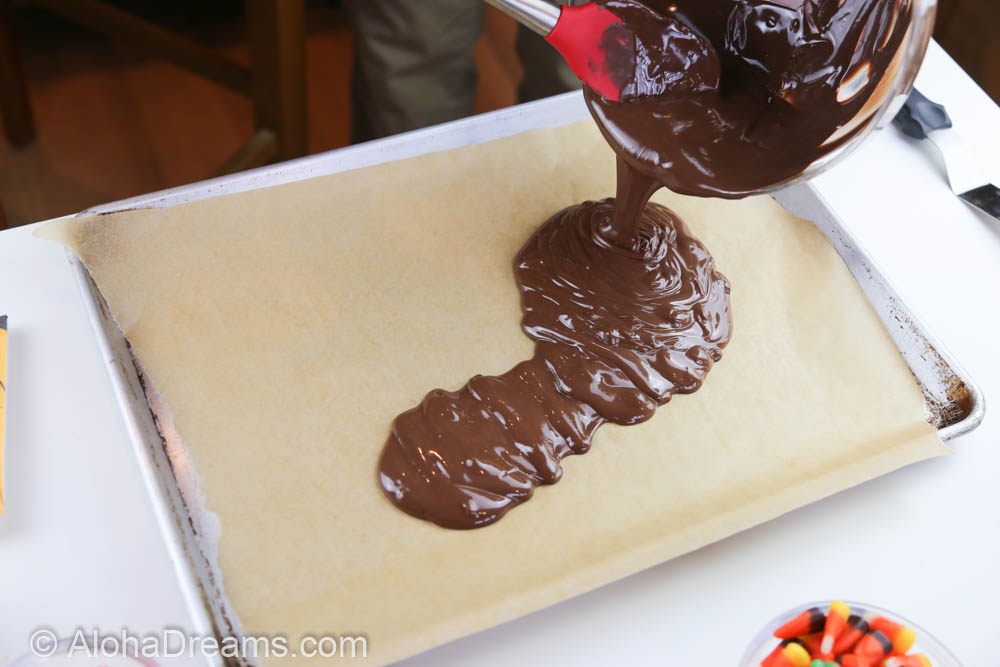
With a rubber spatula, scrape the chocolate from the bowl and into a puddle on the center of the parchment paper. Using an off-set spatula (if you don’t have one, treat yourself. You’ll love their versatility.) Spread the chocolate in an even layer about 1/4 inch thick. Try not to let the edges get too thick or too thin.
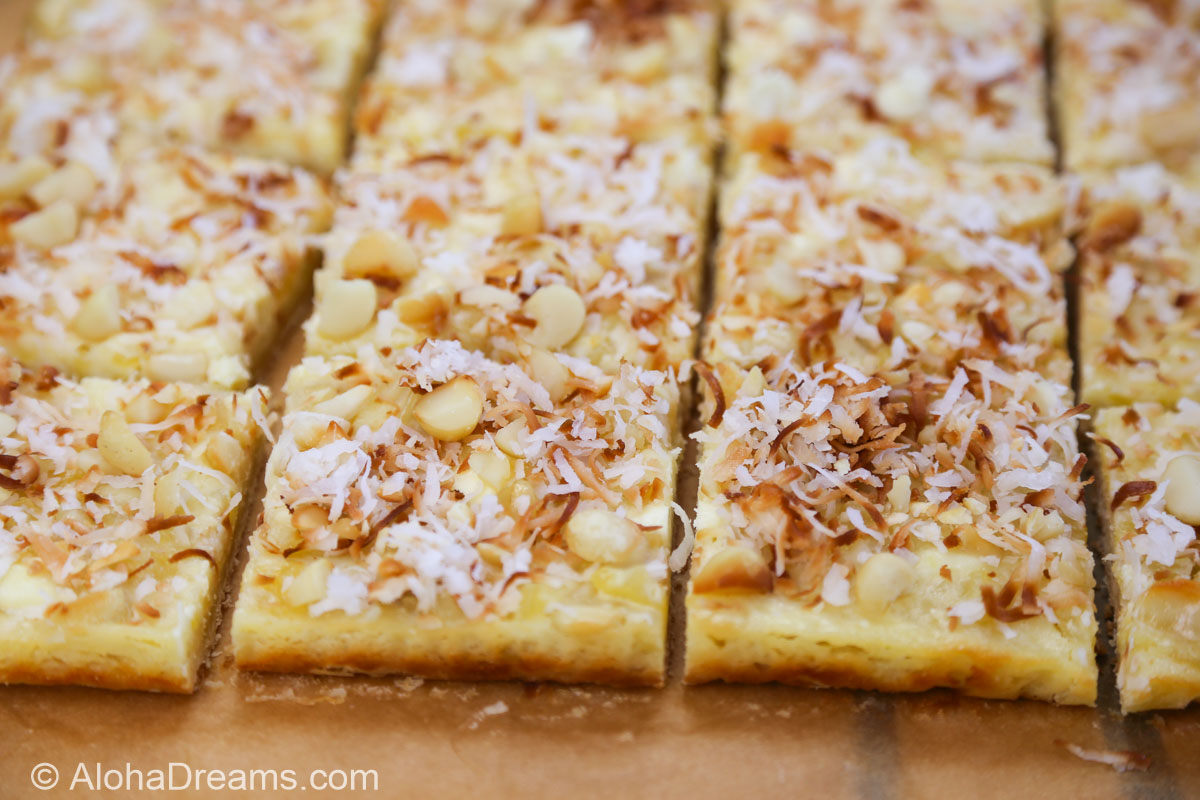
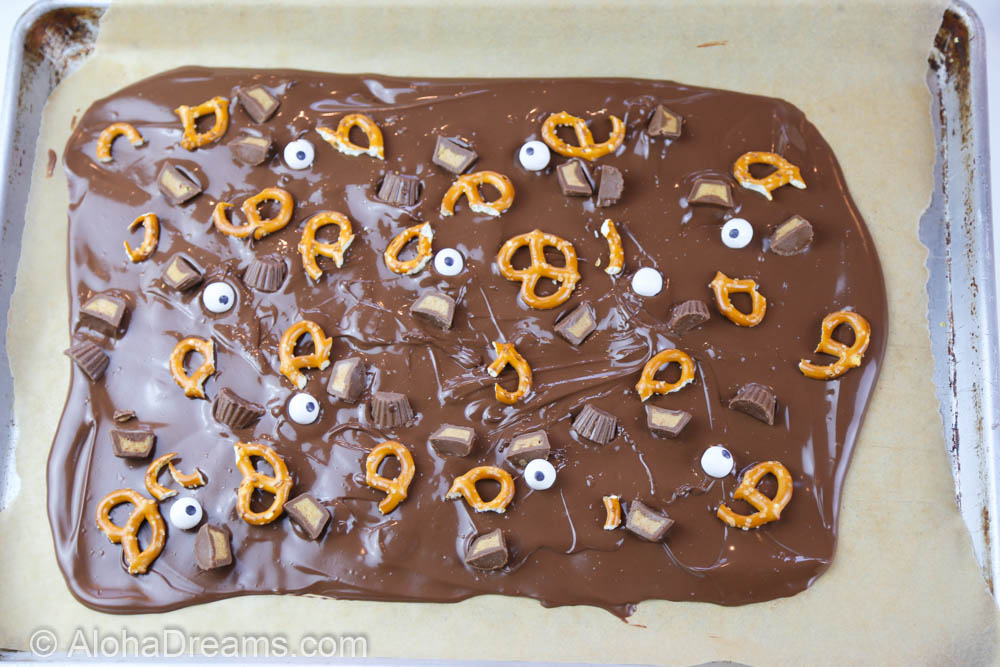
Working fairly quickly before the chocolate sets, add your toppings, pressing down slightly to ensure they stick.
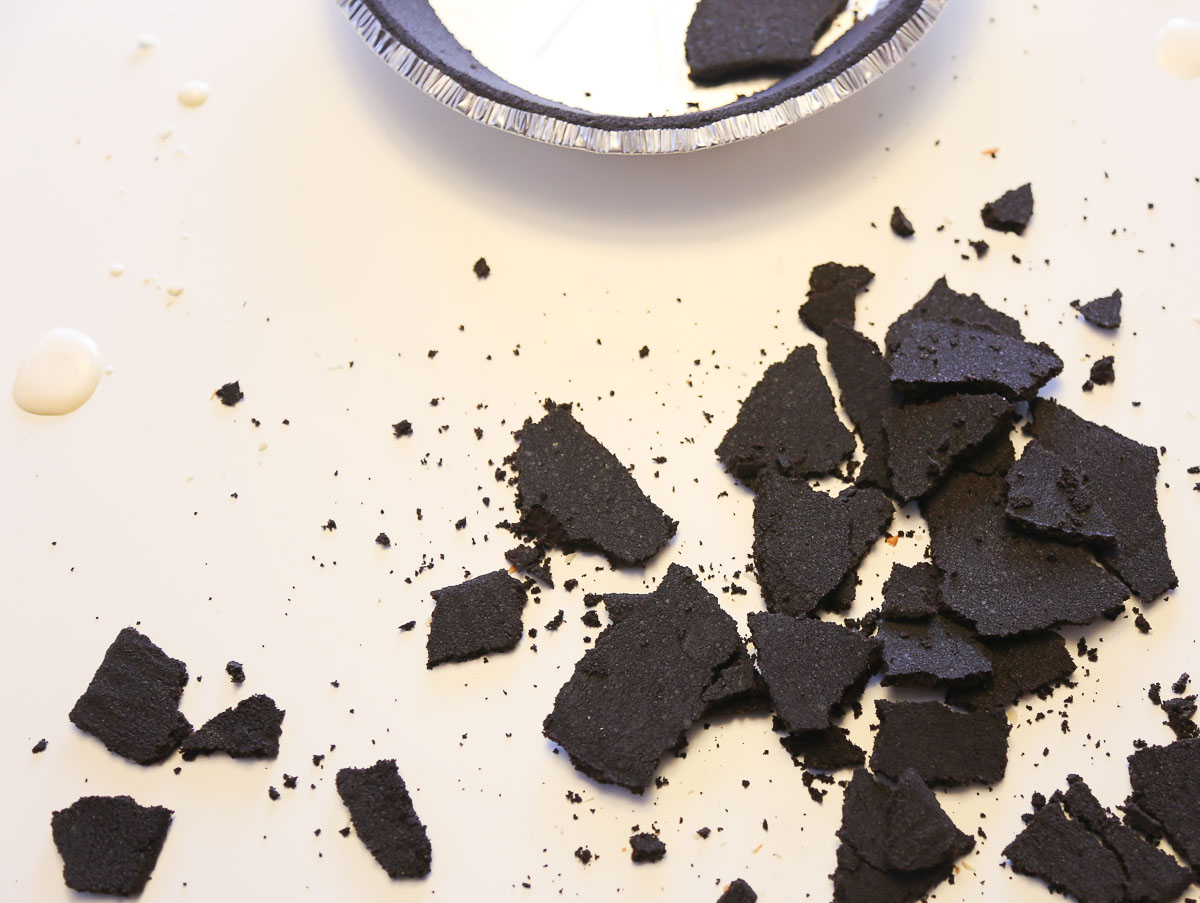
Secret #5 Refrigerate and Break
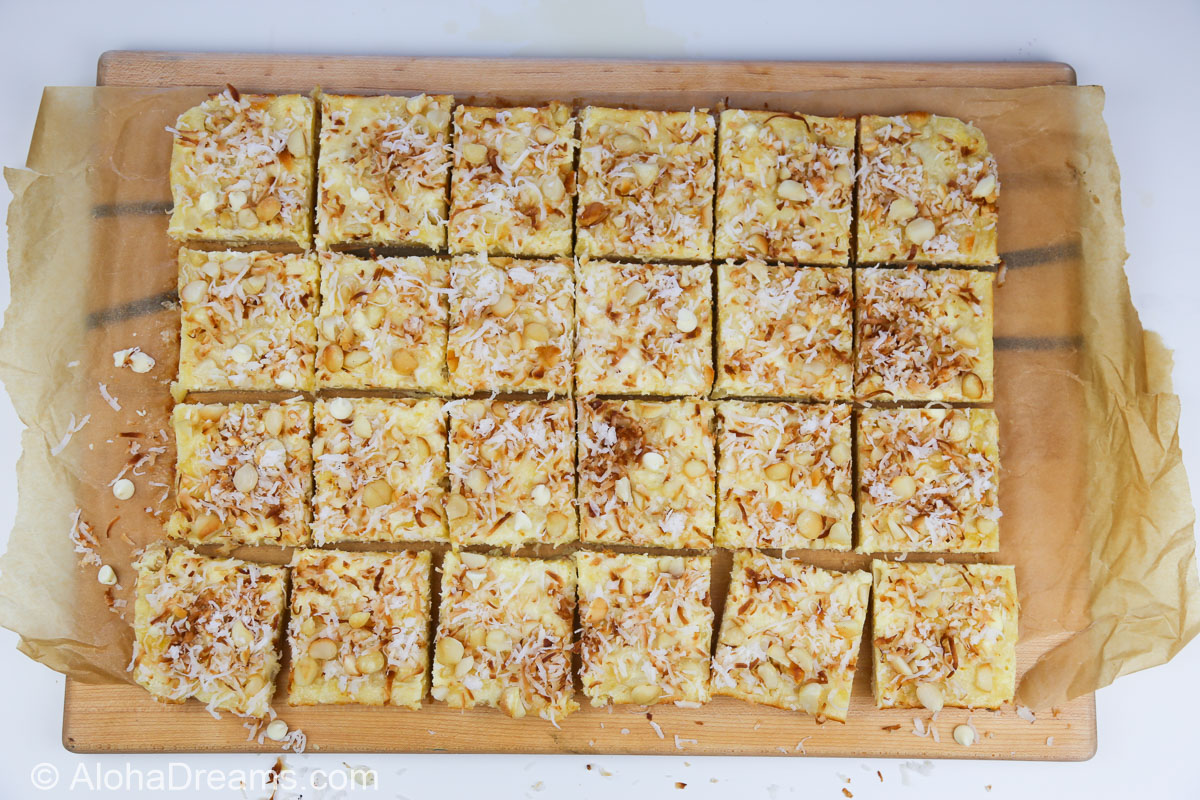
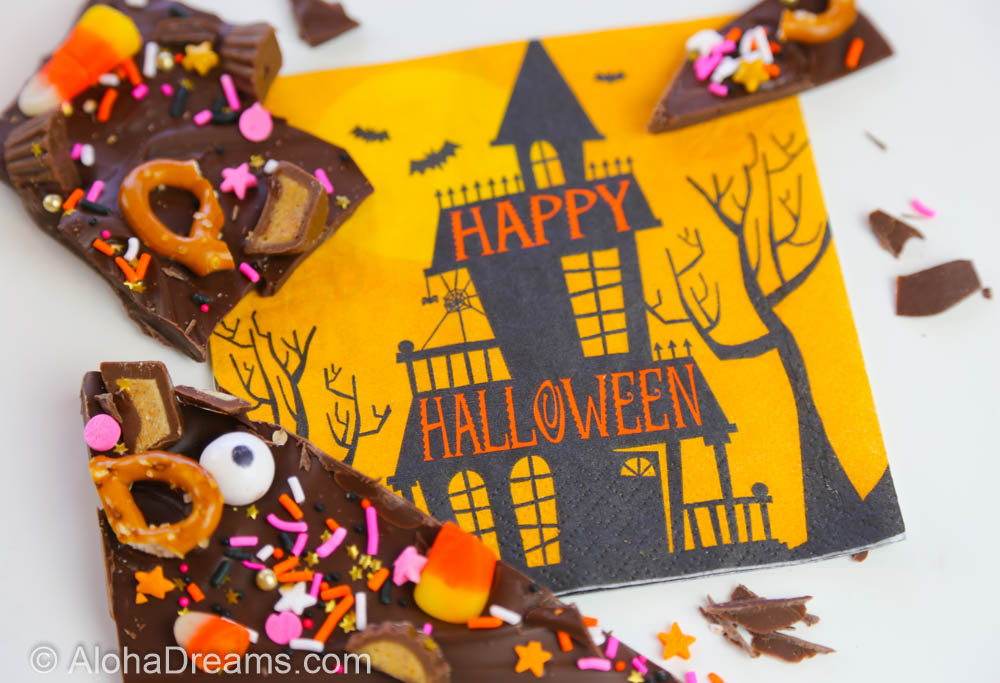
Refrigerate until firm, about 1 hour. The final secret is once you peel off the parchment paper, the easiest way to break it is to put it on a cutting board and press the tip of a sharp knife into it where you want it to break. This is the least disruptive method and dislodges far less of the toppings than cutting it or breaking it into pieces by hand.
MAKE AHEAD NOTE: Store your bark in an airtight container in a cool, dry place until it’s needed. It will keep for 3 – 4 weeks no problem.

Here’s another version with the milk chocolate.
This Wicked Good Bark is a very flexible recipe based on what’s in your pantry. The recipe doubles or triples easily if you’re feeding a crowd. Enjoy and Happy Halloween!
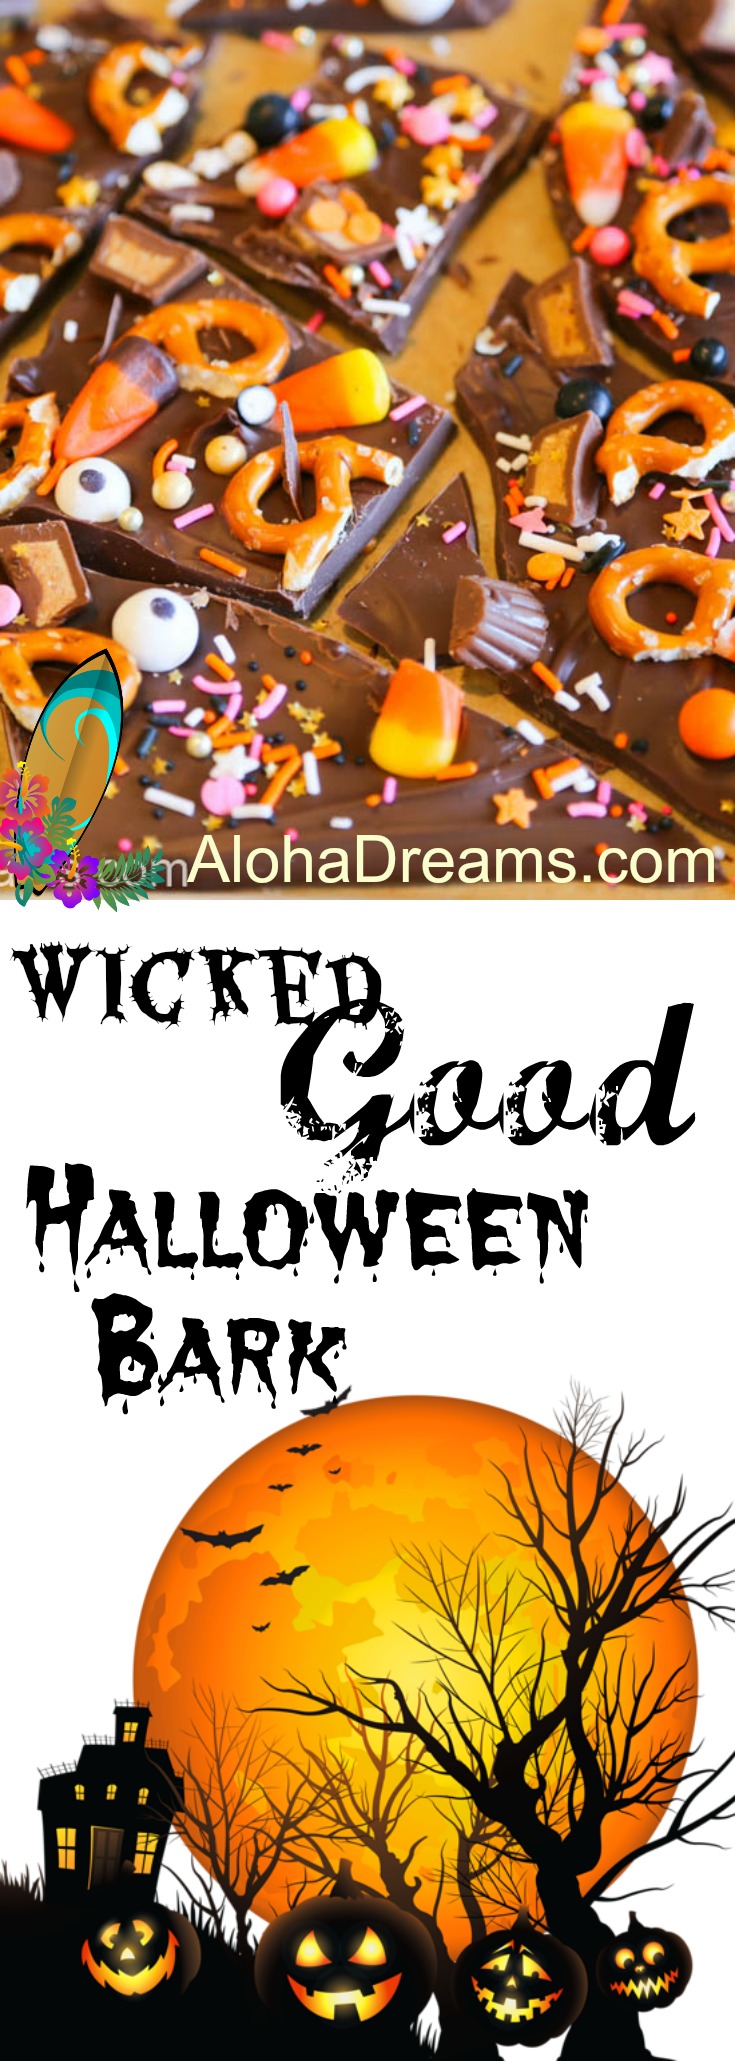
Pin for Later
Or Make Now

- 24 - 30 ounces dark, milk, or semi-sweet chocolate melting wafers
- 1/2 cup broken or chopped pretzel twists
- 1/2 cup candy corn
- 1/2 cup mini peanut butter cups rough chopped in half
- 3 tablespoons sprinkles
-
Line a cookie sheet with parchment paper or wax paper, set aside.
-
In a medium microwave-safe bowl, add the chocolate wafers and heat in the microwave on 50% power in 30-second increments, stirring after each 30 seconds, until chocolate has melted and becomes smooth when stirring.
-
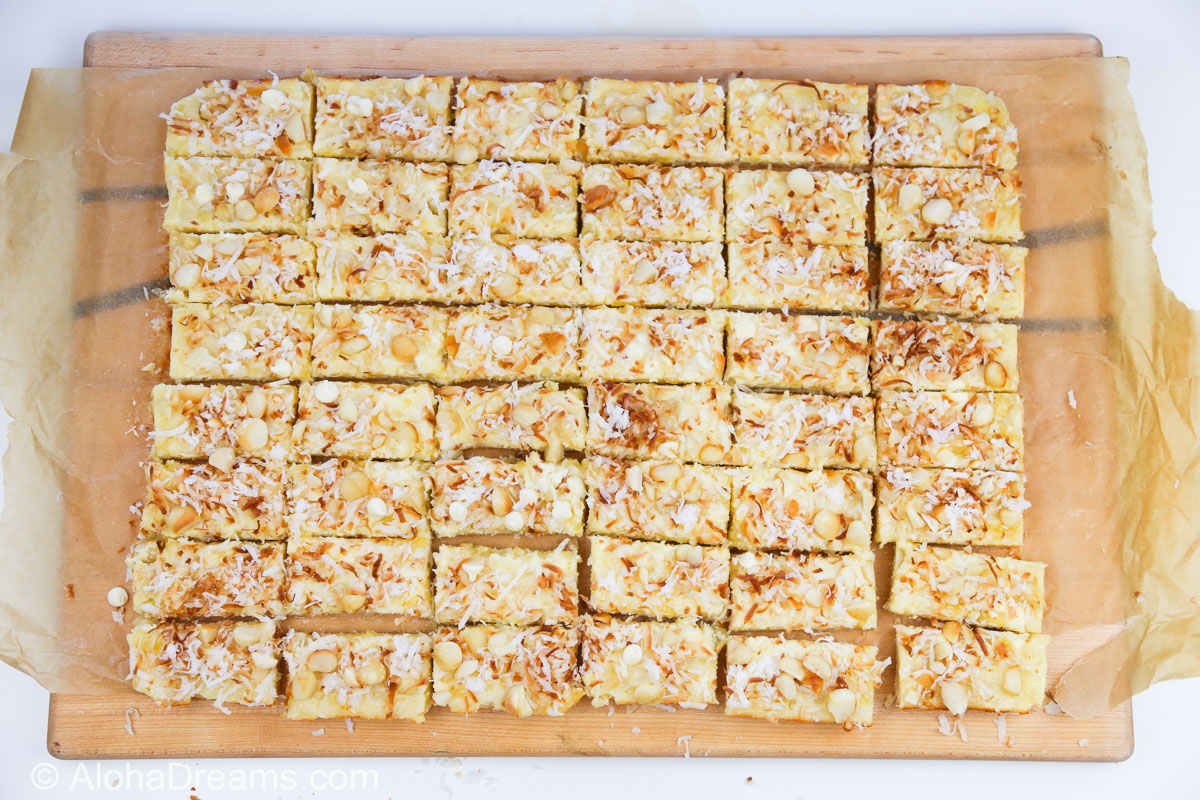
Using an offset spatula spread chocolate on the parchment or wax paper into an even layer, 1/4 inch thick. You should have about an 8 x 12 rectangle of chocolate.
-
Evenly sprinkle the toppings over the chocolate; set aside to cool on the counter if your house isn't too hot or refrigerate until set hard. Once cooled, transfer the bark to a cutting board and break the bark into pieces by pressing on it with the point of a sharp knife.

Welcome to Aloha Dreams!
I'm so glad you dropped by. I'm Betsy. Here you'll find my favorite fabulous, trusted recipes - everything from delicious, quick meals for your family to wonderful classics made easy.
I'm also here to help you with large group recipes from 20 to 200. So next opportunity you get to cook for a large group - Say 'Yes!' Then relax. I've got your back.
Ever wished you could build your dream home? How about building your dream home in a tropical paradise? Join me, room by room, as we design and build a fabulous dream home in Hawaii!

Explore Aloha Dreams


EXPLORE
If you're planning a vacation to Hawaii, I've got you covered on the very best places to go! From many amazing restaurants to incredible adventures in the surf and on land, this is your go-to source for unique and exciting things to do on the Big Island of Hawaii. Or just take a Virtual Vacation!! Let's go!
SAY YES!
If you've been asked to cook for a large group activity, be it a Girl's Camp or a Graduation Party, say Yes! I'm here to help. From Menus to Game Plans to Recipes, I'll help you keep on schedule and turn out amazingly delicious food if you're cooking for a crowd! My recipes are tested and trusted. Let's cook!
AHONUI
Ever wished you could build your dream home? Like amazing house design and home building ideas? Me too! Join me as I design and build a home on the Big Island of Hawaii. Follow along while I design each room. Enjoy a front row seat for the entire amazing construction process. Let's play!
PARTY
Would you like to throw a Luau, but not sure where to start? Want to know how to build a tiki bar and roast a pig? Here's everything you need to have a luau. How about a Christmas Feast or even a fabulous dinner for your neighborhood supper club? You've come to the right place. Let's party!