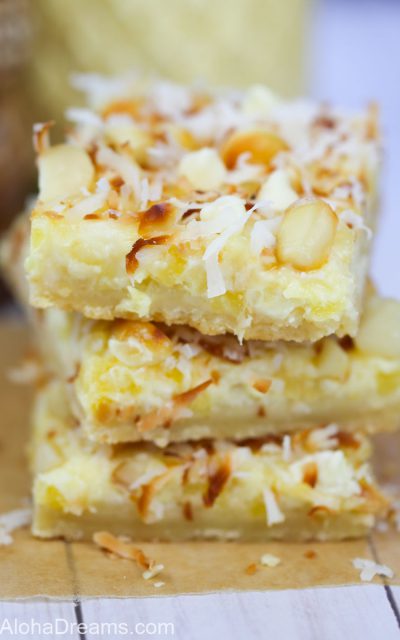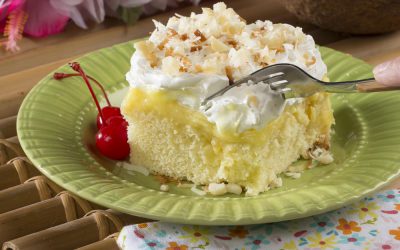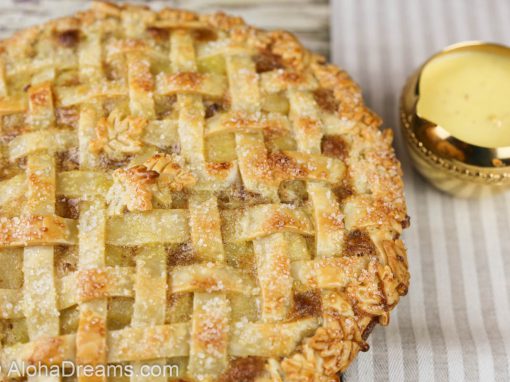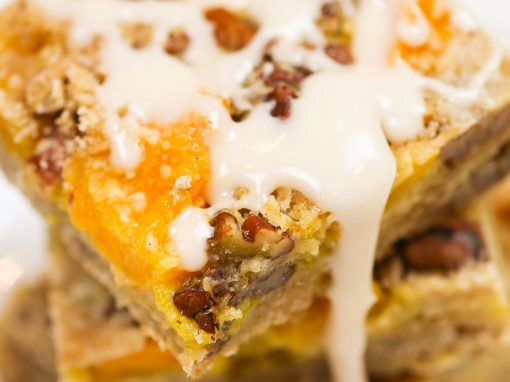
Peaches and Cream Bars


Easy, Delightful Peaches & Cream Bars
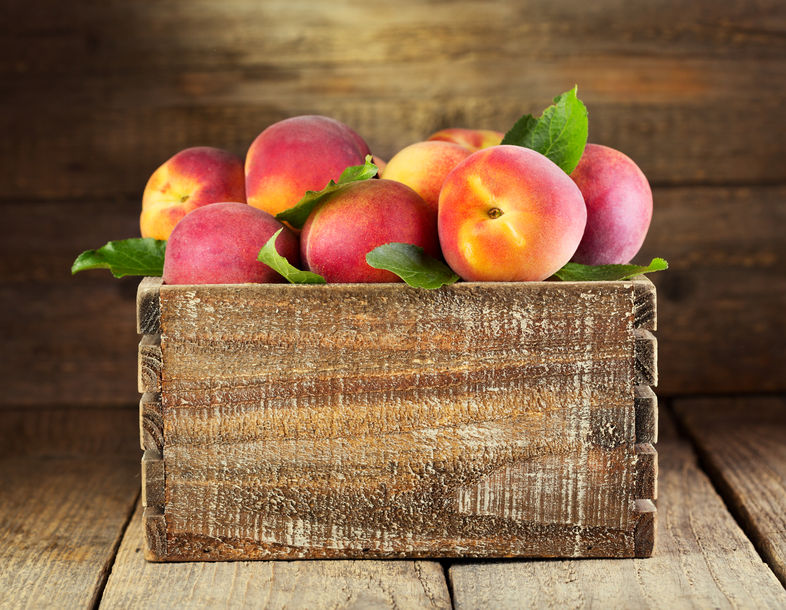
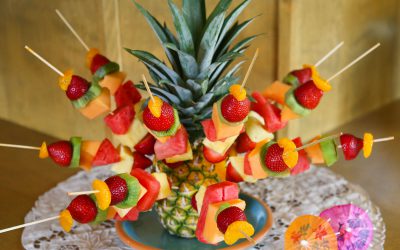
It’s summer! And in case there’s any doubt in your mind, our mid-west temperatures have gone from a beautiful (week of) 73 degree Spring straight to the sweltering 90’s. I don’t know about you, but when it gets hot my thoughts turn to fruit. Plump blueberries, ripe red strawberries and juicy farm fresh peaches. In honor of summer and as a treat in the midst of all this heat, we need a peach dessert. But it has to be easy and quick – and it has to embody all the peachy, juicy, crunchy, brown sugary goodness of summer.
So here you go. Peaches and Cream Bars.
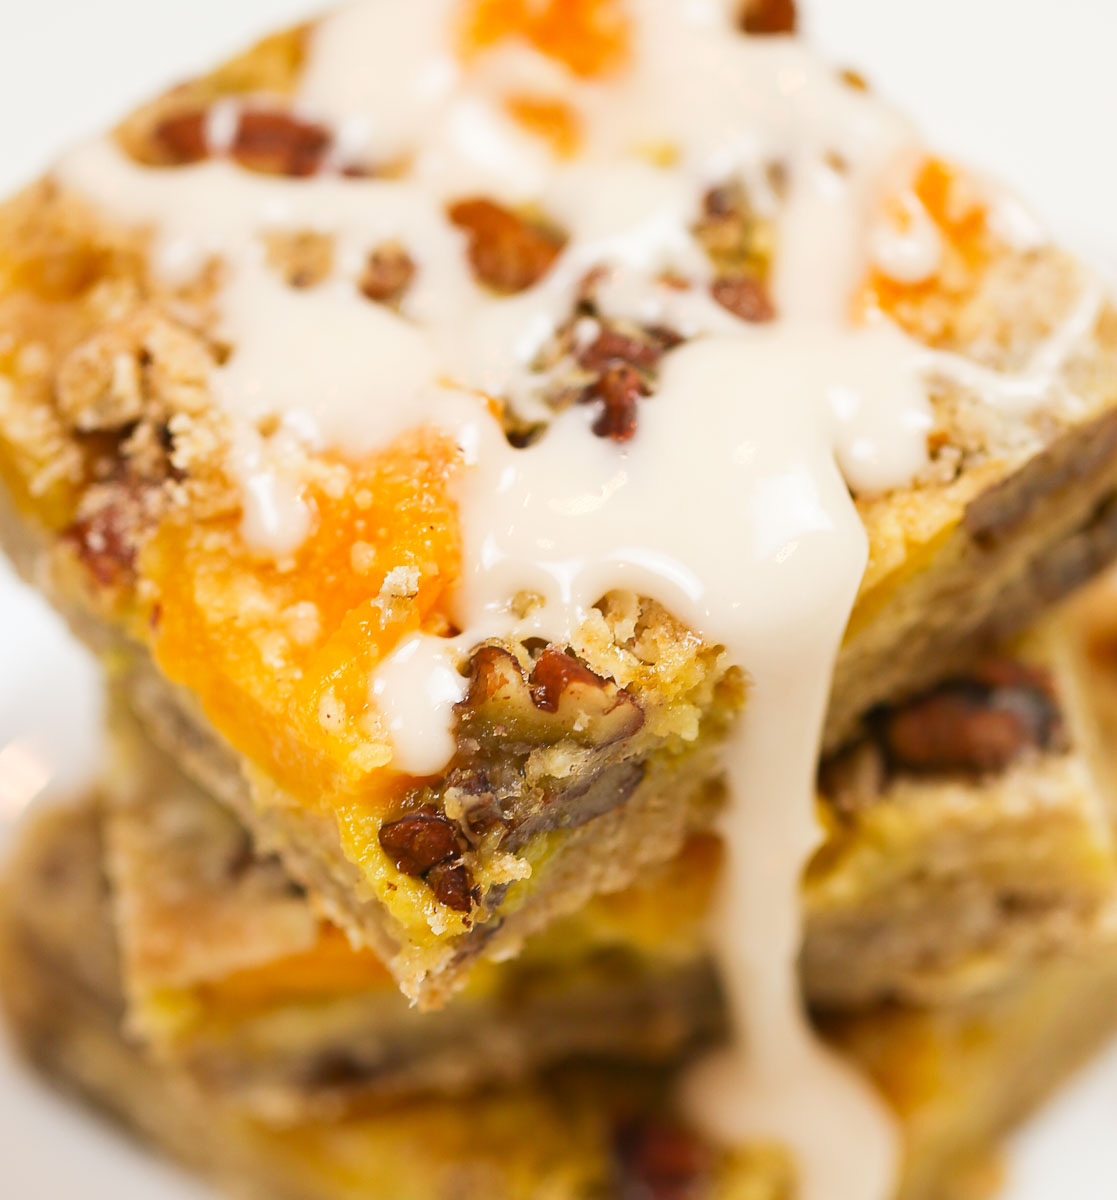
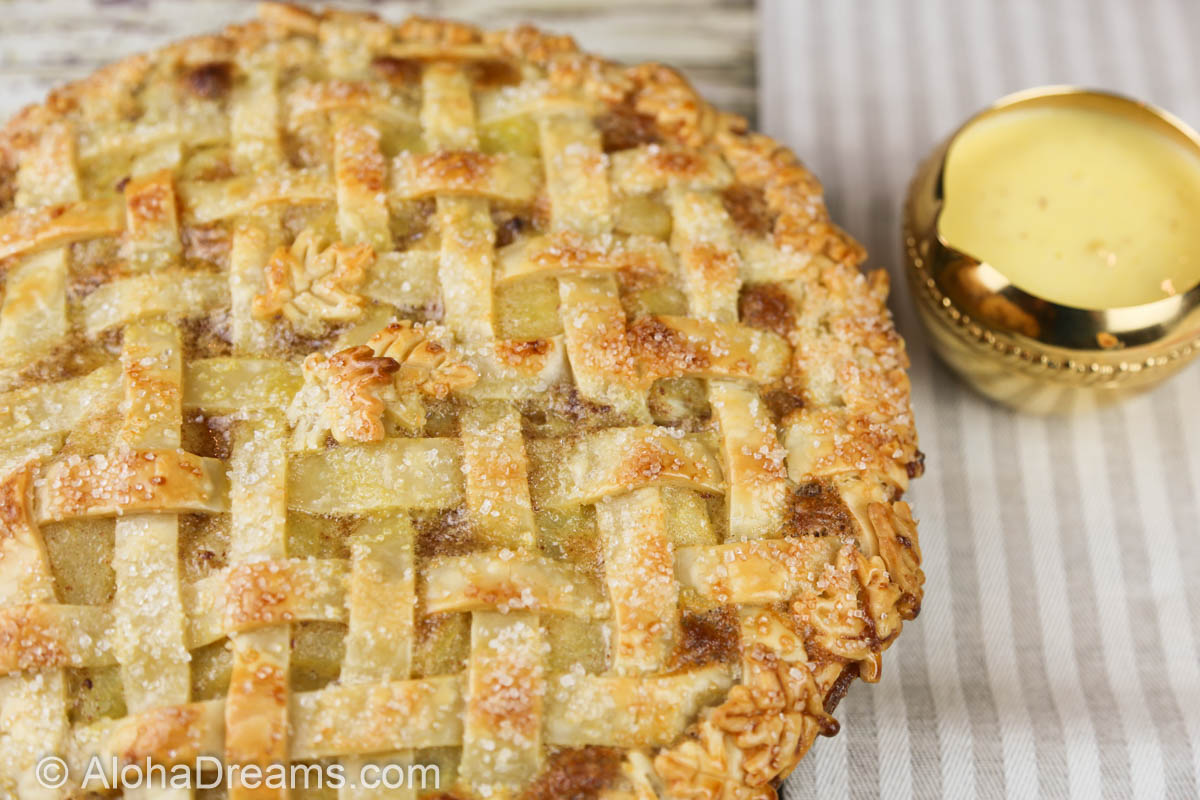
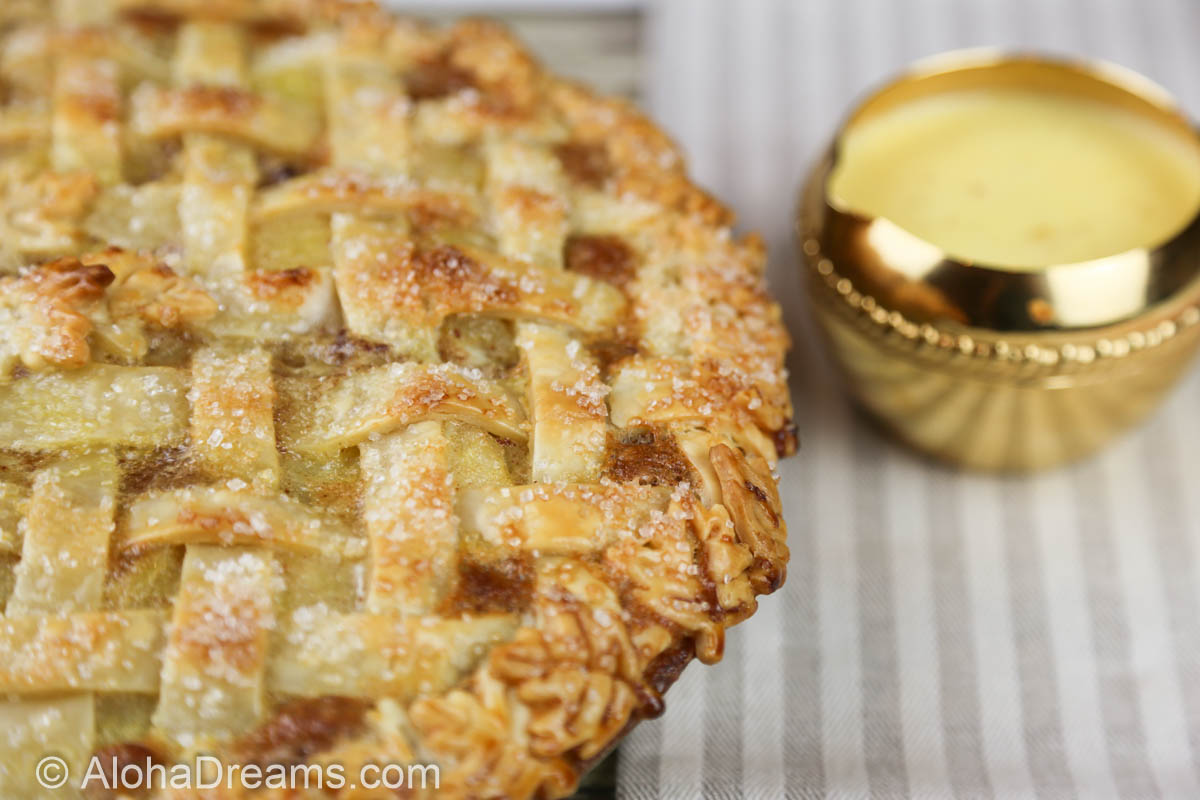
Take the work out of serving a peach pie with these wonderful easy bars. Starting with the crunchy brown sugar and oats crust to the creamy peach filling and fabulous vanilla drizzle, you’ll fall in love. They’re a perfect, easy, make in advance treat for groups large and small.
While you’re baking the crust, you can be making the filling. Then just then pour the creamy filling over the hot crust. Sprinkle with more crunchy topping and pop it back into the oven for about 30 minutes. All that wonderful peach juice flows into the bars as they bake. This makes your bars come out of the oven unbelievably melt-in-your-mouth moist. The crunchy, brown sugary crust just sends them over the top.
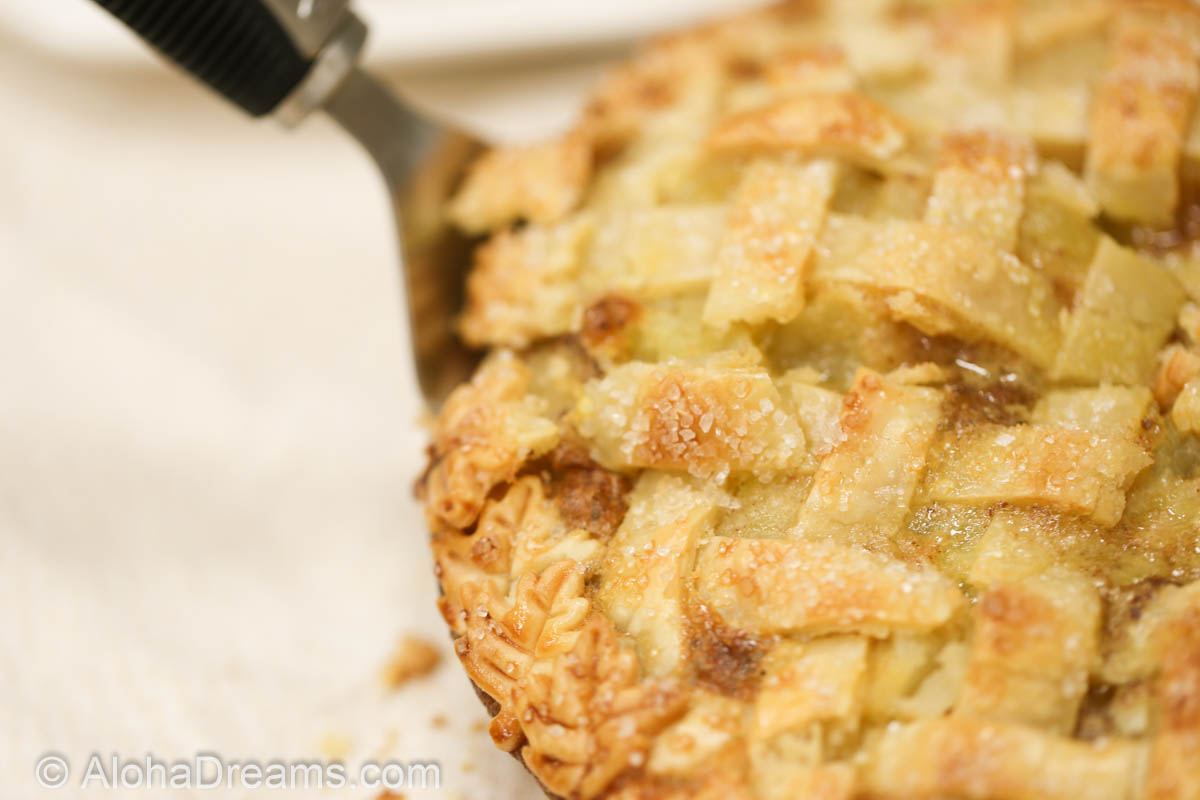
The ‘peach pie’ smells coming from your oven will lure you to try a bite for yourself!
Cut them in rows of 4 by 6 for 24 bars…
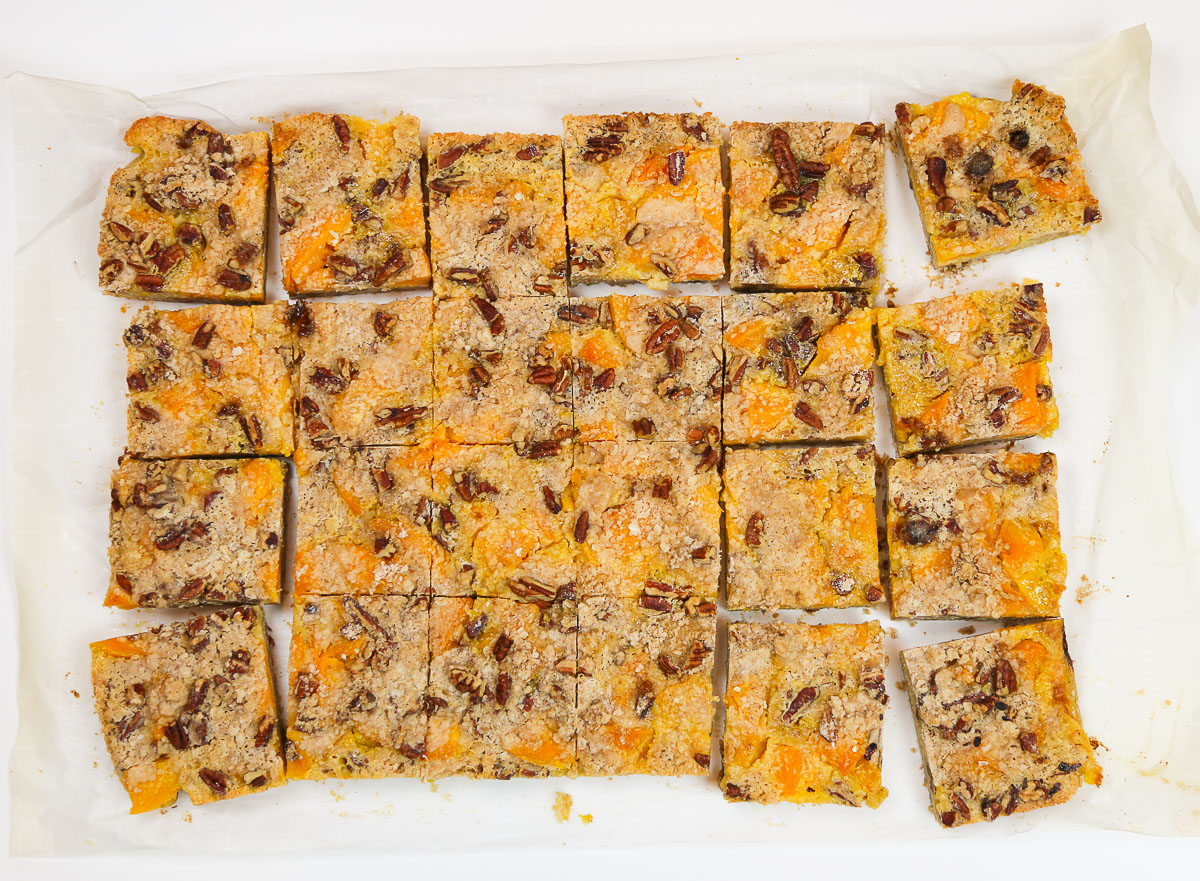
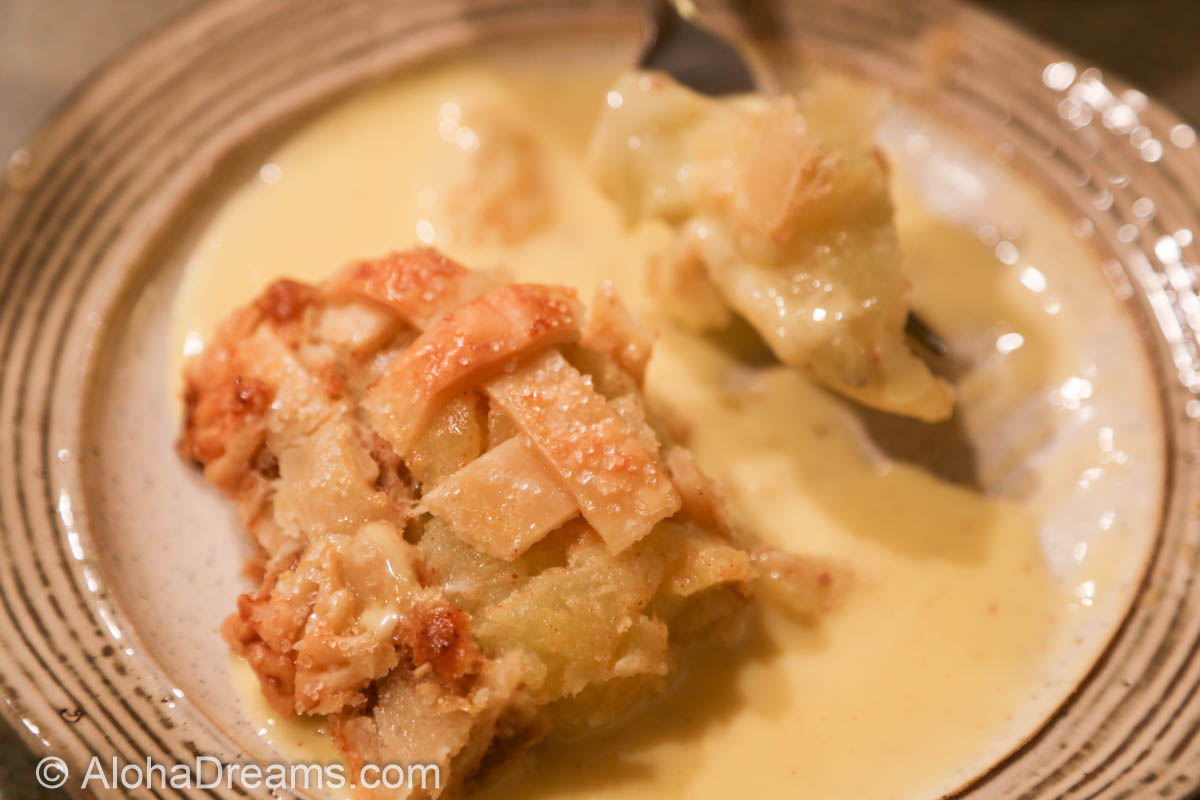
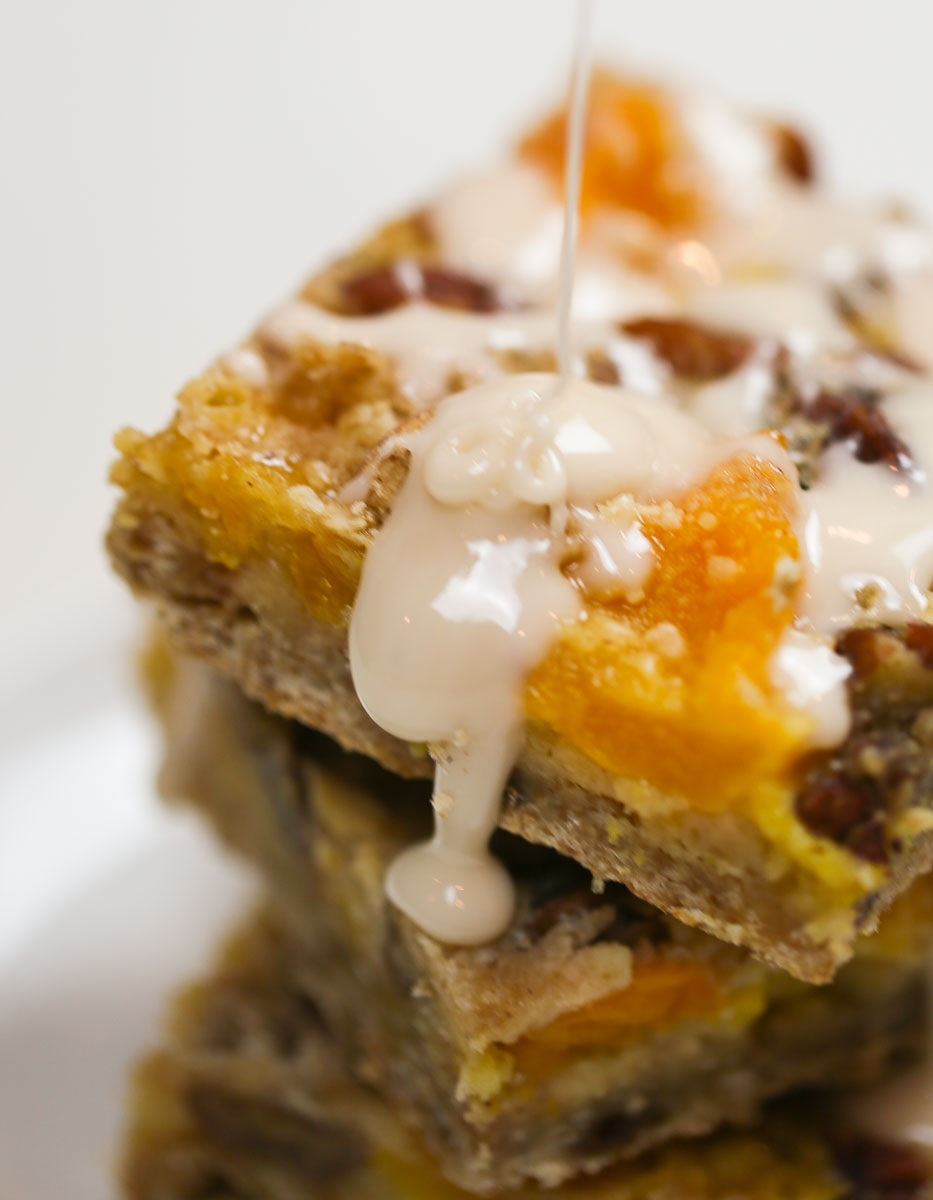
…then drizzle with the icing. Just be sure to save one for yourself!

Welcome to Aloha Dreams!
I'm so glad you dropped by. I'm Betsy. Here you'll find my favorite fabulous, trusted recipes - everything from delicious, quick meals for your family to wonderful classics made easy.
I'm also here to help you with large group recipes from 20 to 200. So next opportunity you get to cook for a large group - Say 'Yes!' Then relax. I've got your back.
Ever wished you could build your dream home? How about building your dream home in a tropical paradise? Join me, room by room, as we design and build a fabulous dream home in Hawaii!

Try these today for a quick and easy cooking for a crowd version of peach pie! Top with fresh peaches if they're in season, or use canned if they're not. Adapted from the ever lovely Sally's Baking Addiction
- 2 cups old fashioned oats rolled or quick
- 4 cups all-purpose flour
- 1 1/3 cup packed light brown sugar
- 1 tablespoon teaspoon ground cinnamon
- 5 sticks unsalted butter cold and cubed
- 1 cup chopped pecans
- 4 large eggs
- 2 cups granulated sugar
- 4 tablespoons all-purpose flour
- 1/4 teaspoon salt
- 2 (29 ounce) cans lite sliced peaches in extra light syrup drained well, juice reserved
- OR USE 6 medium peaches peeled and chopped (about 6 )
- 1 cups powdered sugar
- 2 tablespoons milk
- 1/4 teaspoon vanilla extract
-
Preheat oven to 350°F (177°C) degrees. Line the bottom of a 13 x 18 inch half sheet baking pan with aluminum foil or parchment running in both directions. Leave an overhang on all sides so you can lift the bars out before cutting. Spray with cooking spray and set aside.
-
In a very large bowl, stir the oats, flour, brown sugar, and cinnamon until combined. Cut in the cold butter using a pastry blender or two knives. You want it in pea-sized pieces. Remove 2 cups of the mixture to a small bowl and add the pecans. Set this mixture aside. You'll use it later for the topping.
-
Press the remaining flour oat mixture evenly onto the bottom of the prepared baking sheet. Bake for 15 minutes or until light golden brown. Meanwhile prepare the filling.
-
Whisk the sugar and eggs together until smooth and a pale yellow. Add the flour and salt, whisking until mixed in. Mix in the peaches. If using canned peaches, make sure they are well drained, then fold in. After 15 minutes, remove crust from the oven and pour the filling over the hot crust. Sprinkle with the remainder of the reserved topping mixture.
-
Bake for 32-35 minutes or until the top is a golden brown. Place the pan on a wire rack and let cool in the pan for about 30 minutes. Transfer bars to the refrigerator to cool further for 2 hours. Once cold, remove the bars from the pan using the overhanging parchment. Cut the bars into squares.
-
Stir the confectioners' sugar, cream, and vanilla extract together until smooth. Drizzle generously over each square.
-
For 24 servings – cut 4 x 6 (3” x 3”) squares
-
For 54 servings – cut 6” x 9” (2” x 2” squares)
-
The bars can be easily prepared up to 3 days in advance and stored, covered tightly, in the refrigerator.
-
The bars can be frozen for up to 3 months in a baking pan or heavy duty freezer bag. Thaw overnight in the refrigerator before serving.
Recipe Notes: Adapted from a recipe over at the ever-wonderful Sally’s Baking Addiction.


Explore Aloha Dreams


EXPLORE
If you're planning a vacation to Hawaii, I've got you covered on the very best places to go! From many amazing restaurants to incredible adventures in the surf and on land, this is your go-to source for unique and exciting things to do on the Big Island of Hawaii. Or just take a Virtual Vacation!! Let's go!
SAY YES!
If you've been asked to cook for a large group activity, be it a Girl's Camp or a Graduation Party, say Yes! I'm here to help. From Menus to Game Plans to Recipes, I'll help you keep on schedule and turn out amazingly delicious food if you're cooking for a crowd! My recipes are tested and trusted. Let's cook!
AHONUI
Ever wished you could build your dream home? Like amazing house design and home building ideas? Me too! Join me as I design and build a home on the Big Island of Hawaii. Follow along while I design each room. Enjoy a front row seat for the entire amazing construction process. Let's play!
PARTY
Would you like to throw a Luau, but not sure where to start? Want to know how to build a tiki bar and roast a pig? Here's everything you need to have a luau. How about a Christmas Feast or even a fabulous dinner for your neighborhood supper club? You've come to the right place. Let's party!