No Results Found
The page you requested could not be found. Try refining your search, or use the navigation above to locate the post.
 Aloha Dreams


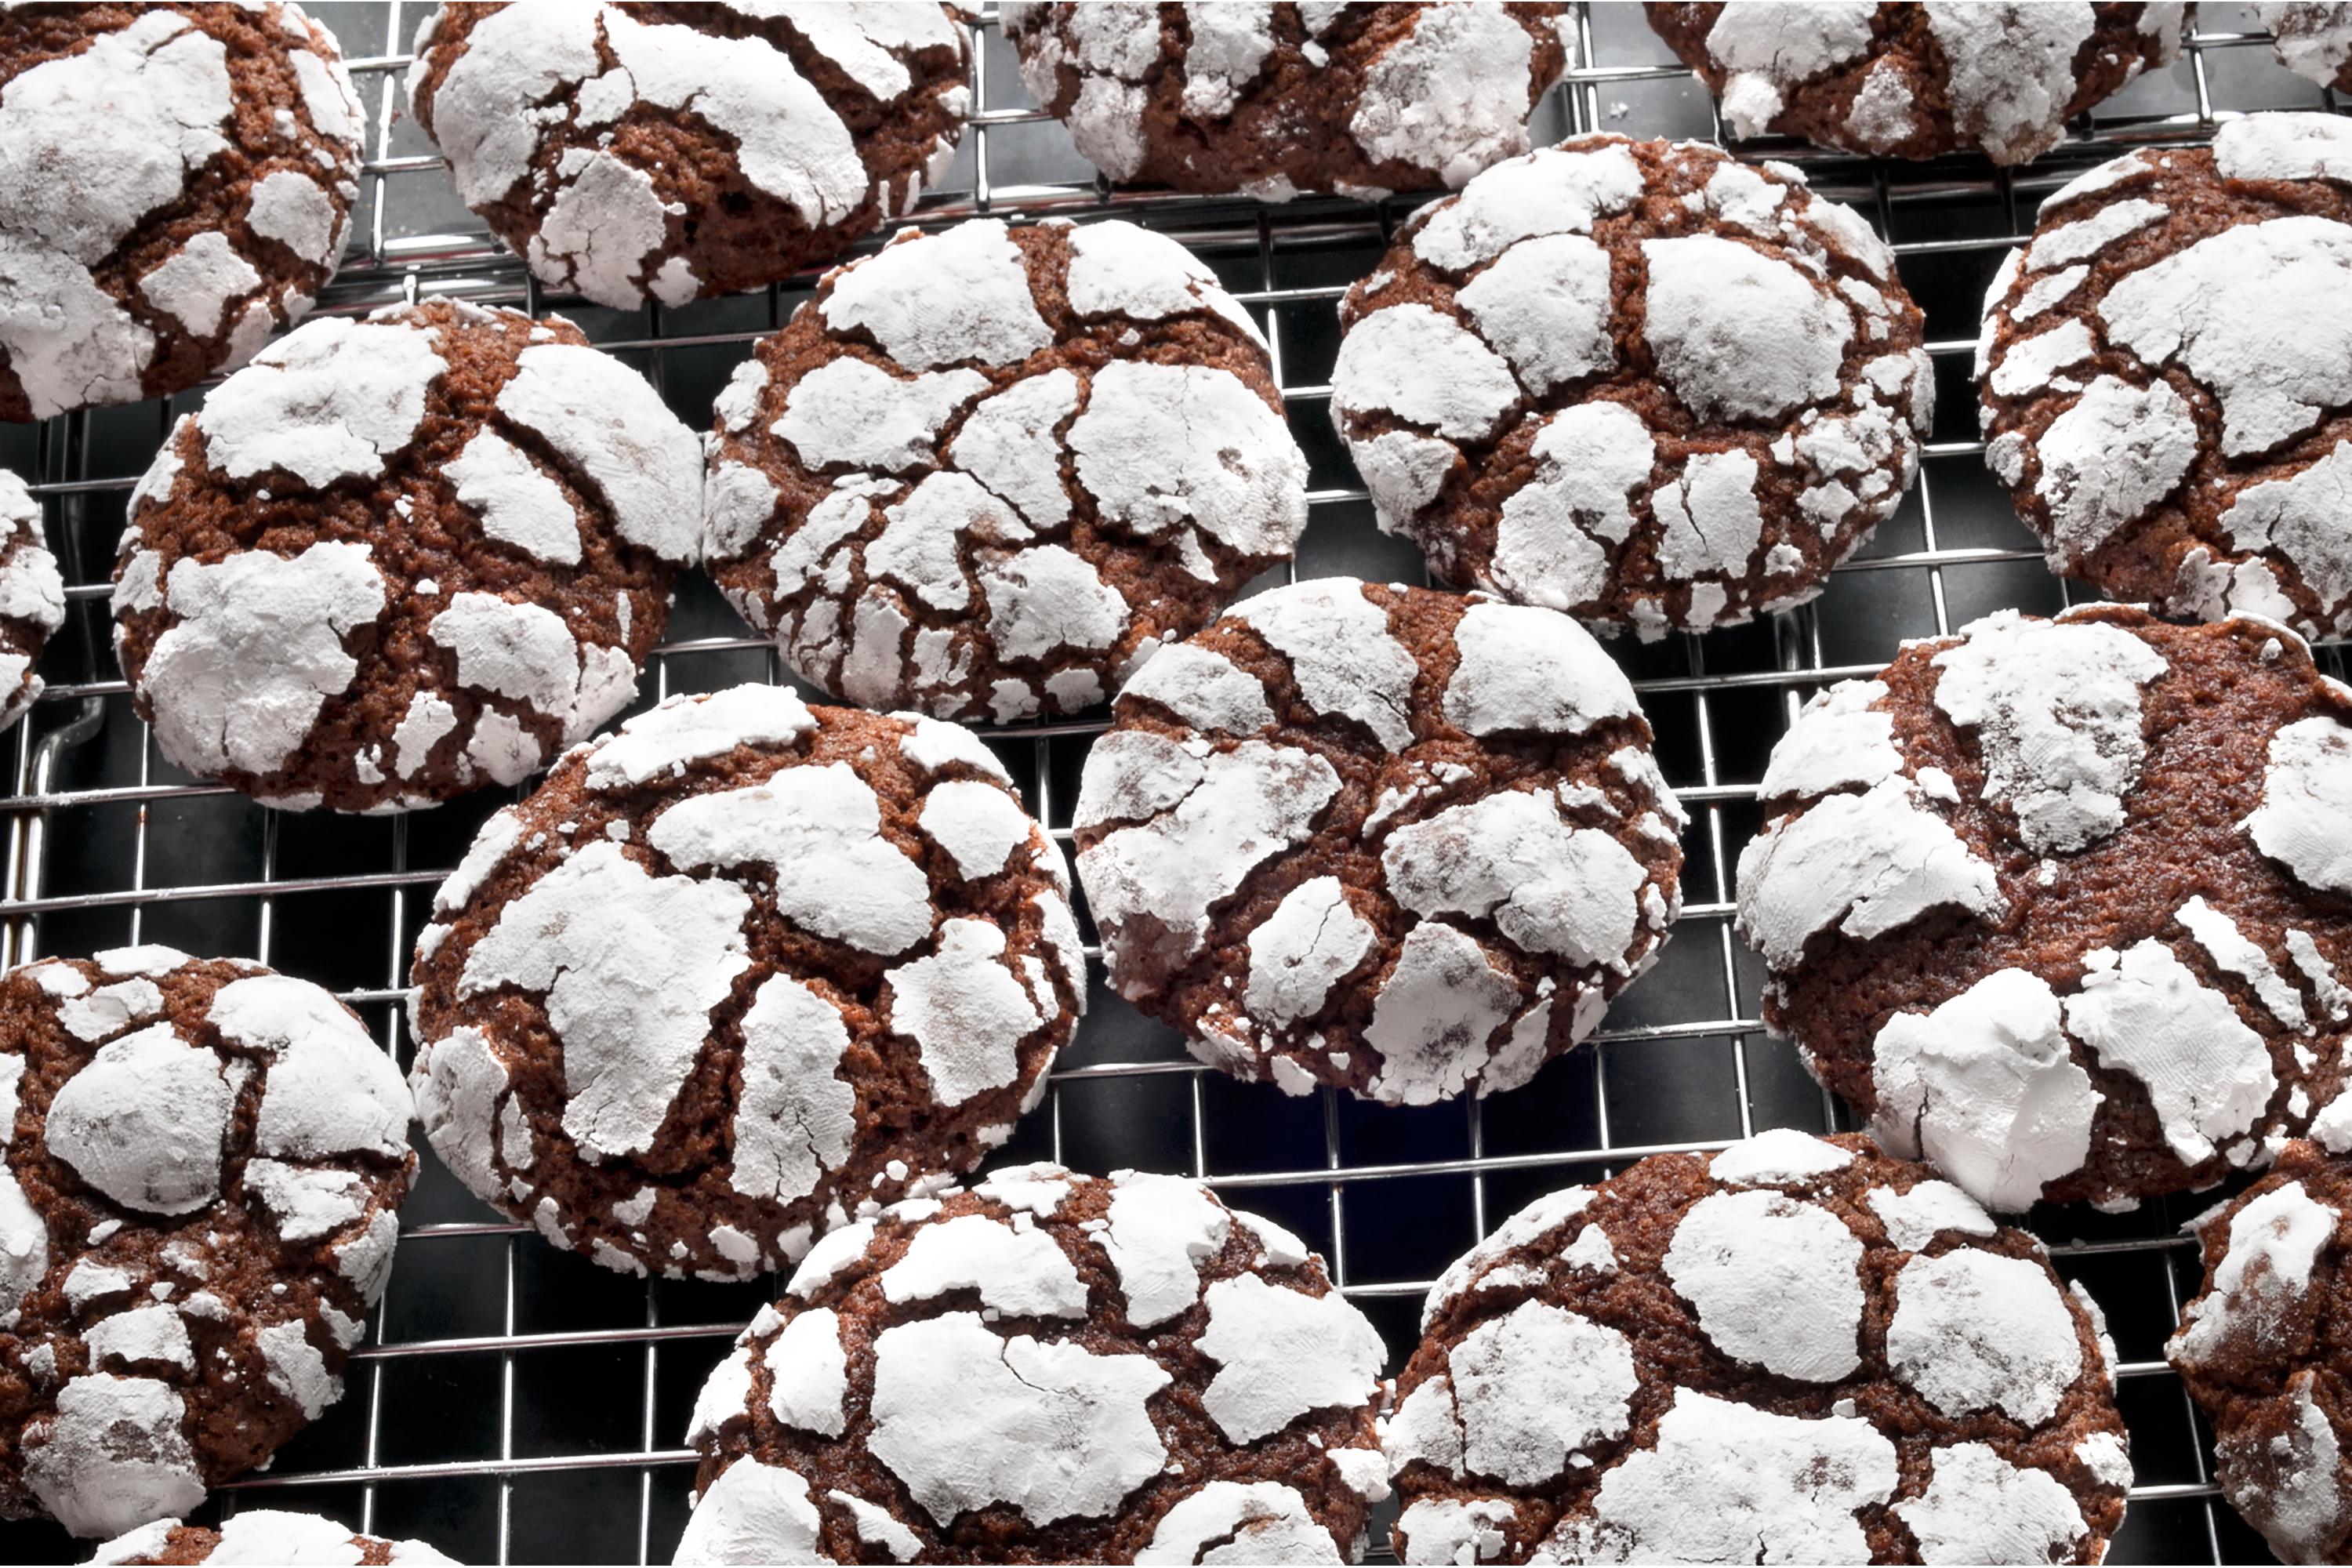
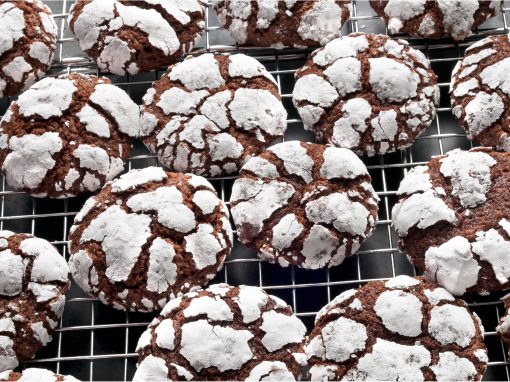
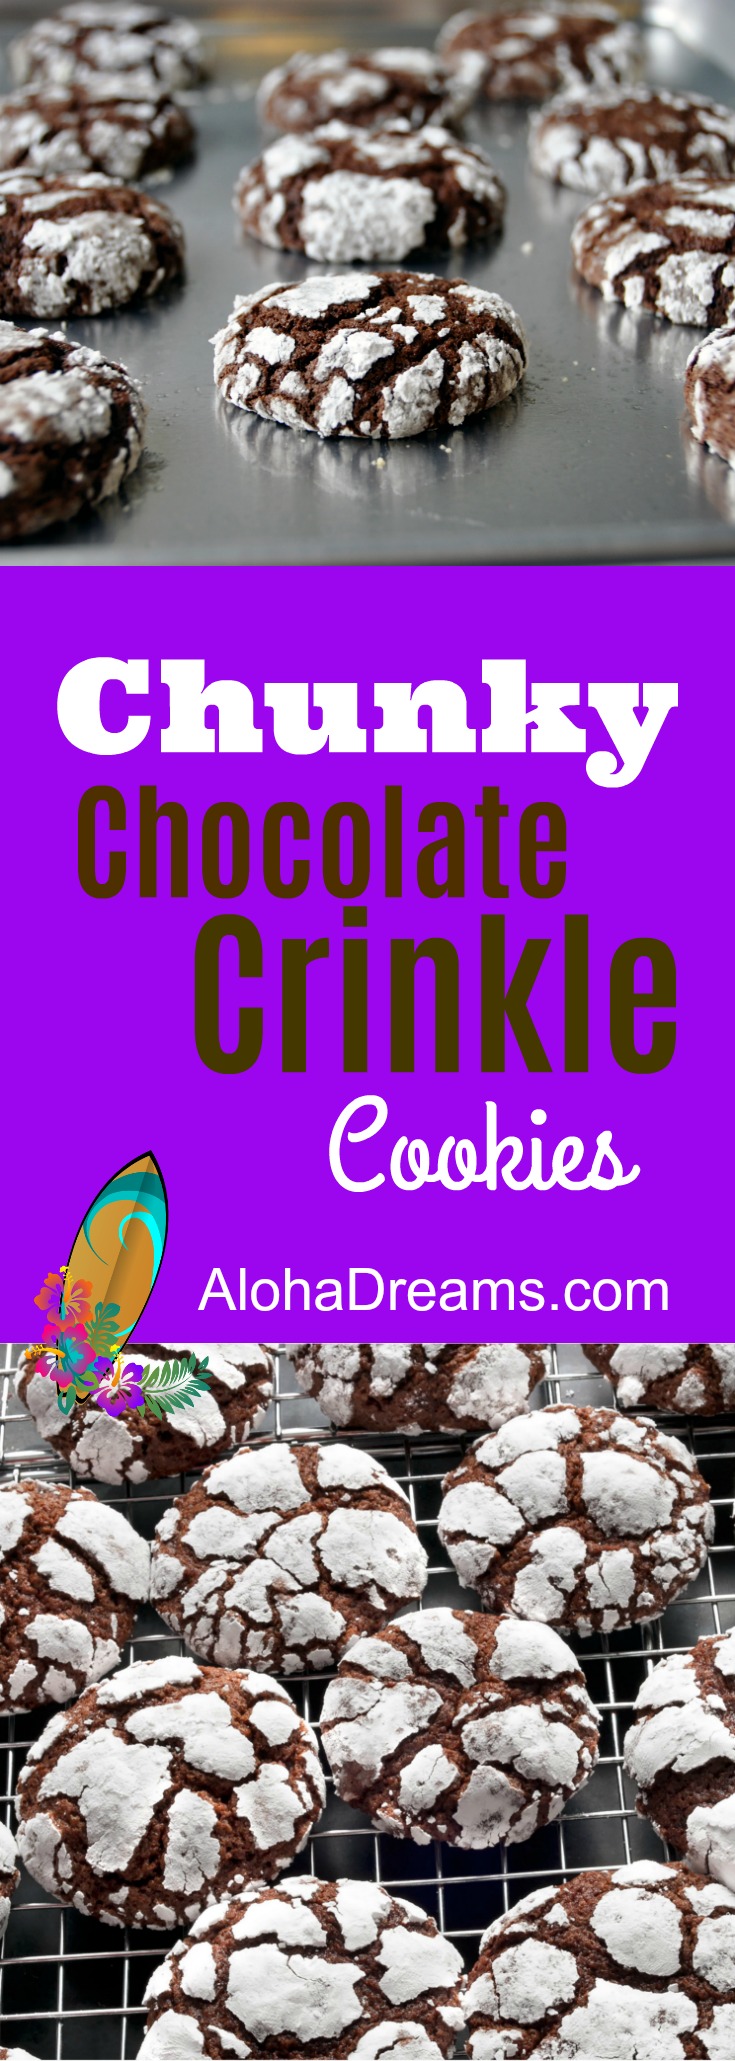
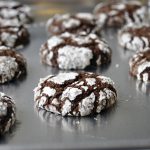
These crinkle cookies stand out from the pack with chocolate goodness throughout. Coated with lots of powered sugar and baked until perfectly chewy, what’s not to love? Don’t these look great!
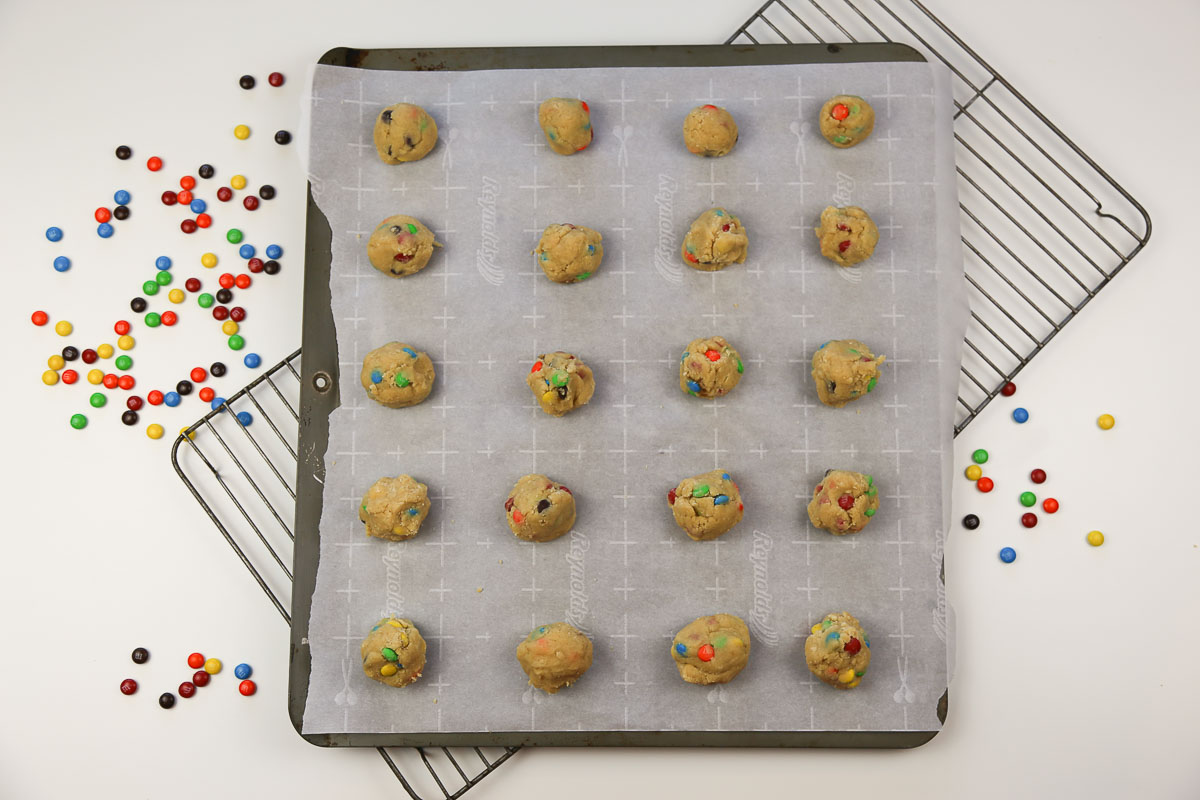
One of the secrets I’ve found to making cookies that cook up uniform and look great is to use a cookie scoop.
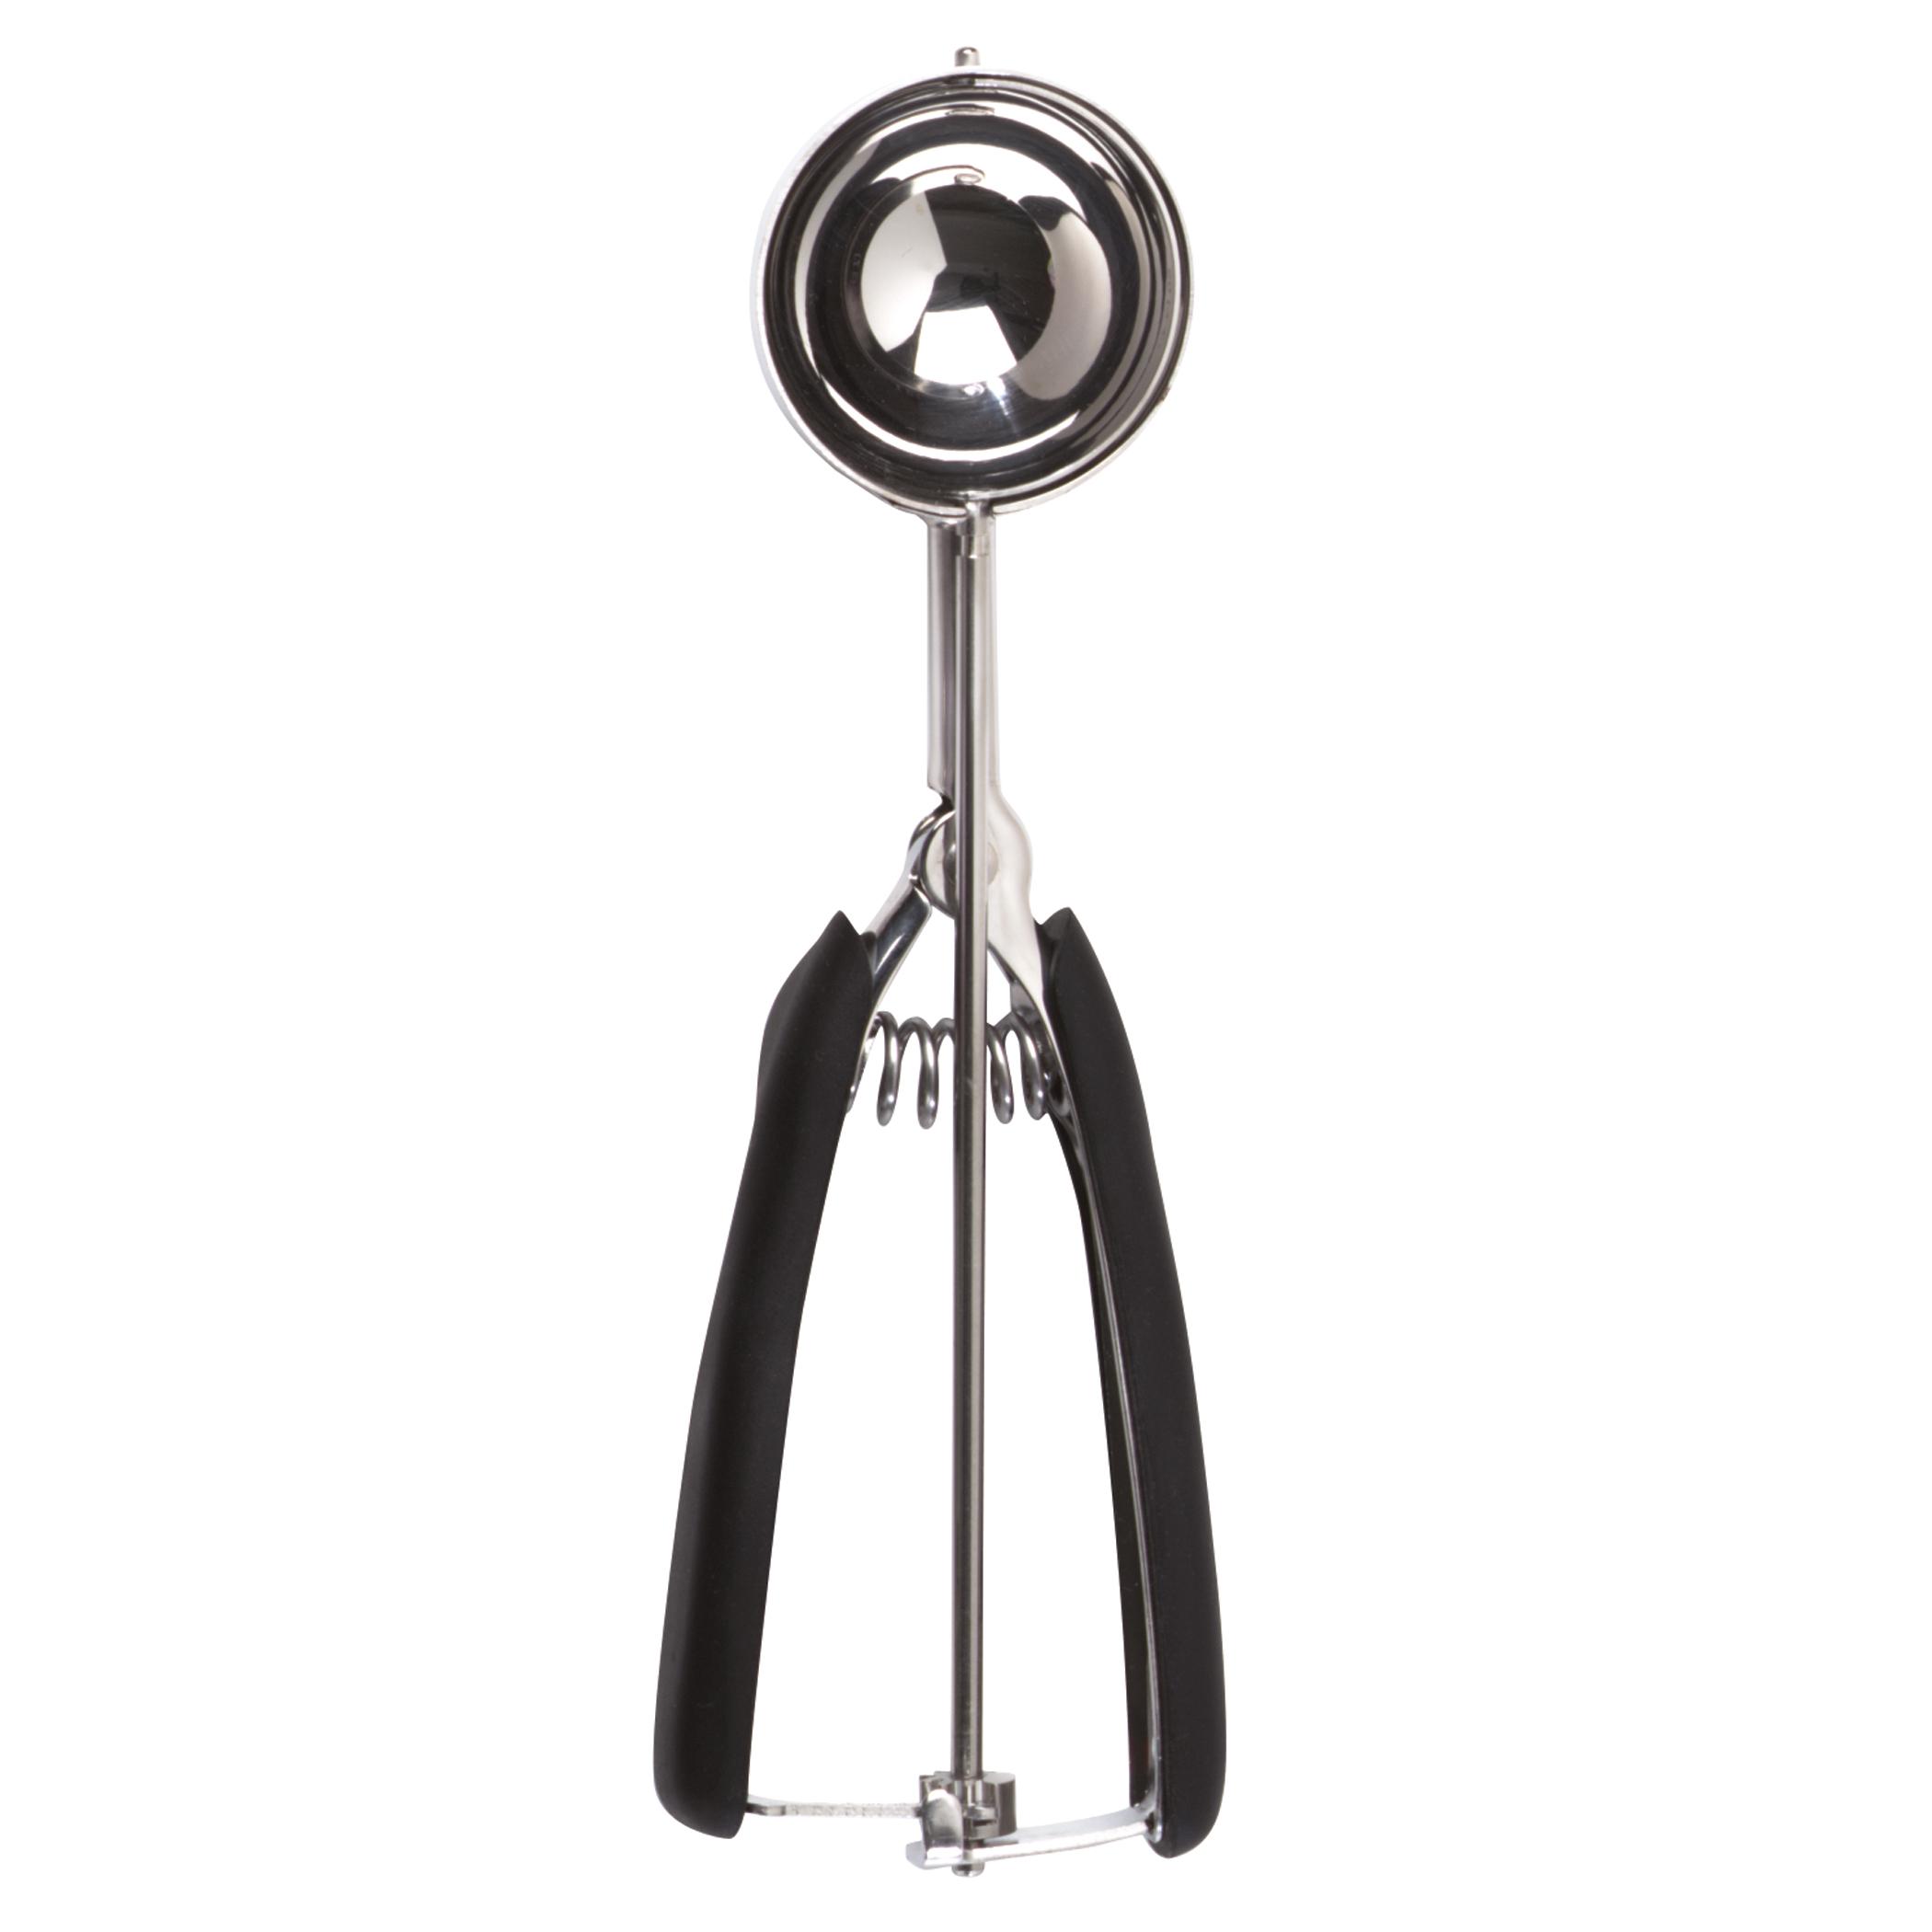
This one is the scooper I use to make uniform size cookies. It produces cookies that are uniform in size and will bake evenly, creating a consistently perfect batch every time!
I'm hoping this site will really help them. If you think so too, please take a minute and send them a link.
In a medium bowl, mix together cocoa, white sugar, and vegetable oil. Beat in eggs one at a time, then stir in the vanilla. In another bowl, combine the flour, baking powder, and salt. Stir the flour mixture into the cocoa mixture. Cover dough, and chill for at least 4 hours or freeze for about 45 minutes.
Line 2 large cookie sheets with parchment paper. Preheat oven to 350 degrees F (175 degrees C). Put 3/4 cup powdered sugar in a small saucer and set aside.
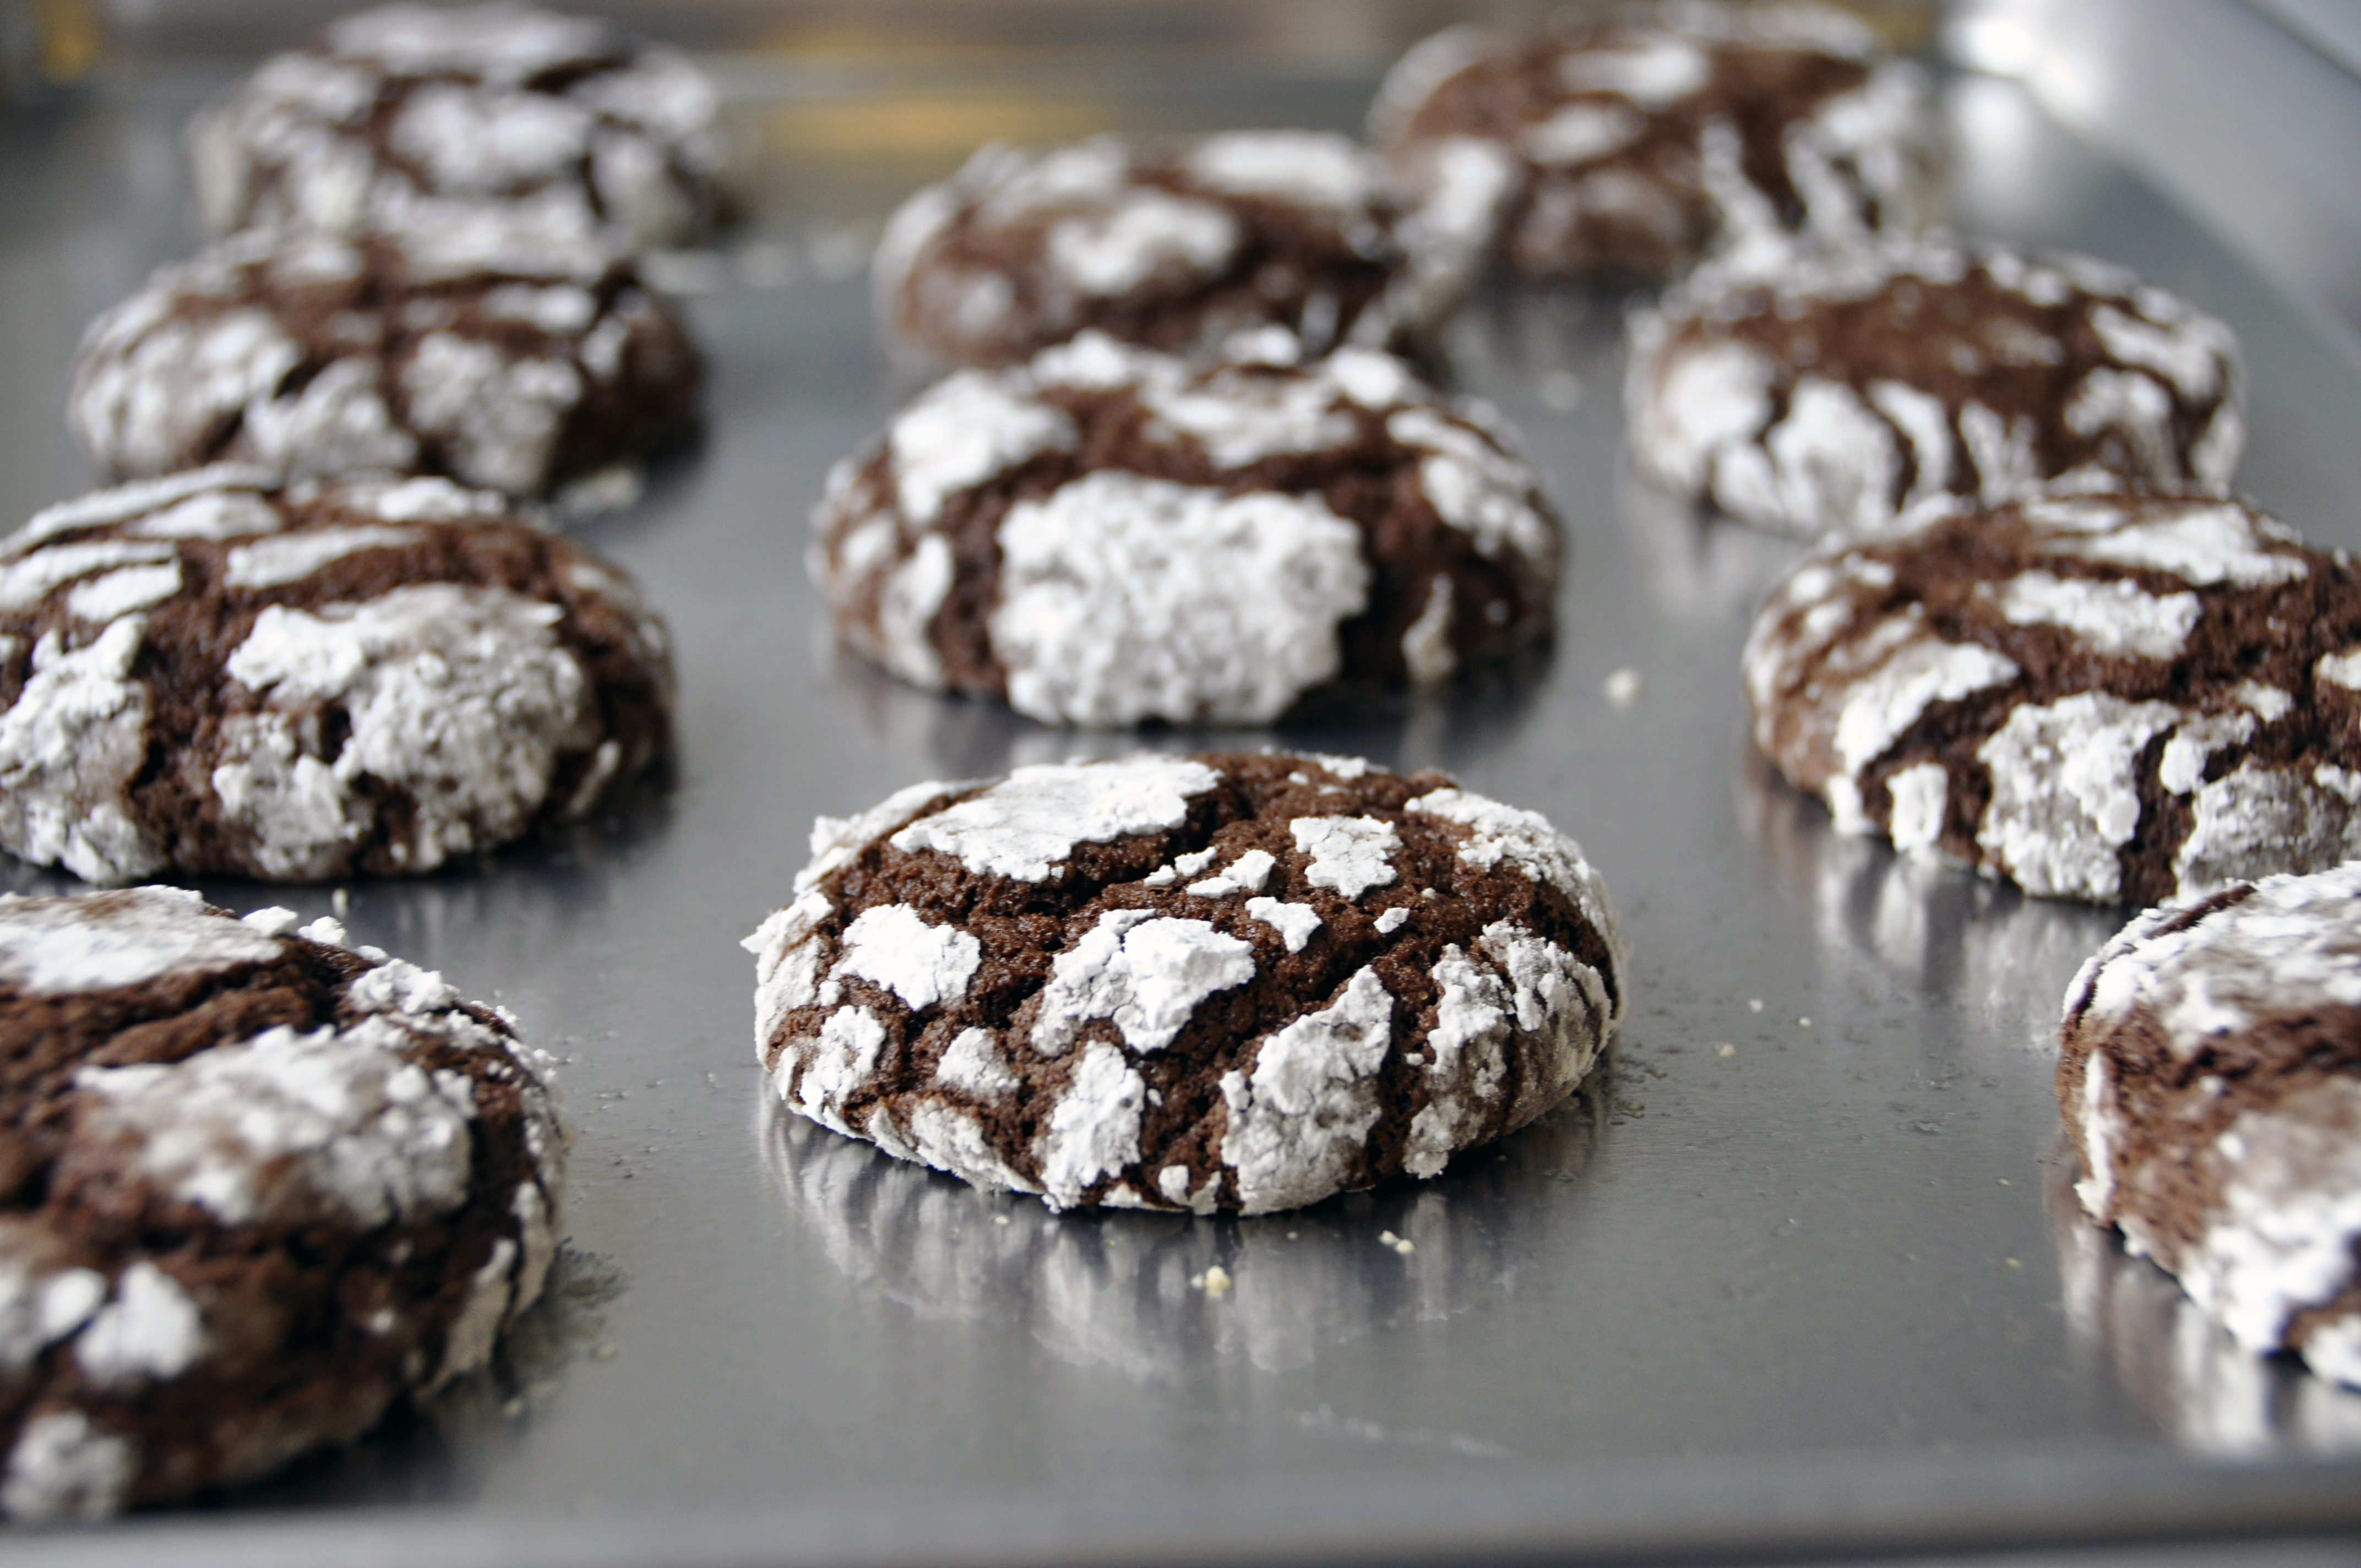
Form cookies by rolling dough into one inch balls or use a number 50-size scoop. You can also use spoons to scoop the dough up. Drop dough balls DIRECTLY into the powdered sugar. Roll to coat each ball thoroughly in the powdered sugar to ensure good crinkling. Place balls on prepared cookie sheets.
Bake in preheated oven for 10 to 12 minutes. Let stand on the cookie sheet for a minute before transferring to wire racks to cool.
Cookies can be stored in an airtight container at room temperature for up to 5 days, and frozen for up to 1 month. After baking, freeze cookies on a baking sheet lined with wax or parchment paper first until firmly frozen, then transfer them to a freezer bag or another airtight container. Otherwise, you'll end up with a mess.
When thawing frozen baked cookies, take them out of the containers and let sit at room temperature so that condensation doesn't form and make them soggy.
The page you requested could not be found. Try refining your search, or use the navigation above to locate the post.

I'm so glad you dropped by. I'm Betsy. Here you'll find my favorite fabulous, trusted recipes - everything from delicious, quick meals for your family to wonderful classics made easy.
I'm also here to help you with large group recipes from 20 to 200. So next opportunity you get to cook for a large group - Say 'Yes!' Then relax. I've got your back.
Ever wished you could build your dream home? How about building your dream home in a tropical paradise? Join me, room by room, as we design and build a fabulous dream home in Hawaii!


If you're planning a vacation to Hawaii, I've got you covered on the very best places to go! From many amazing restaurants to incredible adventures in the surf and on land, this is your go-to source for unique and exciting things to do on the Big Island of Hawaii. Or just take a Virtual Vacation!! Let's go!
If you've been asked to cook for a large group activity, be it a Girl's Camp or a Graduation Party, say Yes! I'm here to help. From Menus to Game Plans to Recipes, I'll help you keep on schedule and turn out amazingly delicious food if you're cooking for a crowd! My recipes are tested and trusted. Let's cook!
Ever wished you could build your dream home? Like amazing house design and home building ideas? Me too! Join me as I design and build a home on the Big Island of Hawaii. Follow along while I design each room. Enjoy a front row seat for the entire amazing construction process. Let's play!
Would you like to throw a Luau, but not sure where to start? Want to know how to build a tiki bar and roast a pig? Here's everything you need to have a luau. How about a Christmas Feast or even a fabulous dinner for your neighborhood supper club? You've come to the right place. Let's party!
 Aloha Dreams
These are a great all-purpose cookie. I wanted a recipe that would hold up well in a sack lunch and be crispy and chewy all at the same time. These nail it.
I like to line my baking sheets with parchment paper for easy release and clean up!
I'm hoping this site will really help them. If you think so too, please take a minute and send them a link.


Adjust oven racks to the 2 middle positions and preheat oven to 350 degrees F (175 degrees C). Line 2 large baking sheets with parchment paper. Set aside.
In a medium bowl, whisk together flour, baking soda, cream of tartar and salt. Spoon your flour into your measuring cup, don’t scoop. Better yet, invest in a scale. Set aside.
Cream together the butter, white sugar, and brown sugar until smooth, a couple minutes. Add vanilla and water then beat in the eggs one at a time. Drop by large spoon-fulls onto parchment paper.
Cookies can be stored in an airtight container at room temperature for up to 5 days, and frozen for up to 1 month. Freeze your baked cookies on the baking sheets lined with the parchment paper first, until firm, and then transfer them to a freezer bag or another airtight container.
When ready to serve take frozen baked cookies out of their containers and place them on a paper towel-lined plate to thaw at room temperature.
Spoon your flour into your cup, don’t scoop. Better yet, invest in a scale.
The page you requested could not be found. Try refining your search, or use the navigation above to locate the post.
I'm so glad you dropped by. I'm Betsy. Here you'll find my favorite fabulous, trusted recipes - everything from delicious, quick meals for your family to wonderful classics made easy.
I'm also here to help you with large group recipes from 20 to 200. So next opportunity you get to cook for a large group - Say 'Yes!' Then relax. I've got your back.
Ever wished you could build your dream home? How about building your dream home in a tropical paradise? Join me, room by room, as we design and build a fabulous dream home in Hawaii!
If you're planning a vacation to Hawaii, I've got you covered on the very best places to go! From many amazing restaurants to incredible adventures in the surf and on land, this is your go-to source for unique and exciting things to do on the Big Island of Hawaii. Or just take a Virtual Vacation!! Let's go!
If you've been asked to cook for a large group activity, be it a Girl's Camp or a Graduation Party, say Yes! I'm here to help. From Menus to Game Plans to Recipes, I'll help you keep on schedule and turn out amazingly delicious food if you're cooking for a crowd! My recipes are tested and trusted. Let's cook!
Ever wished you could build your dream home? Like amazing house design and home building ideas? Me too! Join me as I design and build a home on the Big Island of Hawaii. Follow along while I design each room. Enjoy a front row seat for the entire amazing construction process. Let's play!
Would you like to throw a Luau, but not sure where to start? Want to know how to build a tiki bar and roast a pig? Here's everything you need to have a luau. How about a Christmas Feast or even a fabulous dinner for your neighborhood supper club? You've come to the right place. Let's party!
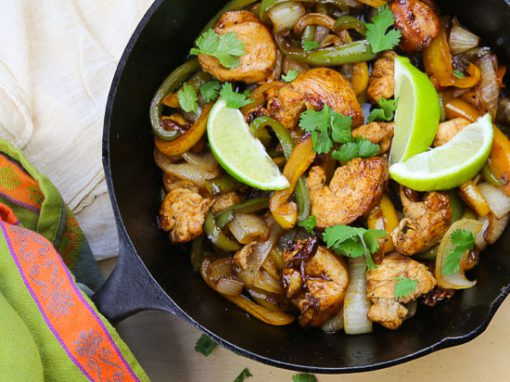

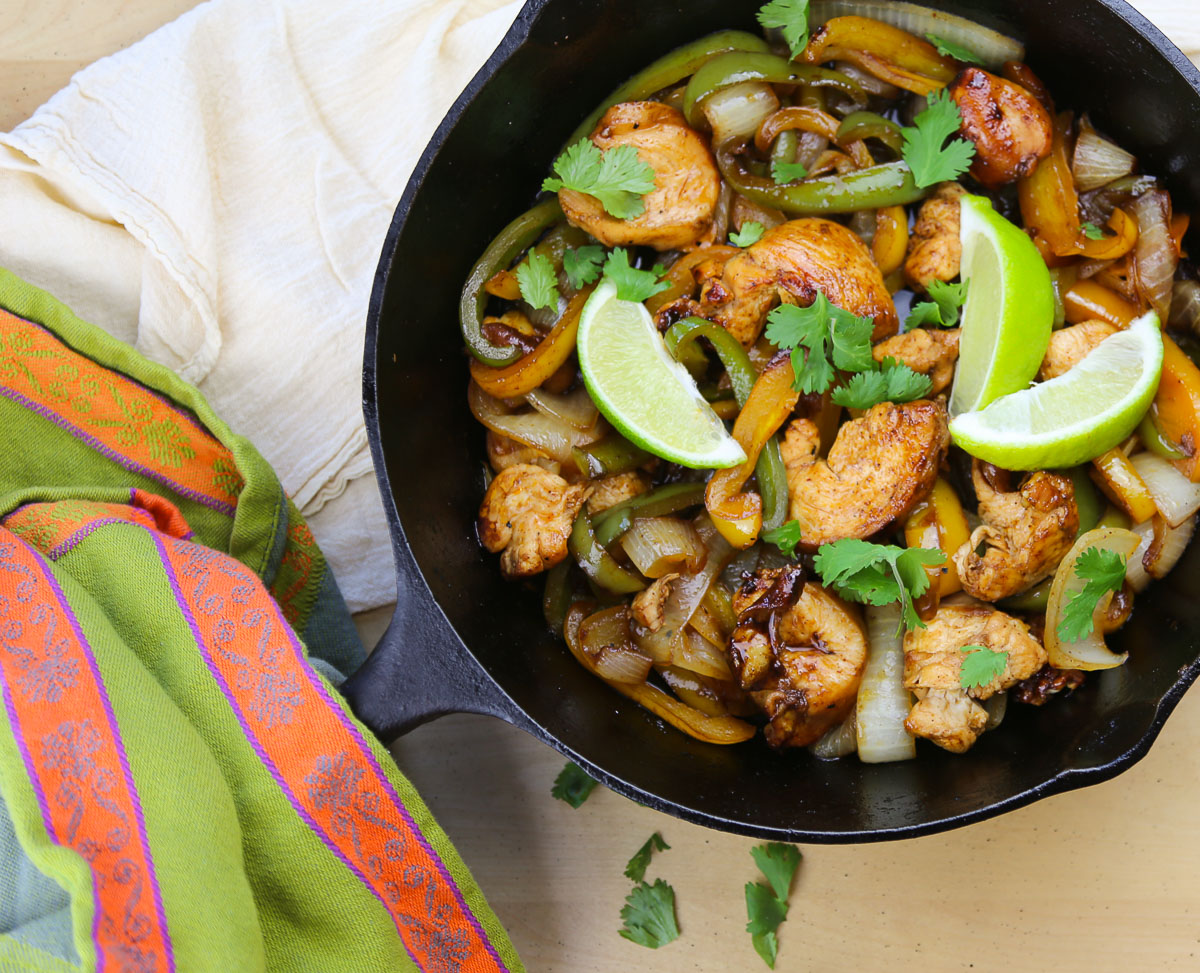
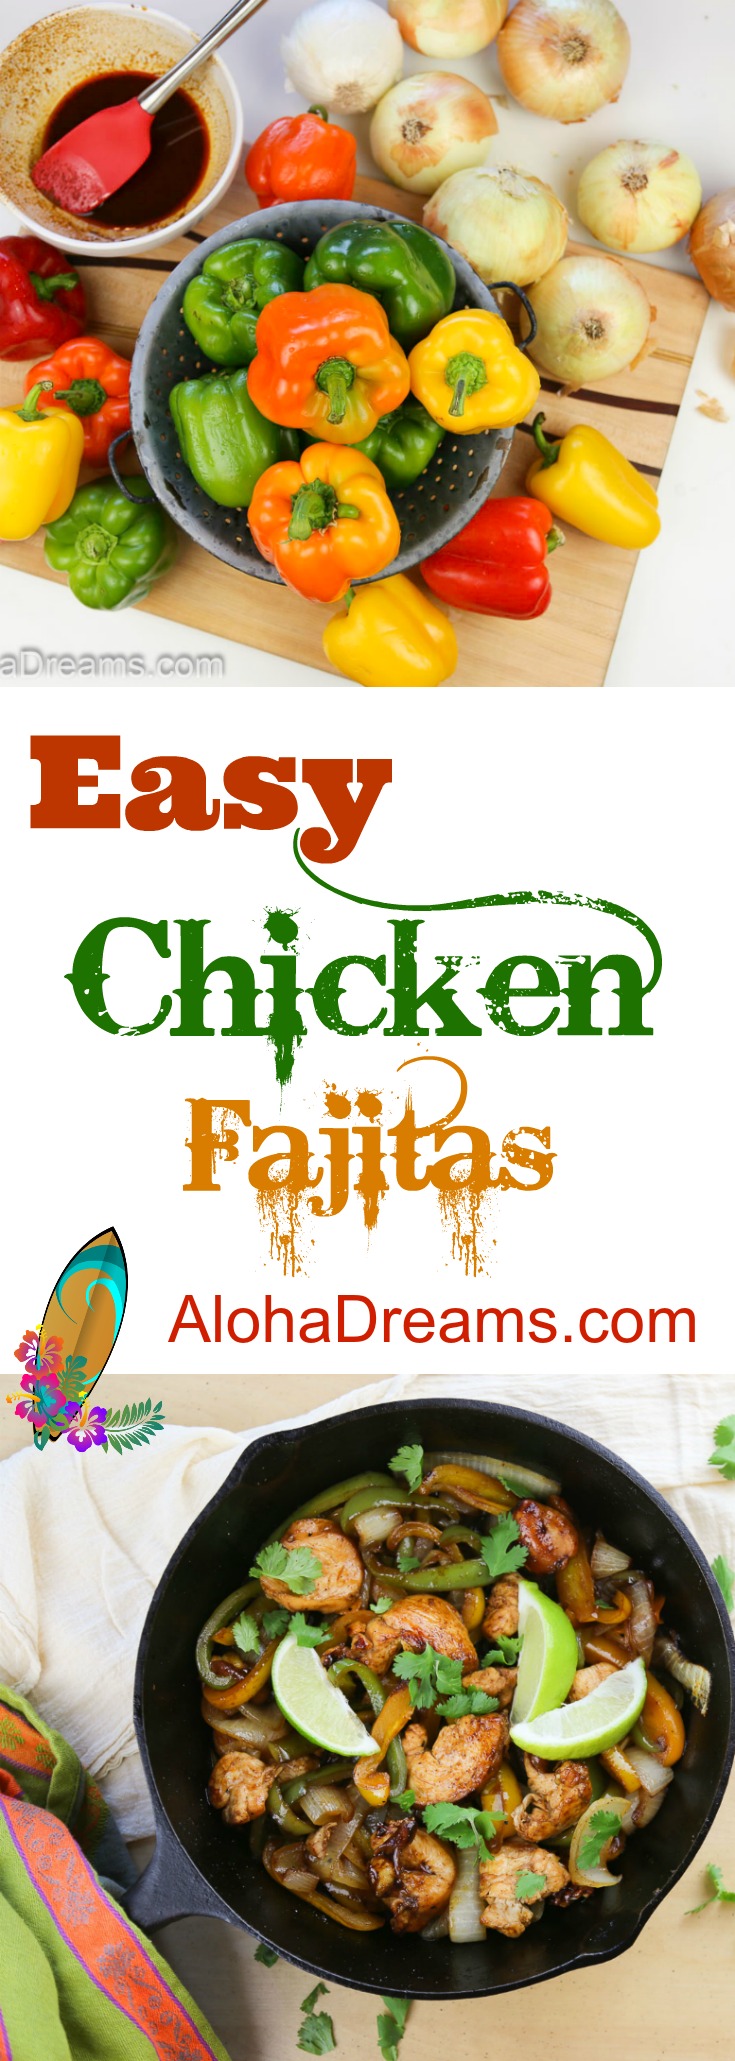
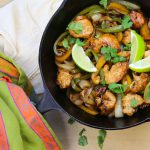
These chicken fajitas are delicious straight from your sizzling skillet. Or you can make them in advance and freeze for a quick, easy re-heat meal. I’ve also included a make-ahead chicken fajitas for a crowd recipe at the end of the post in case you’re cooking for a large group. It either serves a crowd of 45 or can be frozen in smaller batches for many quick, wonderful family dinners with minimal work after a busy day. Either way – enjoy!
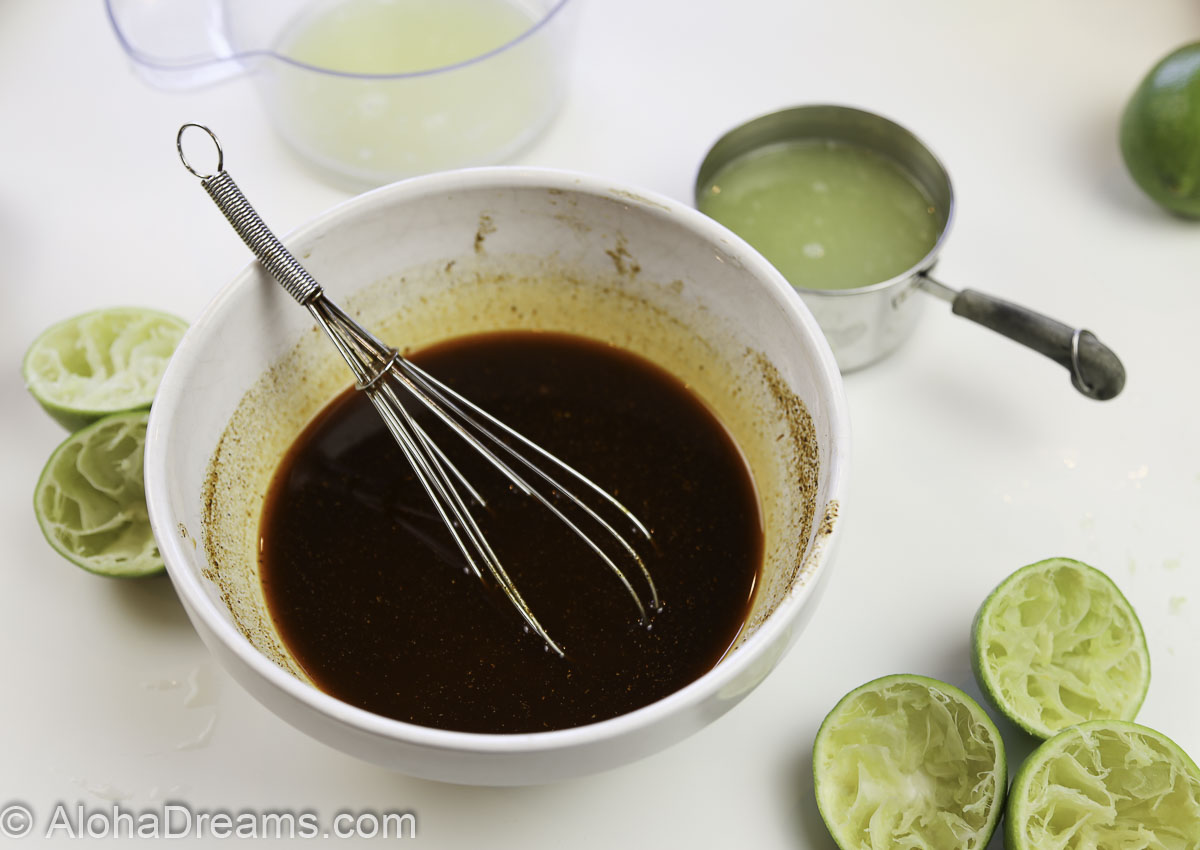
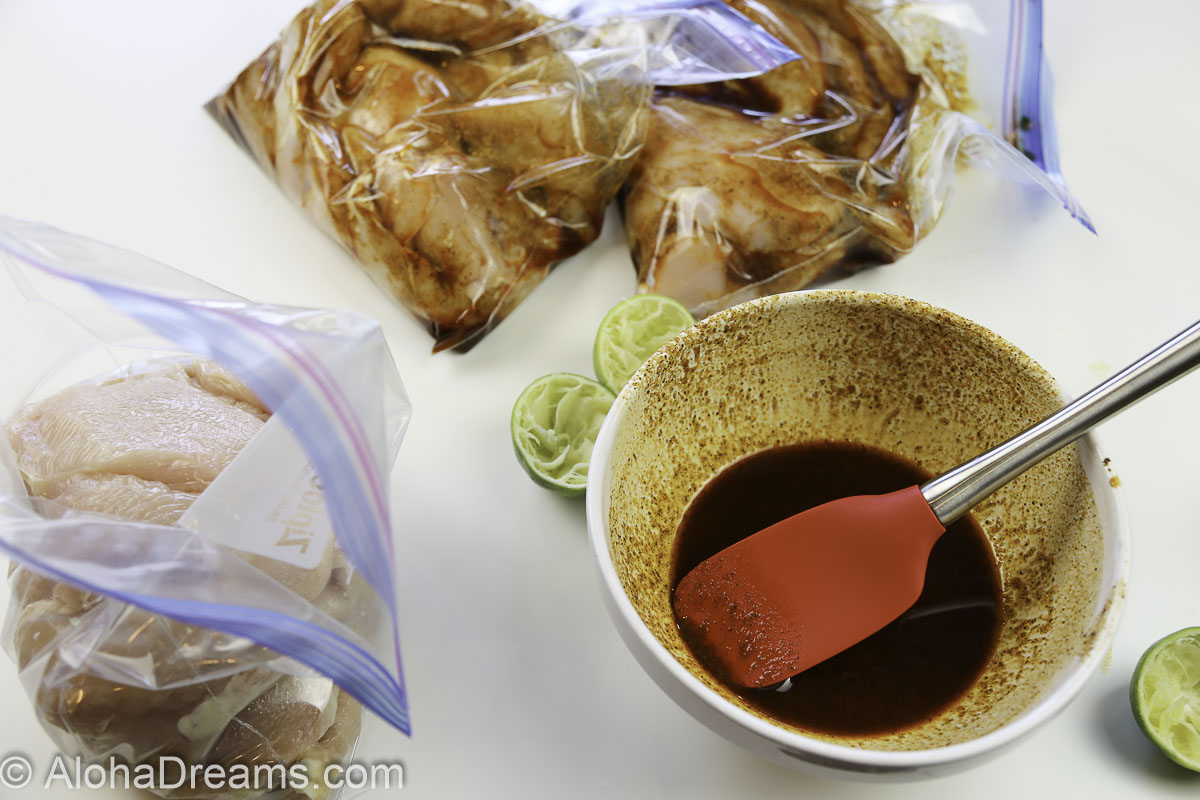
In a large bowl, combine all marinade ingredients. Whisk to combine and set aside.
To help the chicken breasts cook more evenly, butterfly them so they are roughly the same thickness, approximately ½ inch thick.
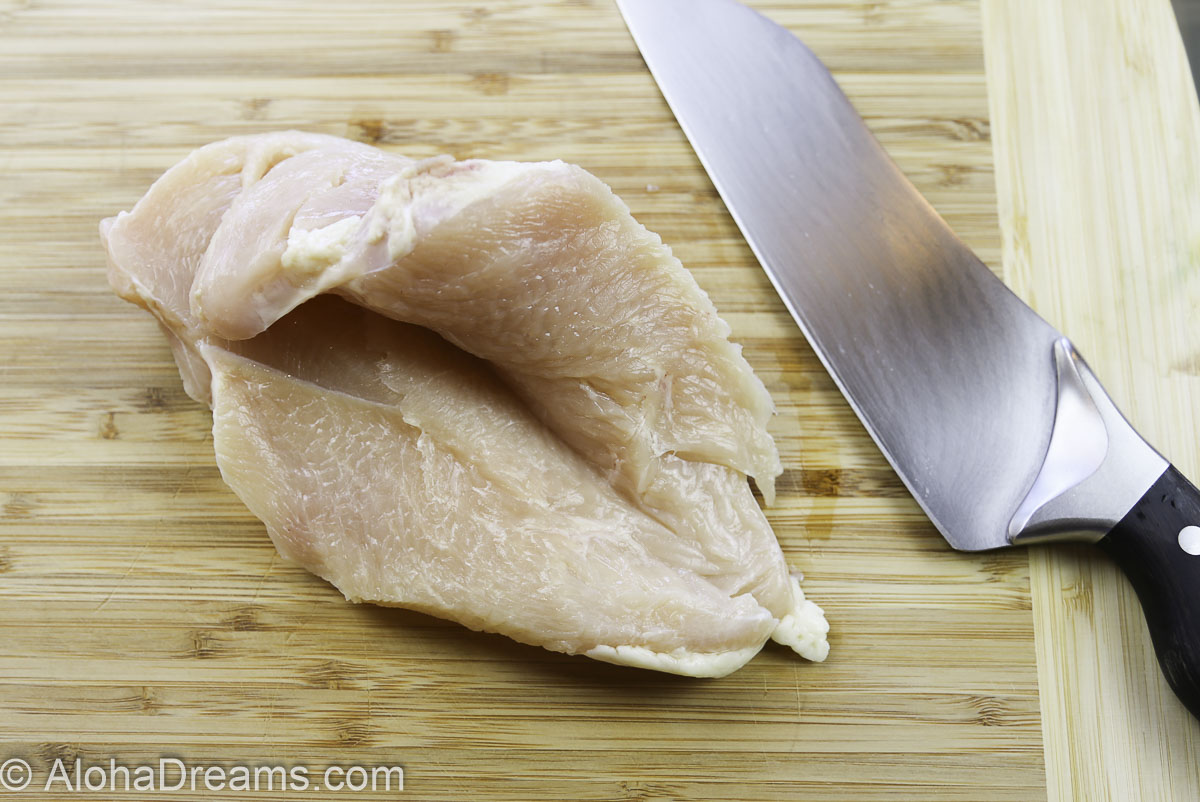
Like so.
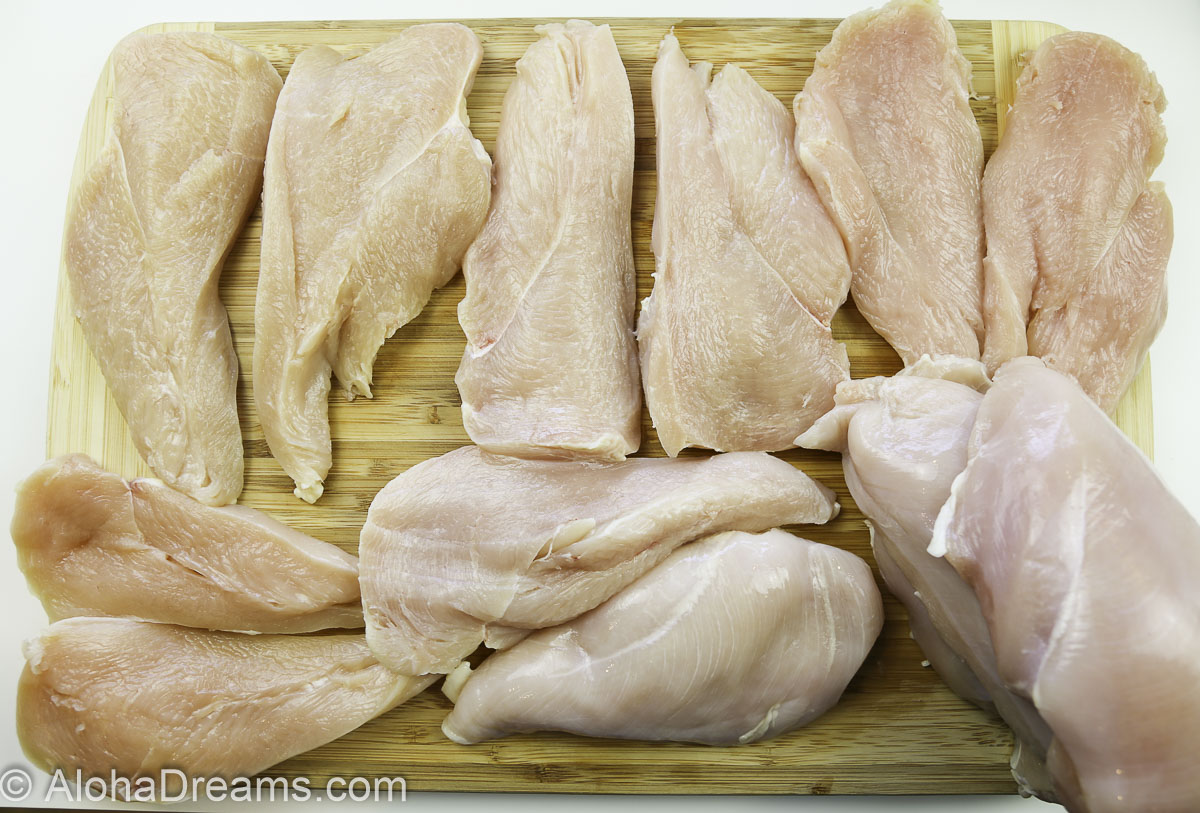
Divide chicken between one or several (if you’re making the large batch version of the recipe) 1 gallon freezer bags then one-third of the marinade to the bag(s) containing the chicken, dividing between the bags if using more than one bag. Set aside the remaining two-thirds of the marinade for the vegetables. Gently work the marinade throughout the bags to completely coat the chicken and seal, pressing air out. Refrigerate marinated chicken between at least 1 and up to 3 hours.
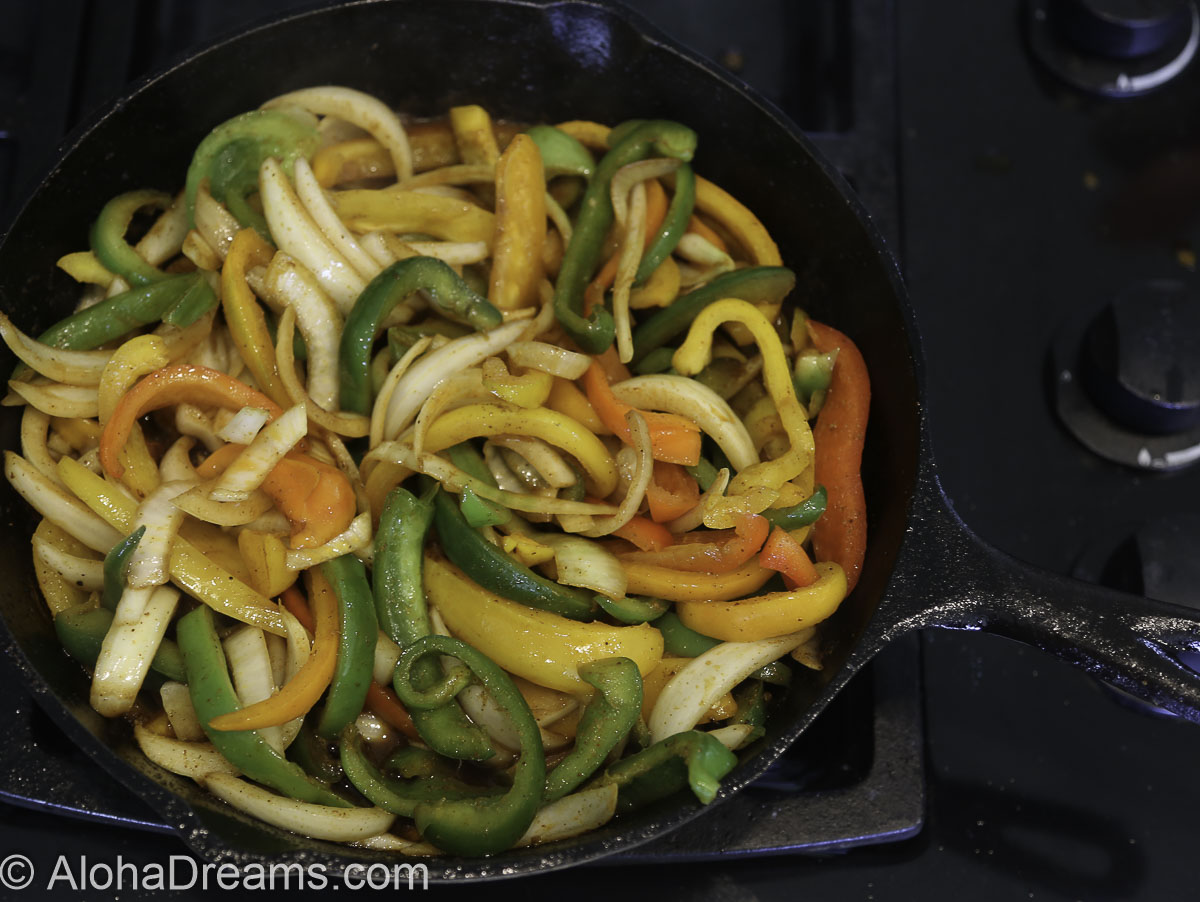
While the chicken marinates you can process the vegetables. Aren’t these peppers beautiful!
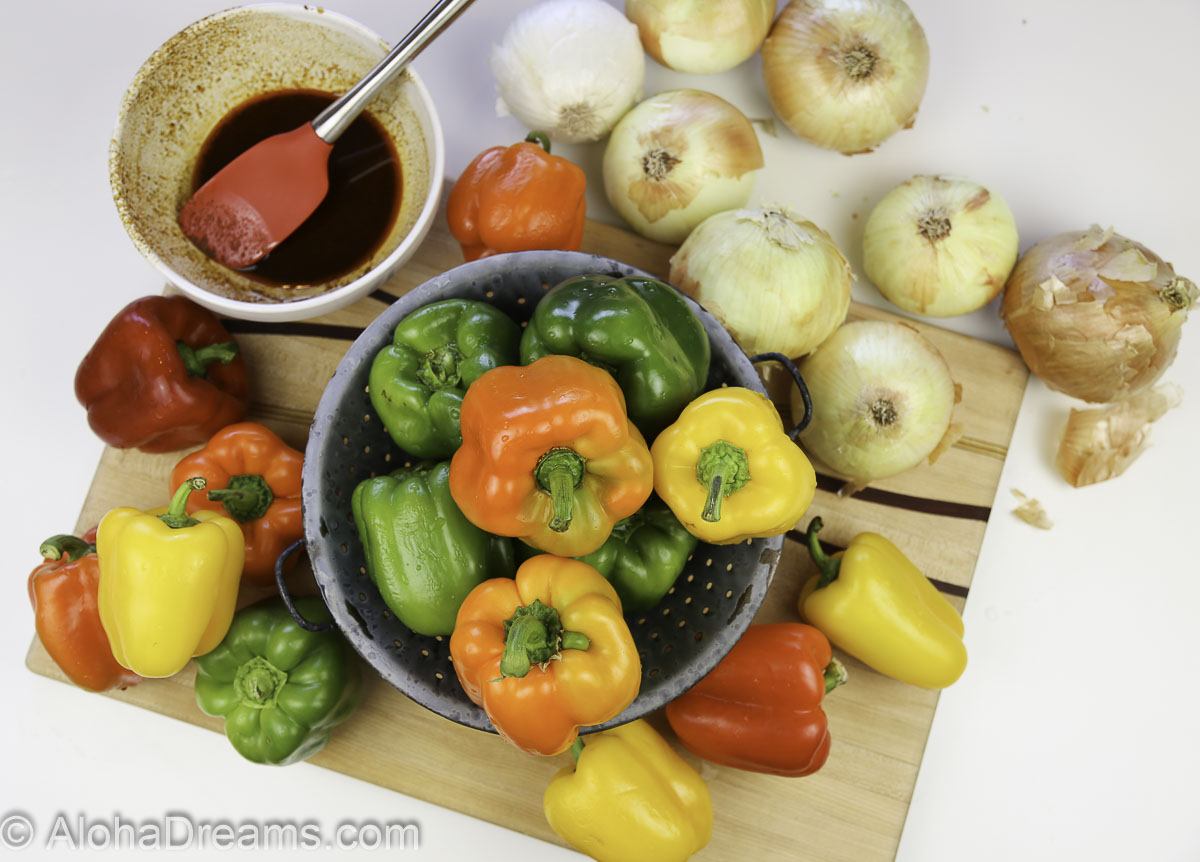
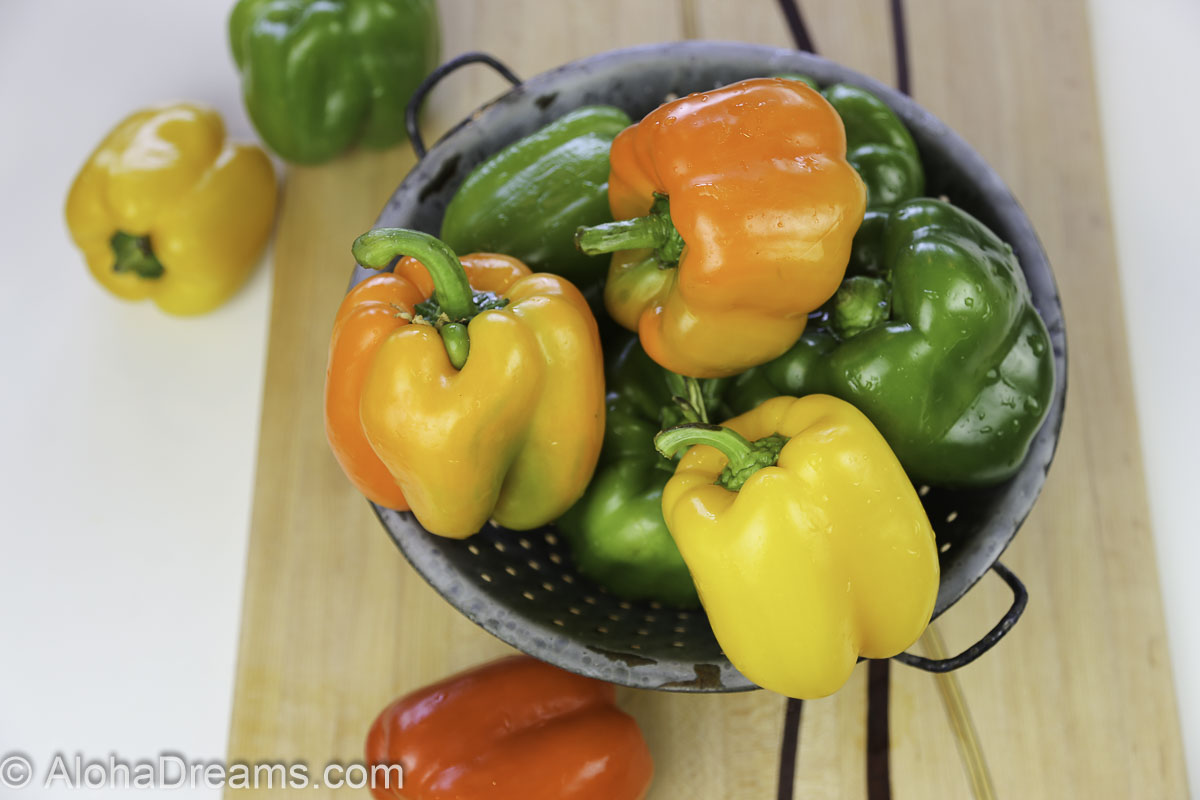
Simply cut the onions and peppers in ½ inch strips and add to a large bowl. You may have to do this in 2 batches depending on the size of your large bowl.
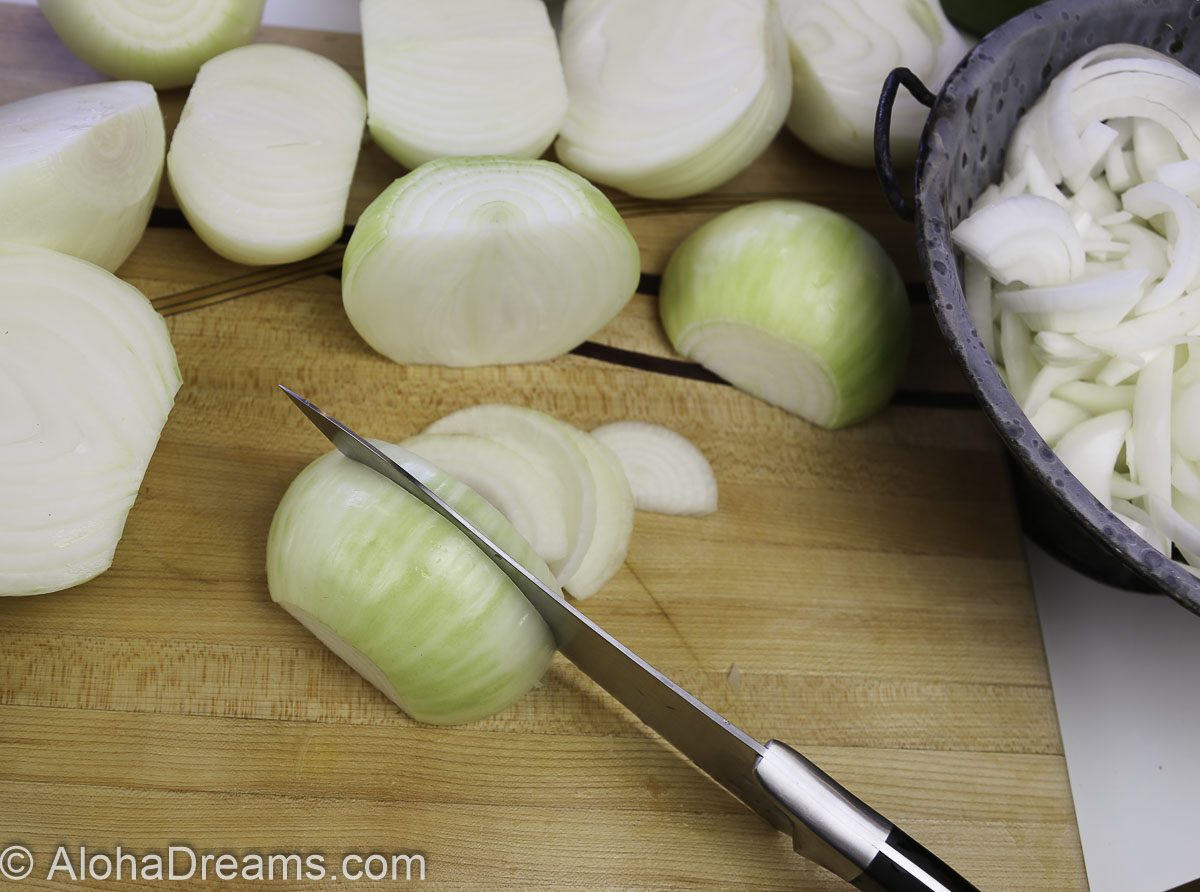
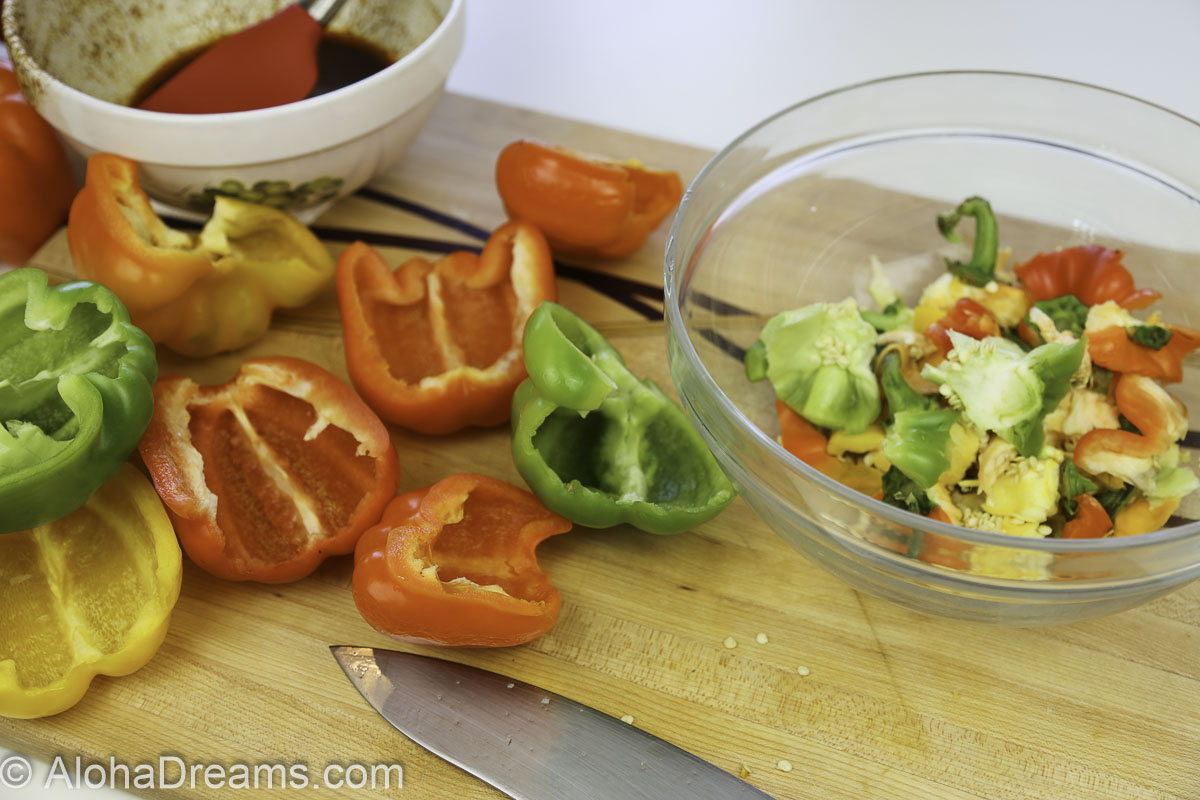
I like to take a page out of Rachel Ray’s book and use a ‘trash’ bowl. All garbage goes in the bowl and then it’s disposed of once you’re done. It’s a real time saver and helps keep your prep area clean and organized. A real plus if you’re cooking in larger quantities.
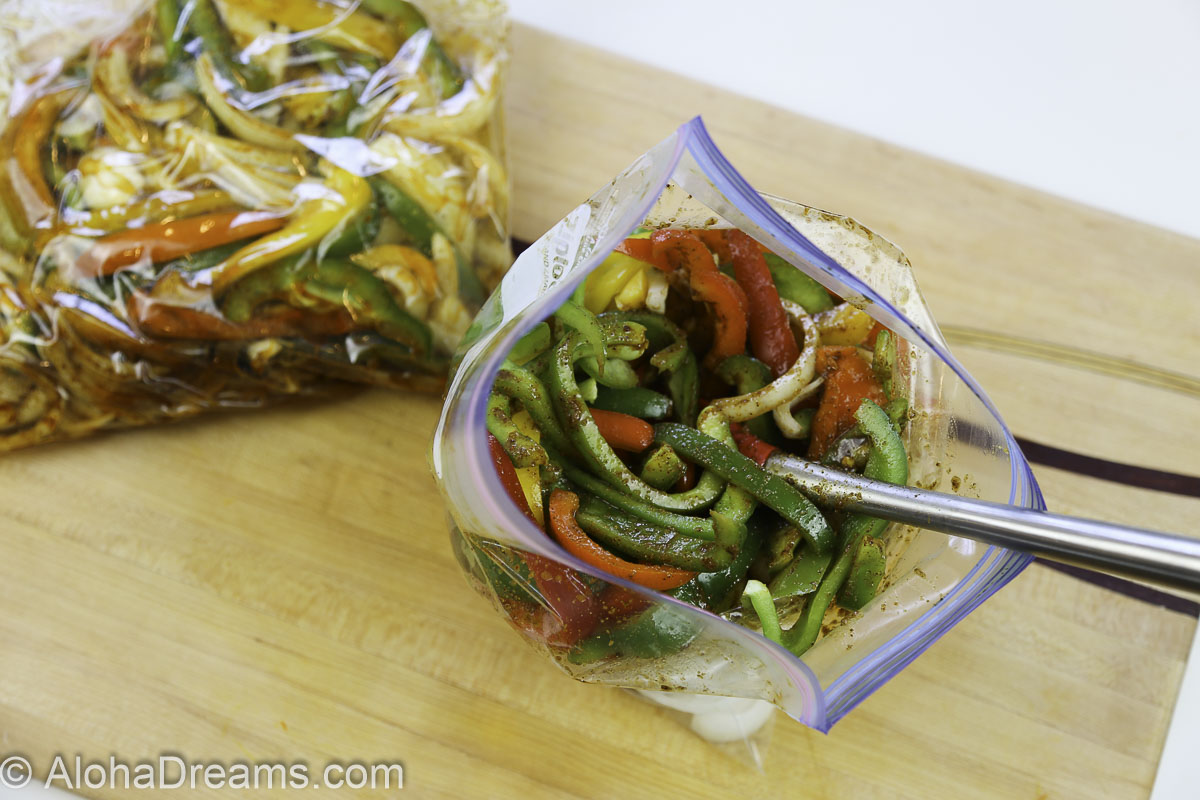
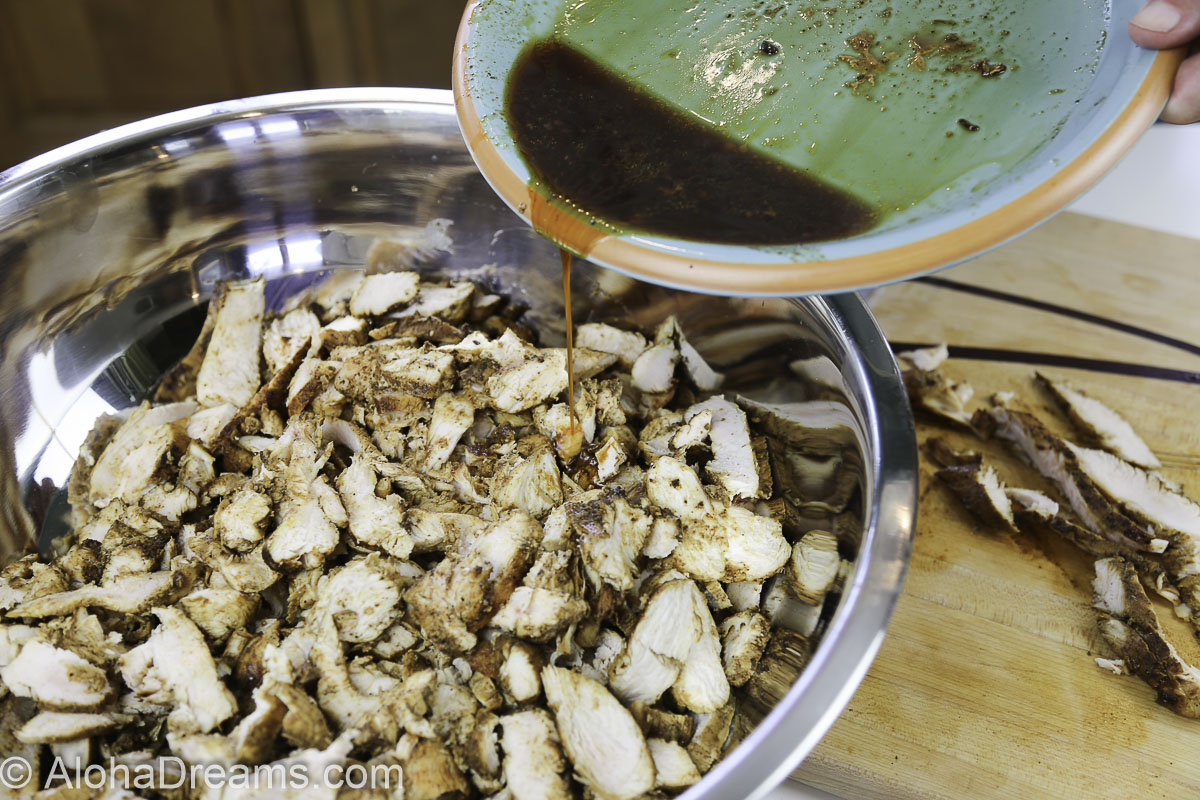
Pour the reserved marinade over the vegetables and toss well to evenly coat the vegetables with the marinade. Divide the vegetables between one or several (1 gallon) freezer bags and seal, pressing the air out. The marinade is acting as a seasoning for the vegetables at this point more than an actual marinade. Refrigerate until ready to cook.
When ready to cook, heat 2 tablespoons canola oil in your largest, heaviest skillet (preferably cast iron), over medium high heat. When smoking hot, add enough chicken to form 1 layer deep.
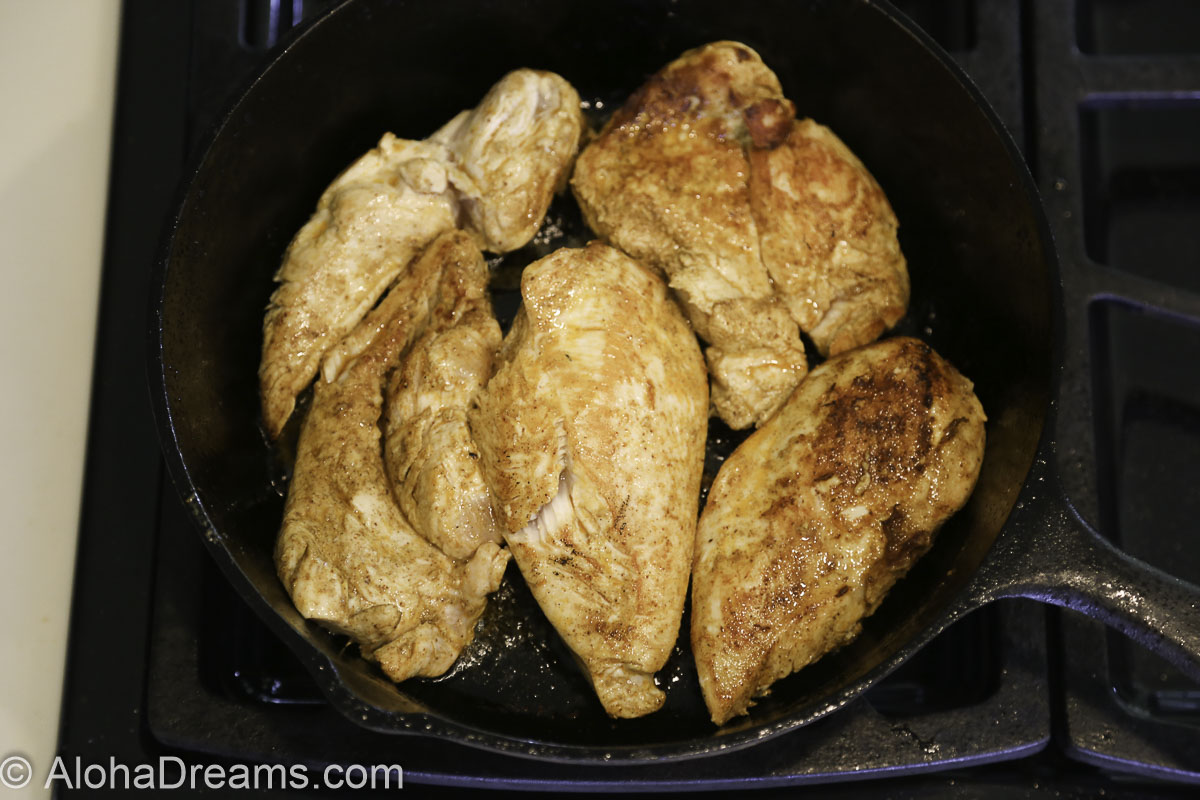
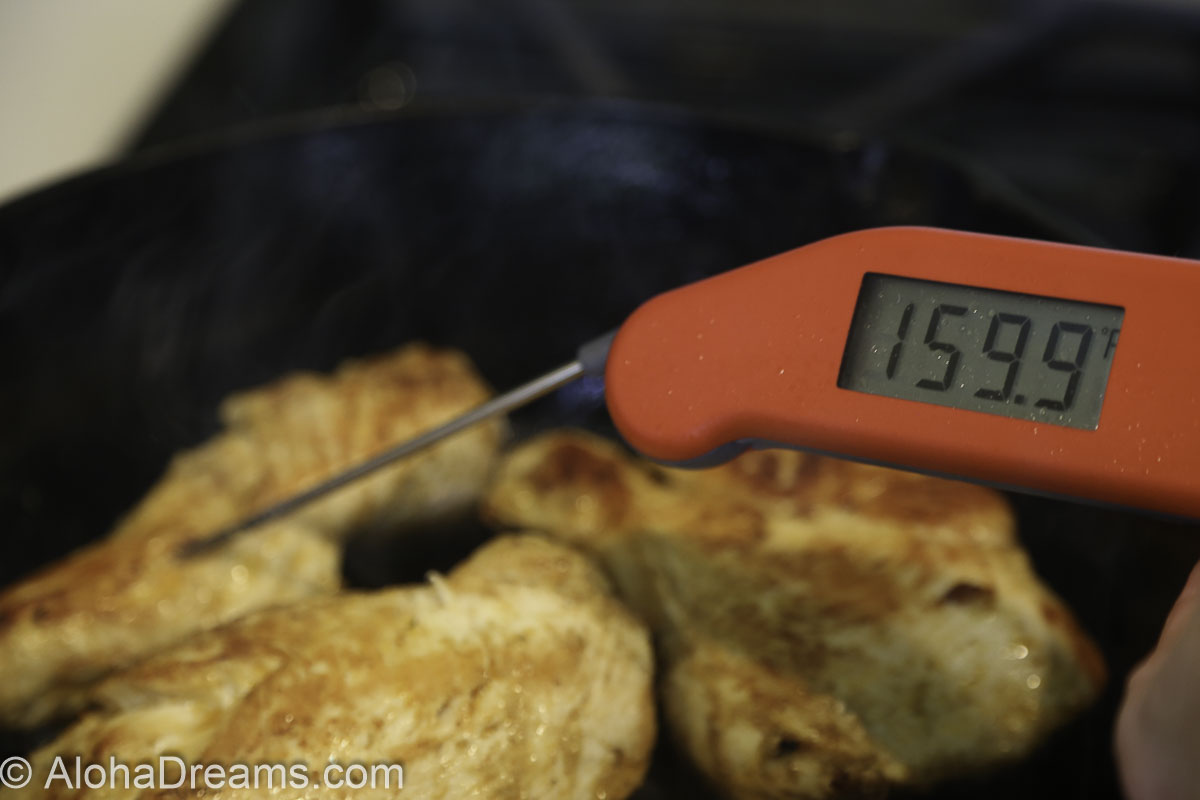
Cook the chicken about 8 – 10 minutes until golden brown on both sides and cooked through, turning every couple minutes. Chicken is done when breasts reach between150 and 160 degrees on an instant read thermometer (which I recommend and love!) If you’re at all unsure cut each piece in half from side to side once you think it’s done. If it’s not done continue cooking until it is.
When done, remove chicken to several plates to cool. Continue cooking chicken in batches until all chicken is cooked. When all batches of the chicken are cooked, sauté the vegetables, in batches if necessary, until they are mostly softened and just beginning to caramelize.
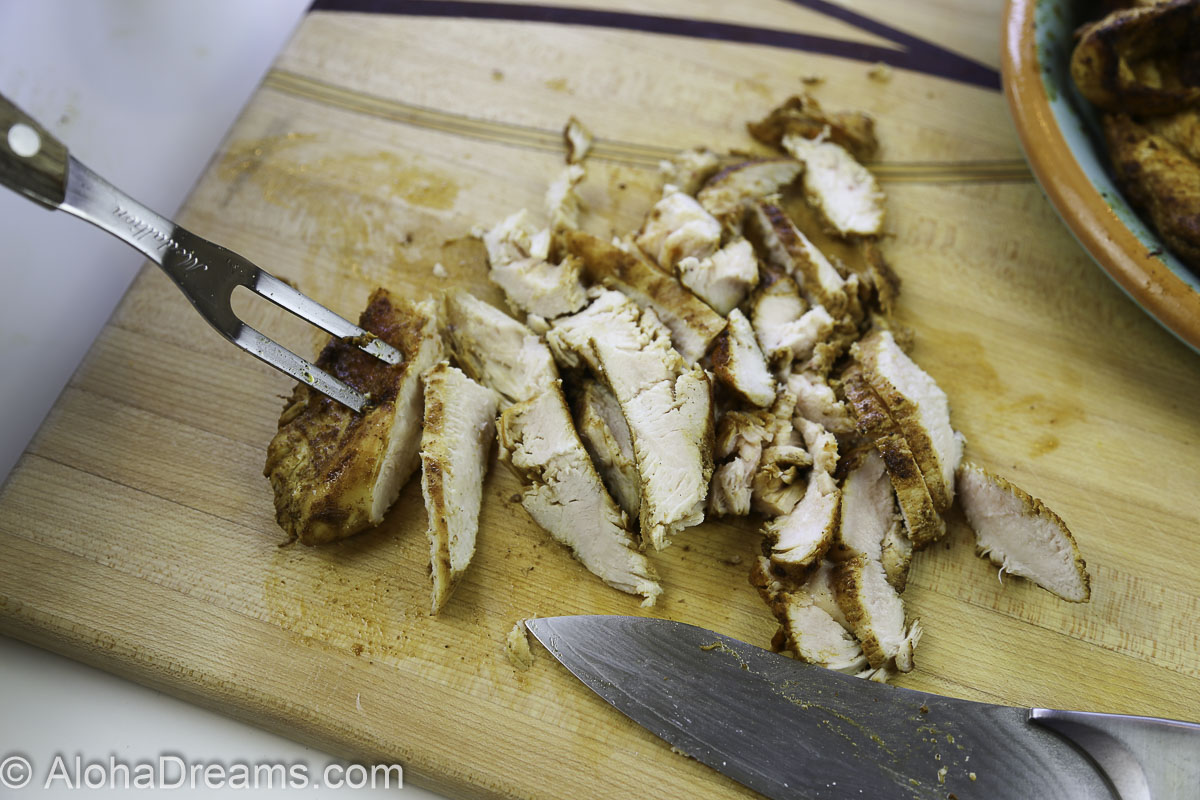
While the vegetables are cooking slice the chicken on the diagonal into roughly ¼ inch by 2 inch pieces.
NOTE: If serving immediately, once the vegetable are finished add the chicken and all chicken juices back to the skillet. Cook just until chicken is hot. Meanwhile, wrap tortillas in a damp cloth and microwave in 30 second increments until tortillas are hot. Serve fajitas immediately with condiments and warm tortillas.
If not serving immediately remove vegetables to a large pan or baking sheet and let cool. If not serving immediately divide the chicken between one or several (1 gallon) freezer bags. Pour all accumulated juices on the plates over the chicken in the bags. This keeps the chicken moist and is one of the best parts of this recipe.
If not serving immediately, once the vegetables are cooked and cooled, divide vegetables between one or several (1 gallon) bags (or smaller for family-sized portions). The chicken and vegetables may be made up to this point and refrigerated for up to 2 days or frozen for up to 4 months.
Day before serving – if frozen, thaw chicken and vegetables overnight in refrigerator.
1 hour prior to serving – preheat oven to 325 degrees preheat oven to 325 degrees. Combine the chicken and vegetables in one or more large roasting trays. Cover tightly with aluminum foil and rewarm for 45 – 60 minutes. (Convection ovens will take about 10 minutes less.)
20 minutes prior to serving – wrap flour tortillas with foil in batches of 10 – 15 and place in a 325 degree oven till soft and hot, approximately 10 minutes. Keep wrapped in foil till serving.
Serve with warm flour tortillas, sour cream, and salsa.
To help the chicken breasts cook more evenly, butterfly them so they are roughly the same thickness, approximately ½ inch thick. Put the chicken in a (1 gallon) freezer bag then pour one-half of the marinade in the bag. Set aside the remaining one-half of the marinade for the vegetables. Gently work the marinade throughout the bag to completely coat the chicken and seal, pressing air out. Refrigerate marinated chicken between at least 1 and up to 3 hours.
While the chicken marinates, cut up onions and peppers in ½ inch strips and add to a large bowl. Pour the reserved marinade over the vegetables and toss well to evenly coat the vegetables with the marinade. Place the vegetables in a (1 gallon) freezer bag and seal, pressing the air out. The marinade is acting as a seasoning for the vegetables at this point more than an actual marinade. Refrigerate until ready to cook.
When smoking hot, add enough chicken to form 1 layer deep. Cook the chicken about 8 – 10 minutes until golden brown on both sides and cooked through, turning every couple minutes. Chicken is done when breasts reach between150 and 160 degrees on an instant read thermometer (which I recommend and love!) When done, remove chicken to several plates to cool. Continue cooking chicken in batches until all chicken is cooked.
When all batches of the chicken are cooked, sauté the vegetables until they are mostly softened and just beginning to caramelize.
While the vegetables are cooking, slice the cooled chicken on the diagonal into roughly ¼ inch by 2 inch pieces. Add the chicken in with the vegetables and if serving immediately heat until chicken is rewarmed.
When ready to serve, Heat 1 tablespoon of oil in large skillet to smoking over medium-high heat. Add chicken and vegetables, cook, stirring until just warmed through out. Wrap flour tortillas with damp towel and microwave in 30 second increments until warm.
When you’re cooking for a crowd, you really want to have all the heavy lifting done far, far in advance. This recipe provides you the great taste you can only get from cooking in a hot skillet and yet still have super-moist fantastic make ahead chicken fajitas. Here’s your game plan.
MAKE AHEAD NOTE: Can be made up to this point and held in a slow cooker on low for up to 2 hours. Meanwhile get condiments ready.
Serve with warm flour tortillas, sour cream, and salsa.

Serves 45
Yield: 7 pounds 12 ounces of chicken (124 ounces of chicken) 45 servings of chicken
Yield: 15 pounds of vegetables (240 ounces of vegetables) 45 servings of vegetables
Serving size 1 tortilla with 2 ¾ ounces of meat and 5 ½ ounces of vegetables
In a large bowl add all marinade ingredients. Whisk to combine and set aside.
To help the chicken breasts cook more evenly, butterfly them so they are roughly the same thickness, approximately ½ inch thick. Divide chicken between 2 (1 gallon) freezer bags then divide one-third of the marinade between both bags. Set aside the remaining two-thirds of the marinade for the vegetables. Gently work the marinade throughout the bags to completely coat the chicken and seal, pressing air out. Refrigerate marinated chicken between at least 1 and up to 3 hours.
While the chicken marinates, cut up onions and peppers in ½ inch strips and add to a large bowl. You may have to do this in 2 batches depending on the size of your large bowl. Pour the reserved marinade over the vegetables and toss well to evenly coat the vegetables with the marinade. Divide the vegetables between 7 (1 gallon) freezer bags and seal, pressing the air out. The marinade is acting as a seasoning for the vegetables at this point more than an actual marinade. Refrigerate until ready to cook.
When smoking hot, add enough chicken to form 1 layer deep. Cook the chicken about 8 – 10 minutes until golden brown on both sides and cooked through, turning every couple minutes. Chicken is done when breasts reach between150 and 160 degrees on an instant read thermometer (which I recommend and love!) When done, remove chicken to several plates to cool. Continue cooking chicken in about 7 – 8 batches until all chicken is cooked.
When all batches of the chicken are cooked, sauté the vegetables in 4 – 5 batches until they are mostly softened and just beginning to caramelize. Remove to a large pan or baking sheet and let cool.
While the vegetables are cooking, slice the cooled chicken on the diagonal into roughly ¼ inch by 2 inch pieces. Divide the chicken between 2 (1 gallon) freezer bags. Pour all accumulated juices on the plates over the chicken in the bags. This keeps the chicken moist and is one of the best parts of this recipe.
Once the vegetables are cooked and cooled, divide between 5 (1 gallon) freezer bags.
Day before serving, if frozen, thaw chicken and vegetables overnight in refrigerator.
If reheating in oven, 1 hour prior to serving preheat oven to 325 degrees. Combine the chicken and vegetables in 3 (12.5 x 17 x 3) aluminum roasting trays. Cover tightly with aluminum foil and rewarm for 45 – 60 minutes. (Convection ovens will take about 10 minutes less.)
20 minutes prior to serving, in batches of wrap batches of 10 - 15 flour tortillas with foil and place in a 325 degree oven till soft and hot, approximately 10 - 15 minutes.
Serve with warm flour tortillas, sour cream, tomatoes, and lettuce.
The page you requested could not be found. Try refining your search, or use the navigation above to locate the post.
I'm so glad you dropped by. I'm Betsy. Here you'll find my favorite fabulous, trusted recipes - everything from delicious, quick meals for your family to wonderful classics made easy.
I'm also here to help you with large group recipes from 20 to 200. So next opportunity you get to cook for a large group - Say 'Yes!' Then relax. I've got your back.
Ever wished you could build your dream home? How about building your dream home in a tropical paradise? Join me, room by room, as we design and build a fabulous dream home in Hawaii!
If you're planning a vacation to Hawaii, I've got you covered on the very best places to go! From many amazing restaurants to incredible adventures in the surf and on land, this is your go-to source for unique and exciting things to do on the Big Island of Hawaii. Or just take a Virtual Vacation!! Let's go!
If you've been asked to cook for a large group activity, be it a Girl's Camp or a Graduation Party, say Yes! I'm here to help. From Menus to Game Plans to Recipes, I'll help you keep on schedule and turn out amazingly delicious food if you're cooking for a crowd! My recipes are tested and trusted. Let's cook!
Ever wished you could build your dream home? Like amazing house design and home building ideas? Me too! Join me as I design and build a home on the Big Island of Hawaii. Follow along while I design each room. Enjoy a front row seat for the entire amazing construction process. Let's play!
Would you like to throw a Luau, but not sure where to start? Want to know how to build a tiki bar and roast a pig? Here's everything you need to have a luau. How about a Christmas Feast or even a fabulous dinner for your neighborhood supper club? You've come to the right place. Let's party!
 Aloha Dreams
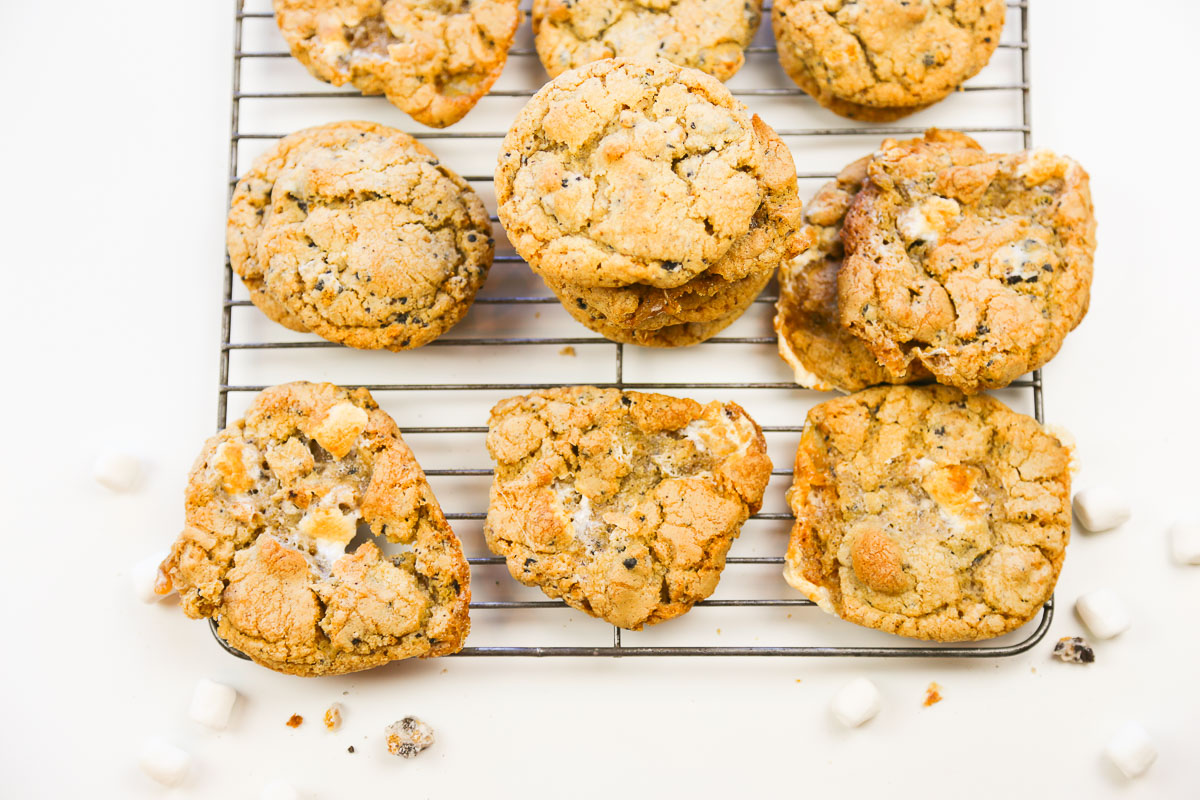
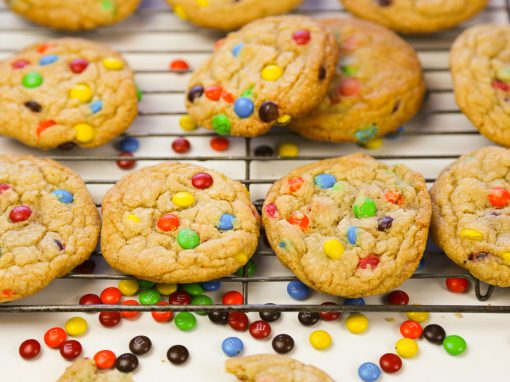
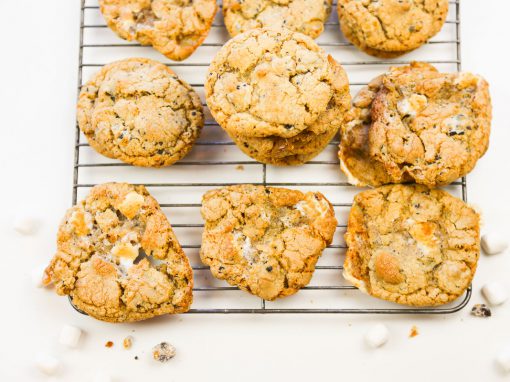
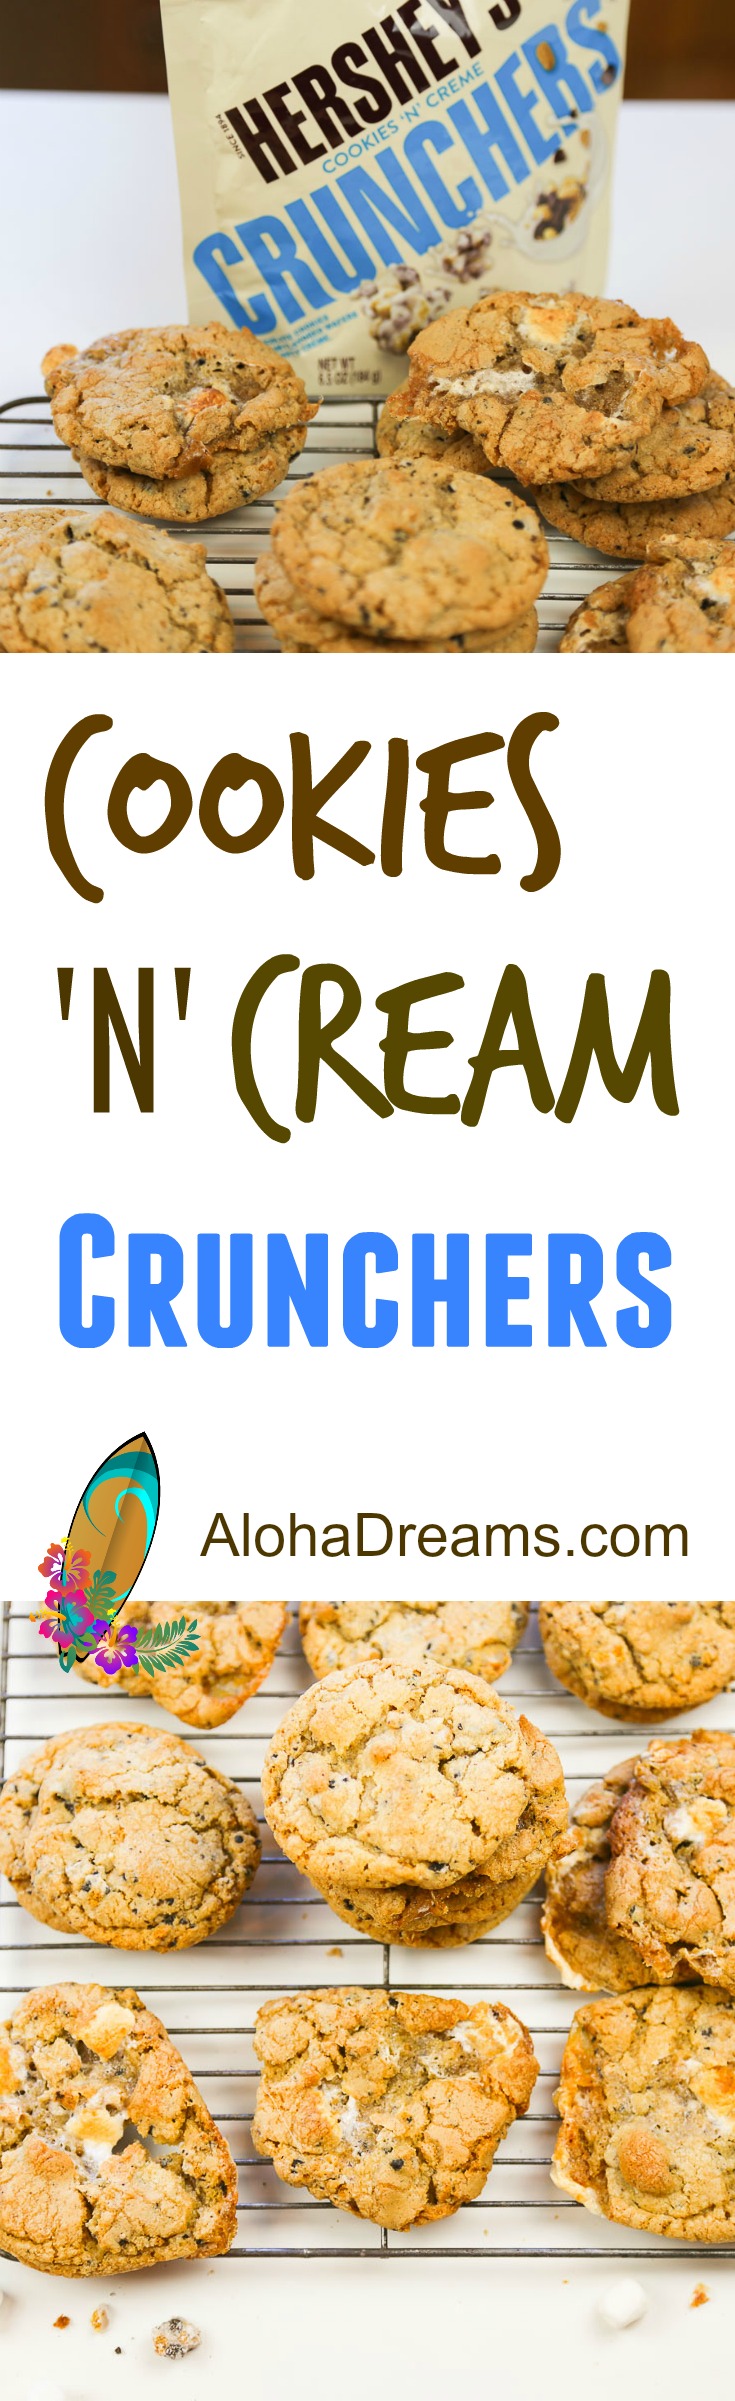
I knew we had a winner when Brandon, the young Hy-Vee sacker, picked up the Hershey’s Cookies ‘N’ Cream bag and stood there mesmerized.

The groceries begin piling up on the counter as the still efficient checker was ringing them up at lightning speed. Still Brandon kept staring at the bag. I thought ‘let’s just see what happens’. So as the groceries kept piling up, Brandon continued standing there staring longingly at the picture on the package. Being an instigator, I figured it might be fun to add a little fuel to the fire, so I said brightly “that’s for a batch of cookies I’m going to be making.”

Brandon, still mesmerized, could only reply with “Yeaaah. Oh, yeaaah!”
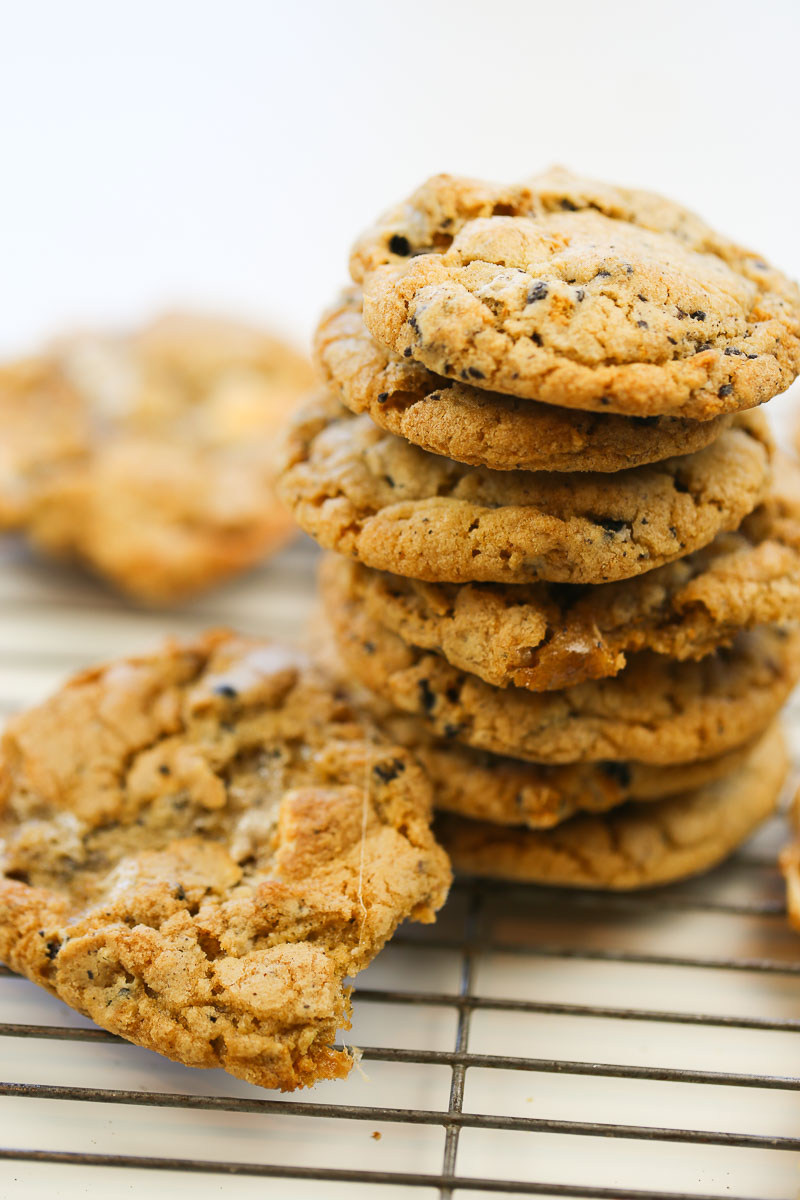
I hope you like them as much as Brandon!
For consistent success, spoon your flour into your cup, don’t scoop. Better yet, invest in a scale.
For all the (other) science nerds in the crowd – what is baking soda and why is it in my cookie recipes and what if my might be expired?? (It’s really probably still fine.) If you’re a ‘how do things work’ nerd like me, here’s a great article by one of my favorite bakers, STELLA PARKS
I'm hoping this site will really help them. If you think so too, please take a minute and send them a link.

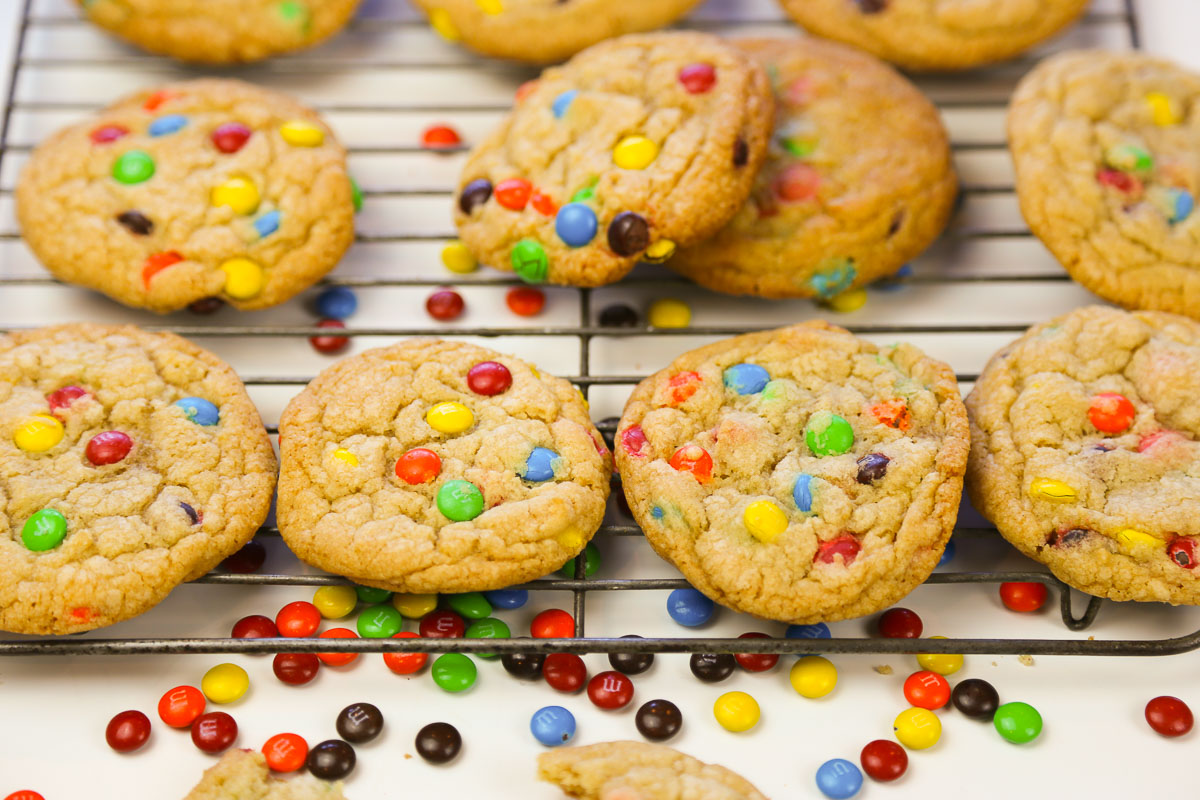
A fantastic, easy crunchy chewy cookie!
Set butter out to come to room temperature.
Adjust oven racks to the 2 middle positions and preheat oven to 350 degrees F (175 degrees C). Line 2 large baking sheets with parchment paper. Set aside.
Put Cookies ‘N’ Cream pieces in a plastic bag, seal well, and smack with rolling pin until the pieces are pea-size. Set aside.
In a medium bowl, whisk together flour (spoon into measuring cup, don’t scoop), baking soda, cream of tartar and salt. Set aside.
In a different bowl, cream together the butter, white sugar, and brown sugar until smooth, a couple minutes. Add 2 teaspoons vanilla and 1 teaspoon water then beat in the eggs one at a time. Gently stir in flour mixture, and Cookies ‘N’ Cream Crunchers pieces.
Bake for 10 - 13 minutes, or until edges are nicely browned. Transfer to wire racks to cool completely.
Cookies can be stored in an airtight container at room temperature for up to 5 days, and frozen for up to 1 month. Freeze your baked cookies on baking sheets lined with wax or parchment paper first until firmly frozen, then transfer them to a freezer bag or another airtight container. Otherwise, you'll end up with a mess.
When thawing frozen baked cookies, take them out of the containers and let sit at room temperature so that condensation doesn't form and make them soggy.
The page you requested could not be found. Try refining your search, or use the navigation above to locate the post.
I'm so glad you dropped by. I'm Betsy. Here you'll find my favorite fabulous, trusted recipes - everything from delicious, quick meals for your family to wonderful classics made easy.
I'm also here to help you with large group recipes from 20 to 200. So next opportunity you get to cook for a large group - Say 'Yes!' Then relax. I've got your back.
Ever wished you could build your dream home? How about building your dream home in a tropical paradise? Join me, room by room, as we design and build a fabulous dream home in Hawaii!
If you're planning a vacation to Hawaii, I've got you covered on the very best places to go! From many amazing restaurants to incredible adventures in the surf and on land, this is your go-to source for unique and exciting things to do on the Big Island of Hawaii. Or just take a Virtual Vacation!! Let's go!
If you've been asked to cook for a large group activity, be it a Girl's Camp or a Graduation Party, say Yes! I'm here to help. From Menus to Game Plans to Recipes, I'll help you keep on schedule and turn out amazingly delicious food if you're cooking for a crowd! My recipes are tested and trusted. Let's cook!
Ever wished you could build your dream home? Like amazing house design and home building ideas? Me too! Join me as I design and build a home on the Big Island of Hawaii. Follow along while I design each room. Enjoy a front row seat for the entire amazing construction process. Let's play!
Would you like to throw a Luau, but not sure where to start? Want to know how to build a tiki bar and roast a pig? Here's everything you need to have a luau. How about a Christmas Feast or even a fabulous dinner for your neighborhood supper club? You've come to the right place. Let's party!

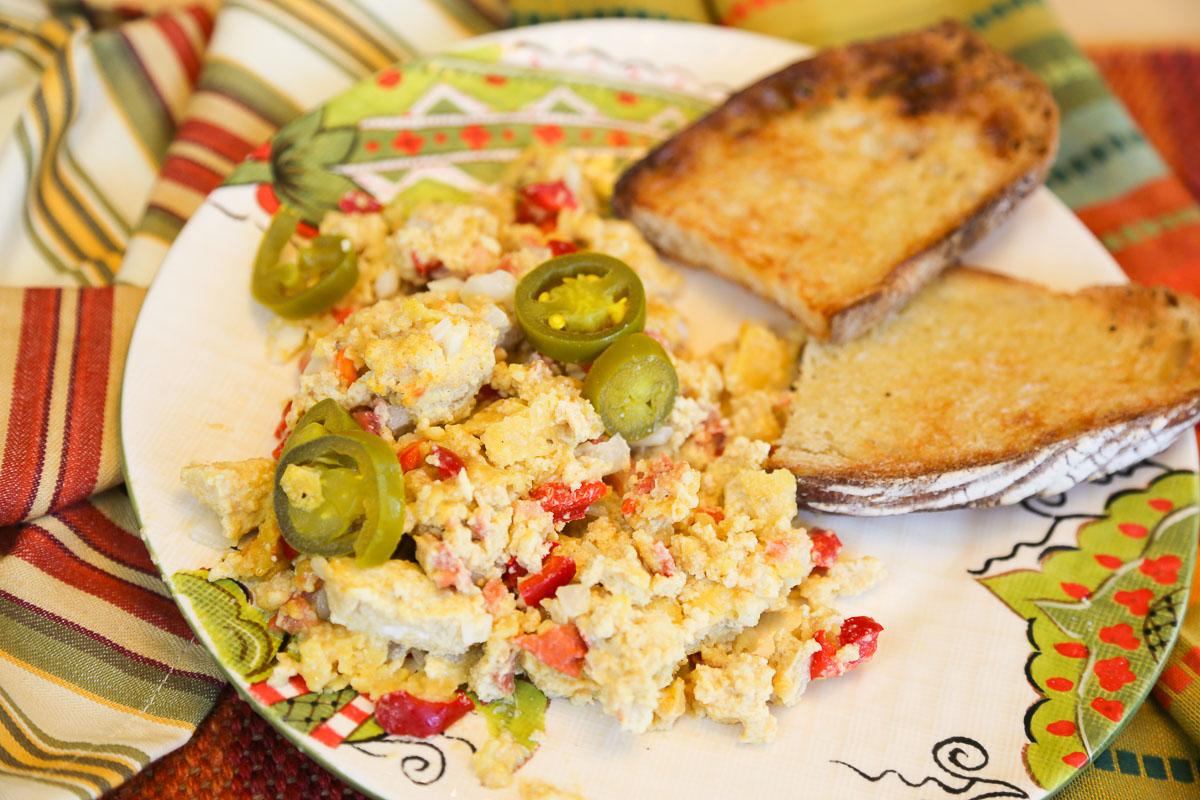
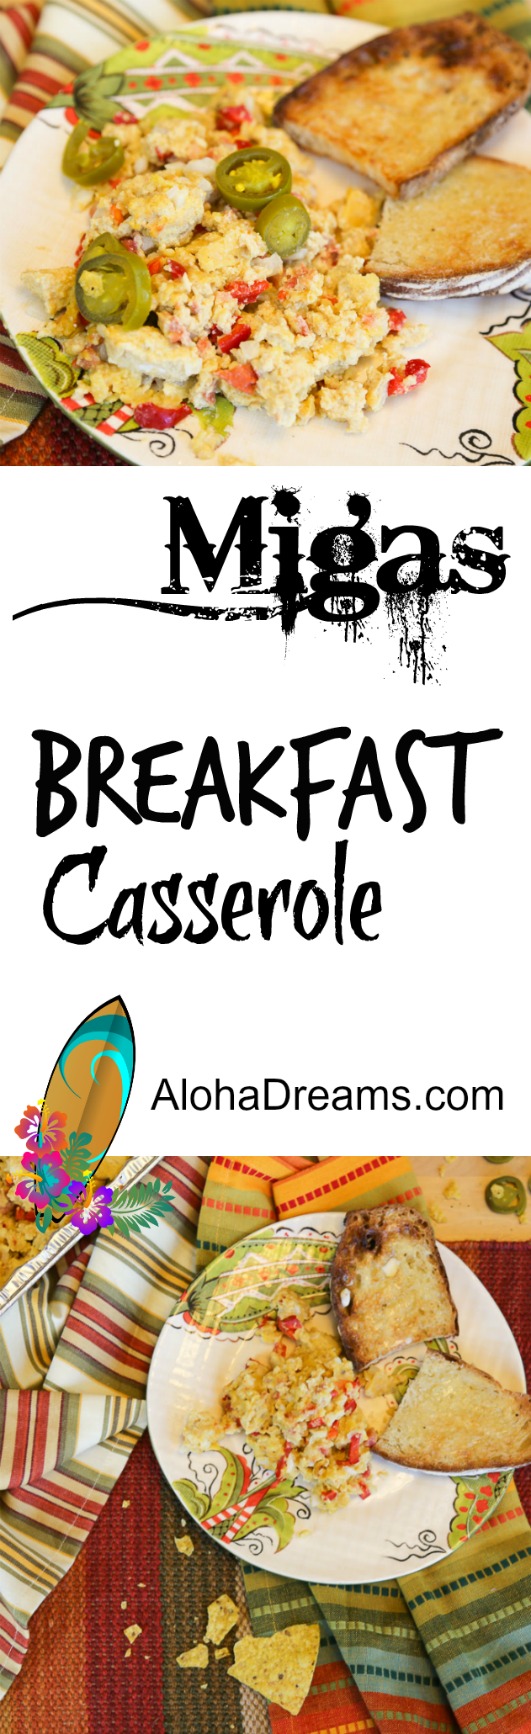
How can you not love a recipe which can be completely prepped the day before. Especially a breakfast recipe. Especially a breakfast recipe which has a version to feed 20!!! (Frankly, I’m swooning already). Now, here’s the best part of all – it’s fantastic! I just finished feeding it to 8 teens who are done eating and already asking if I have any more. Fortunately I fixed the large group version. Both it, and the family-sized recipe, are at the end of this post.
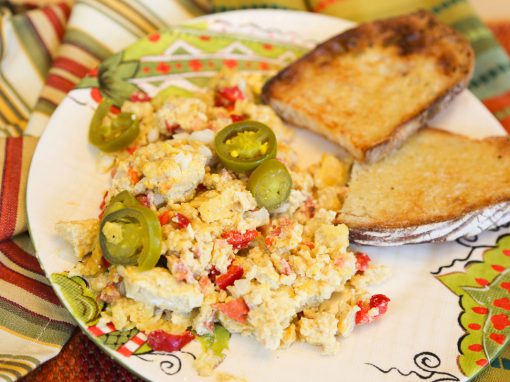
Well, I don’t think it gets any better than that. It includes all kinds of delicious things like eggs, garlic, oregano, cheese – and my favorite – TORTILLA CHIPS. Anything with that kind of line up has got to be great and this is no exception.
“Migas” is the Spanish word for “crumbs,” and in Spain it’s typically made with leftover bread or tortas (Mexican flat bread). Originally a breakfast dish, migas is now served for lunch and even dinner in Spanish restaurants.
In Mexico, migas is a hearty comfort food meal. It’s generally a breakfast dish which includes fried corn tortilla strips softly scrambled with eggs. It’s a great way to use up leftover corn tortillas from earlier meals. It’s similar to another of my favorite Mexican breakfast dishes, Chilaquiles!
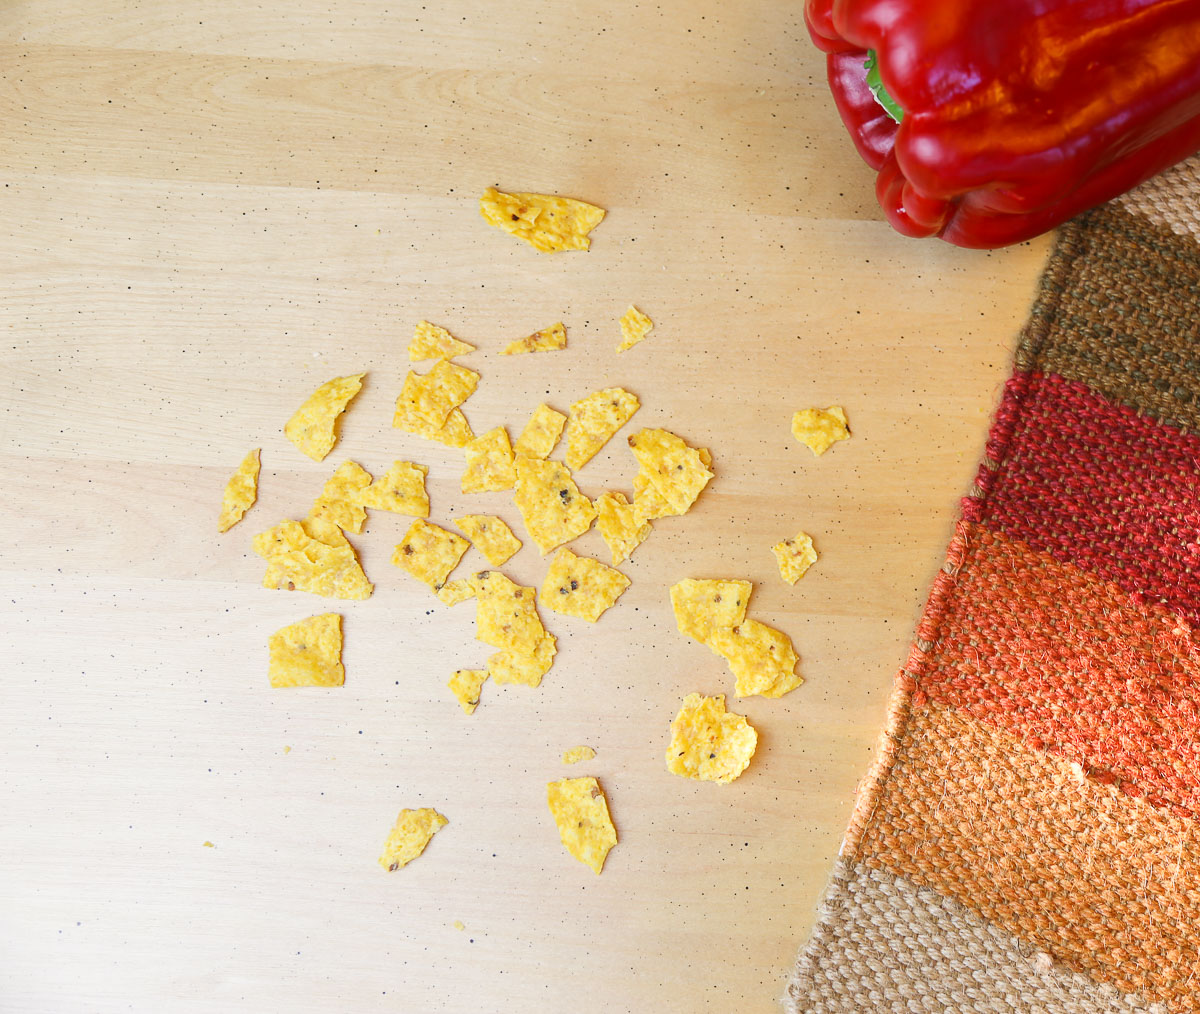
The Tex-Mex version of migas includes the standard fried tortillas or corn chips, scrambled eggs, and of course plenty of cheese. Also typically included are onions, tomatoes and various peppers as well as spices or salsa. My version adds the corn tortilla pieces near the end of the cooking – just in time for them to pick up some of the flavor of the other ingredients, while still retaining some of their appealing texture. You want to break them into pieces about this size.
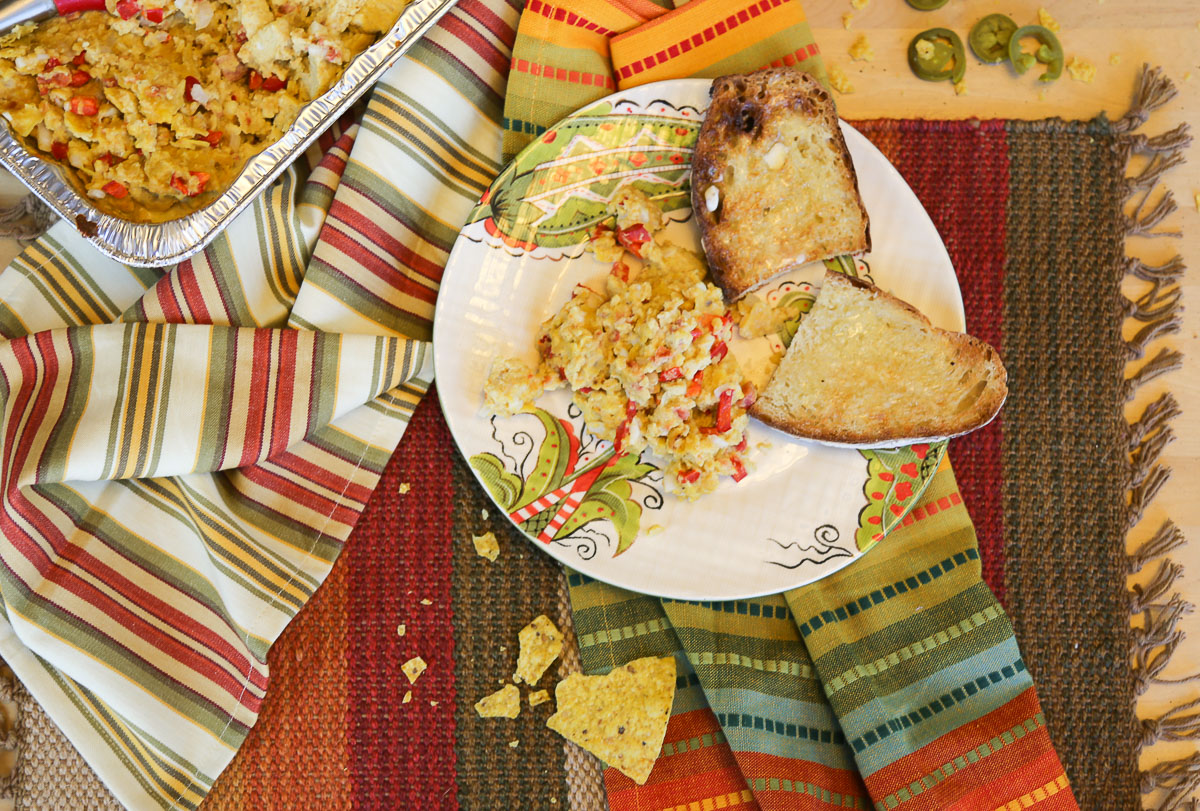
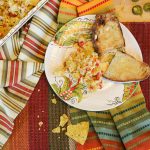
Migas is typically served with refried beans or breakfast potatoes. It can be served atop corn or flour tortillas or on its own. It’s nothing fancy — just great, hearty comfort food for breakfast, late-night, or any time. Best of all, you can combine all ingredients except the tortilla chips the night before, refrigerate it and just pop it in the oven in the morning.
I'm so glad you dropped by. I'm Betsy. Here you'll find my favorite fabulous, trusted recipes - everything from delicious, quick meals for your family to wonderful classics made easy.
I'm also here to help you with large group recipes from 20 to 200. So next opportunity you get to cook for a large group - Say 'Yes!' Then relax. I've got your back.
Ever wished you could build your dream home? How about building your dream home in a tropical paradise? Join me, room by room, as we design and build a fabulous dream home in Hawaii!

Can be prepped the night before and held overnight in the refrigerator before cooking. This is a great way to use up chips that are getting stale.
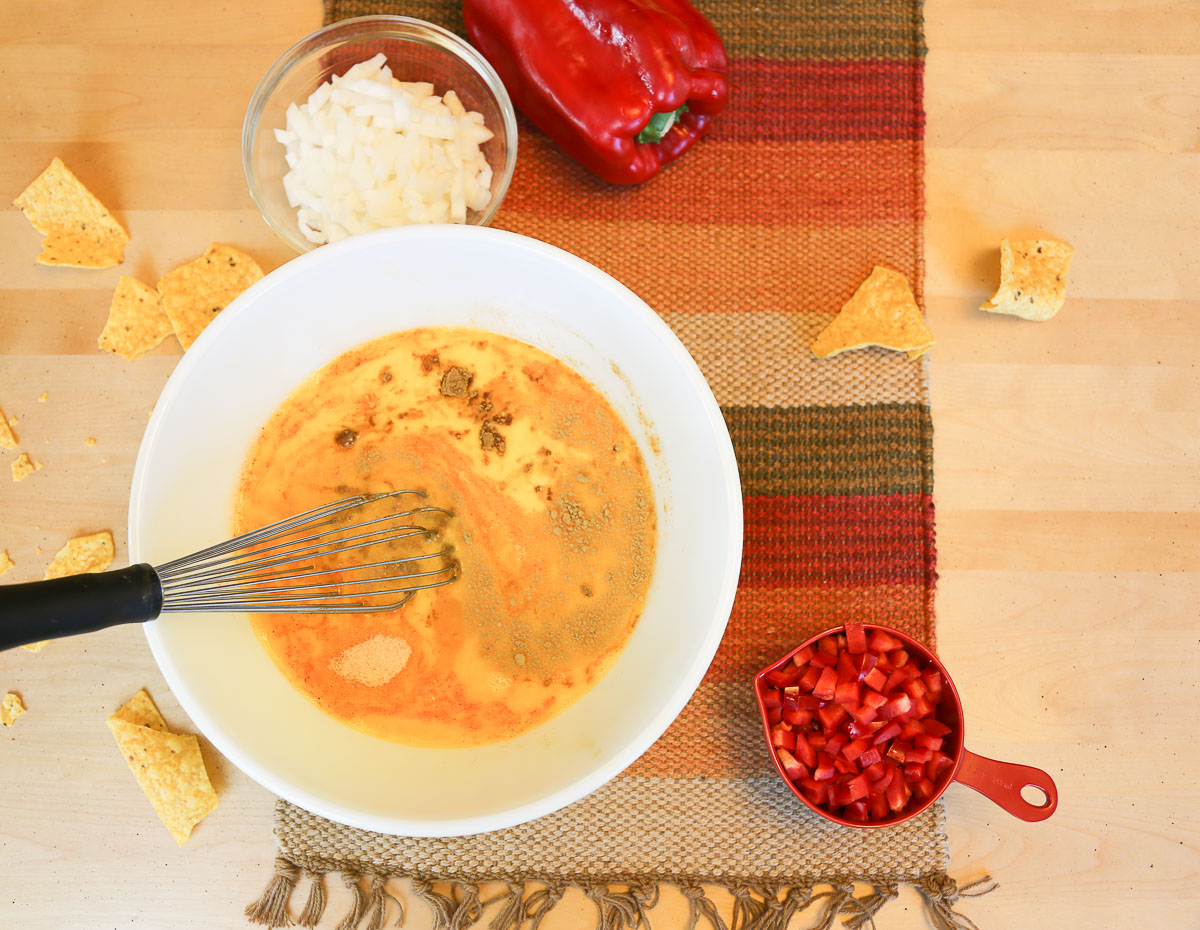
Roughly chop the onion, and peppers. Put in a large bowl and mix in the spices.
Drain the Rotel very well and add the Rotel, cheese, eggs and the evaporated milk to the bowl. Mix well to break up the eggs. Pour in a 1-gallon plastic freezer bag.
When ready to cook, pre-heat oven to 350 degrees.
Spray the inside of a 9 x 13 inch disposable baking dish with cooking spray.
Pour migas mix into the baking dish
Cook, uncovered, for 20 – 25 minutes, scraping the edges and sides a couple times during the cooking period.
When eggs are just about set, stir in 2 ½ cups of crunched up tortilla chips and cook 5 more minutes or until set.
Prior to serving, fluff eggs with a rubber spatula or large spoon.
Serve with jalapeno peppers and salsa.
Can be prepped the night before and held overnight in the refrigerator before cooking. Makes 18 - 20 (4.5 ounce) servings.
Drain the Rotel very well and add the Rotel, cheese, eggs and the evaporated milk to the bowl. Mix well to break up the eggs. Pour in a 1-gallon plastic freezer bag.
Pour migas mix into the baking dish
Cook, uncovered, for 20 – 25 minutes until eggs are just about set, scraping the edges and sides a couple times during the cooking period.
When eggs are just about set, add 2 ½ cups of crunched up tortilla chips. Stir to evenly distribute. Cook another 5 minutes or until set.
Serve with jalapeno peppers and salsa.
The page you requested could not be found. Try refining your search, or use the navigation above to locate the post.
If you're planning a vacation to Hawaii, I've got you covered on the very best places to go! From many amazing restaurants to incredible adventures in the surf and on land, this is your go-to source for unique and exciting things to do on the Big Island of Hawaii. Or just take a Virtual Vacation!! Let's go!
If you've been asked to cook for a large group activity, be it a Girl's Camp or a Graduation Party, say Yes! I'm here to help. From Menus to Game Plans to Recipes, I'll help you keep on schedule and turn out amazingly delicious food if you're cooking for a crowd! My recipes are tested and trusted. Let's cook!
Ever wished you could build your dream home? Like amazing house design and home building ideas? Me too! Join me as I design and build a home on the Big Island of Hawaii. Follow along while I design each room. Enjoy a front row seat for the entire amazing construction process. Let's play!
Would you like to throw a Luau, but not sure where to start? Want to know how to build a tiki bar and roast a pig? Here's everything you need to have a luau. How about a Christmas Feast or even a fabulous dinner for your neighborhood supper club? You've come to the right place. Let's party!